PR14 - 2 WBPEEUI240751C0
Procedure
□
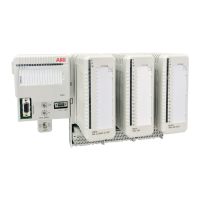
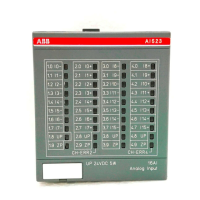
4. Remove the access cover from the left side of the I/O mod-
ule (Fig. PR14-1).
□
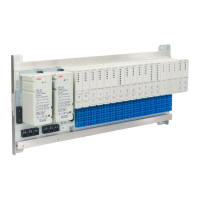
5. Set the readback/fusing select jumpers as appropriate
(Table PR14-2). Refer to Figure PR14-2 for the jumper
locations.
The jumper settings determine which of the contact outputs
are monitored. Both readback jumpers n-J1 and n-J2 must
mustmust
must be
set the same. For example, if the output is wired as a normally
closed output, then both jumpers should be in the normally
closed position. If both contact outputs are used, only one is
monitored depending on the jumper settings.
□
6. Replace the access cover.
□
7. Verify 6.3 A, 250 V fuses are present in each of the
DOT-120 block fuse holders XF1 through XF16 (Fig. PR14-2).
□
8. Verify 1.6 A, 250 V fuses are present in both the A and B
channel block power fuse holders on the I/O module.
Table PR14-1. F ield Power Se lect Jumpers
Field Power
1
J1 J2 Description
IFP Field power from mounting
column bus
LFP Field power from LFP
terminals on base
NOTE:
1. 24 VDC to power output relay coils.
123 123
123 123
Table PR14-2. Readback/Fusing Select Jump ers
Output n
1
-J1 n
1
-J2
Normally closed
Normally open
NOTE:
1. n corresponds to the channel number from 1 to 16. For example,
1-J1 and 1-J2 co nfigure channel one.
1
2
3
1
2
3
1
2
3
1
2
3

 Loading...