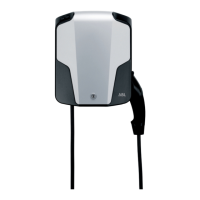
INSTALLATION AND POWER SUPPLY CONNECTION
9
DANGER!
Before you begin installation, always observe the 5 golden rules of elec-
trical installation:
1. Cut off all voltage sources
2. Secure all cut-off devices
3. Verify absence of voltage
4. Ground and short-circuit
5. Cover or bar access to adjacent components under voltage
Always deactivate the MCB allocated to the wallbox in the domestic
power supply and the internal RCCB before you begin installation. Also
ensure that the MCB(s) and RCCB cannot be reactivated during installa-
tion. Otherwise, there is a risk of severe injury through electric shock or
even death!
Take the wallbox and the included drilling template from the packaging box. Proceed as
follows to drill the holes for mounting the wallbox using the drilling template:
1. Place the included drilling template vertically on the chosen mounting surface: Use
a spirit level if required.
CAUTION!
Check the measurements on the drilling template with a calibrated mea-
suring tape before you mark the drill holes using the template and then
drill them
.
2. Mark the six drill holes using the template.
3. Drill the marked mounting holes (Ø 8 mm) and check the holes again using the drill-
ing template.
4. Insert the wall plugs supplied for the mounting screws.
Proceed as follows to install the wallbox:
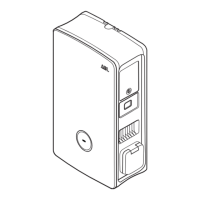
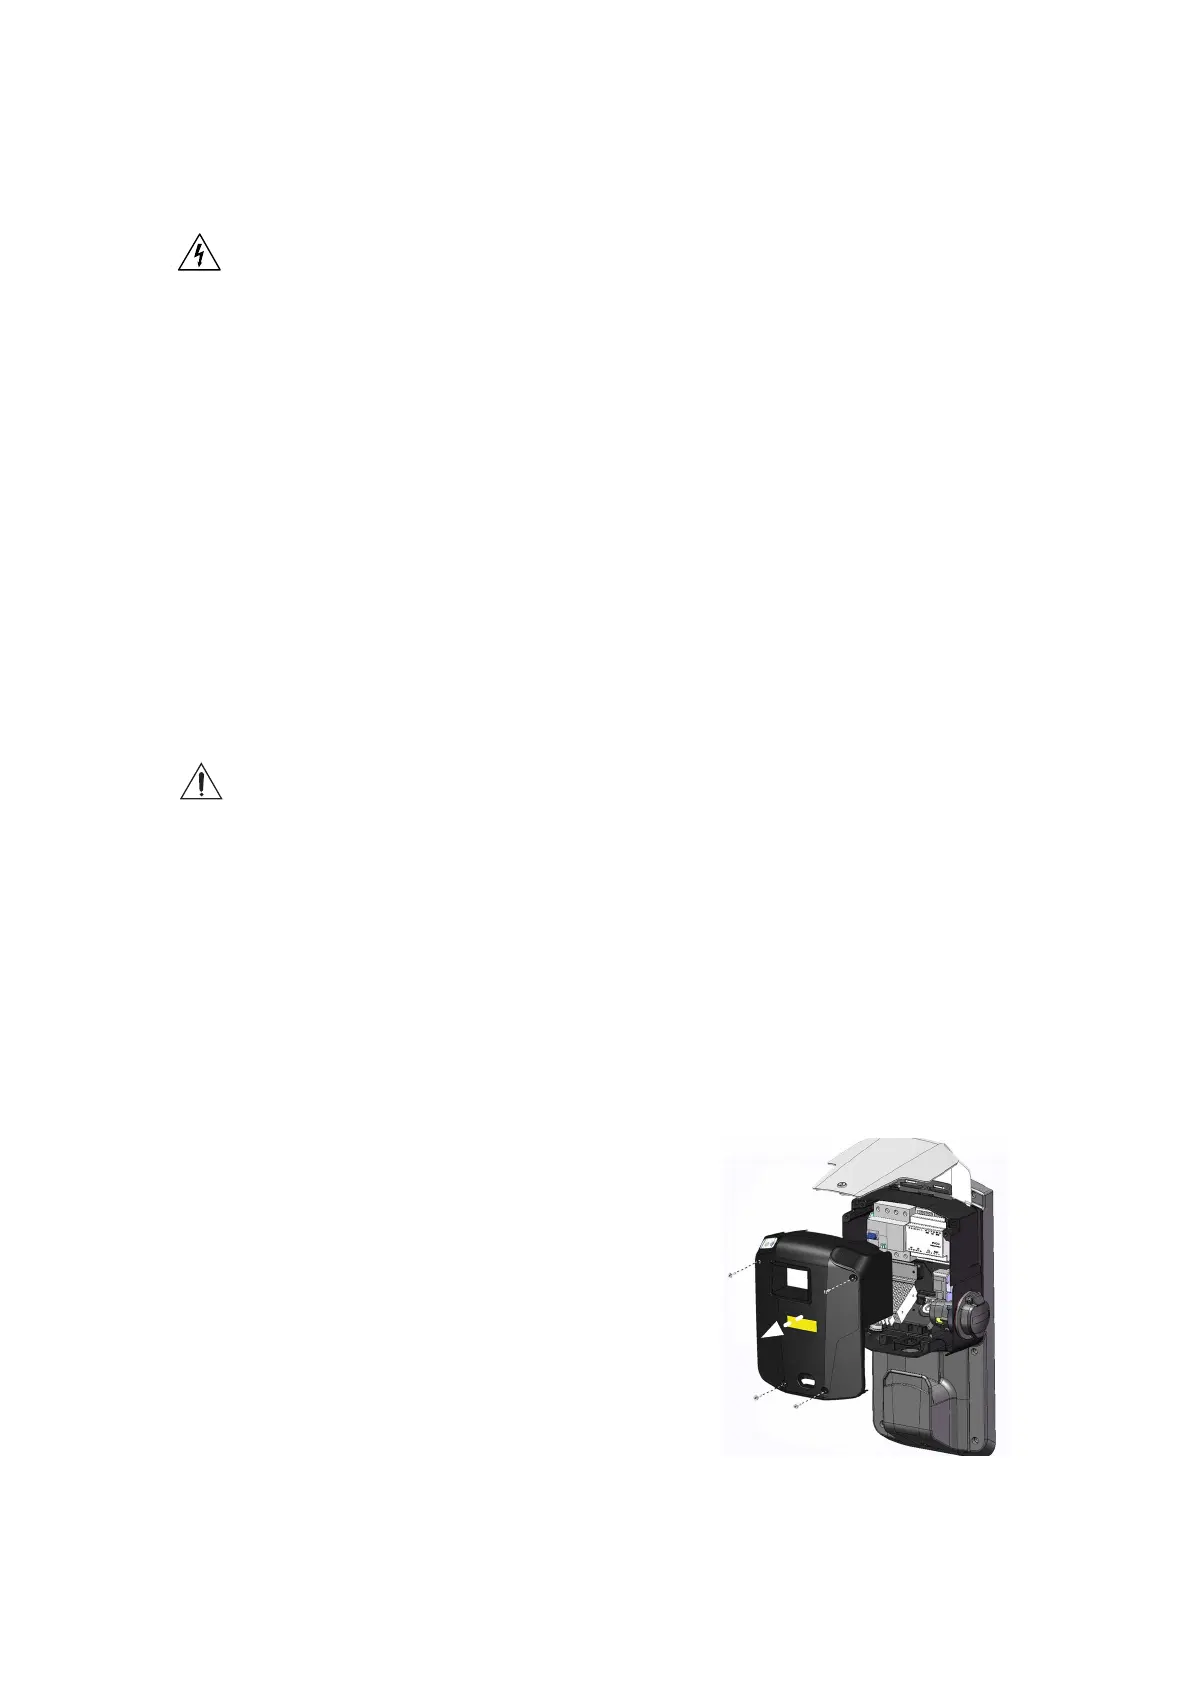
1. Open the cover shield of the wallbox using the key supplied.
2. Use the Phillips-head screwdriver to loosen the
four screws connecting the front part of the hous-
ing with the rear part and remove the upper hous-
ing part. Keep the screws in a safe place as you will
need them again to complete installation.
Note: The rear part of the housing is securely
bolted onto the wall bracket. Unscrewing is not
required to install the wallbox.

 Loading...