to In using the encoder above Mix.
You can set the monitoring to Off when using an external application to
monitor the input, or if you don’t want to hear the input when recording.
If you are recording a microphone using Auto or In monitoring, it is best
to use headphones to prevent the chance of feedback.
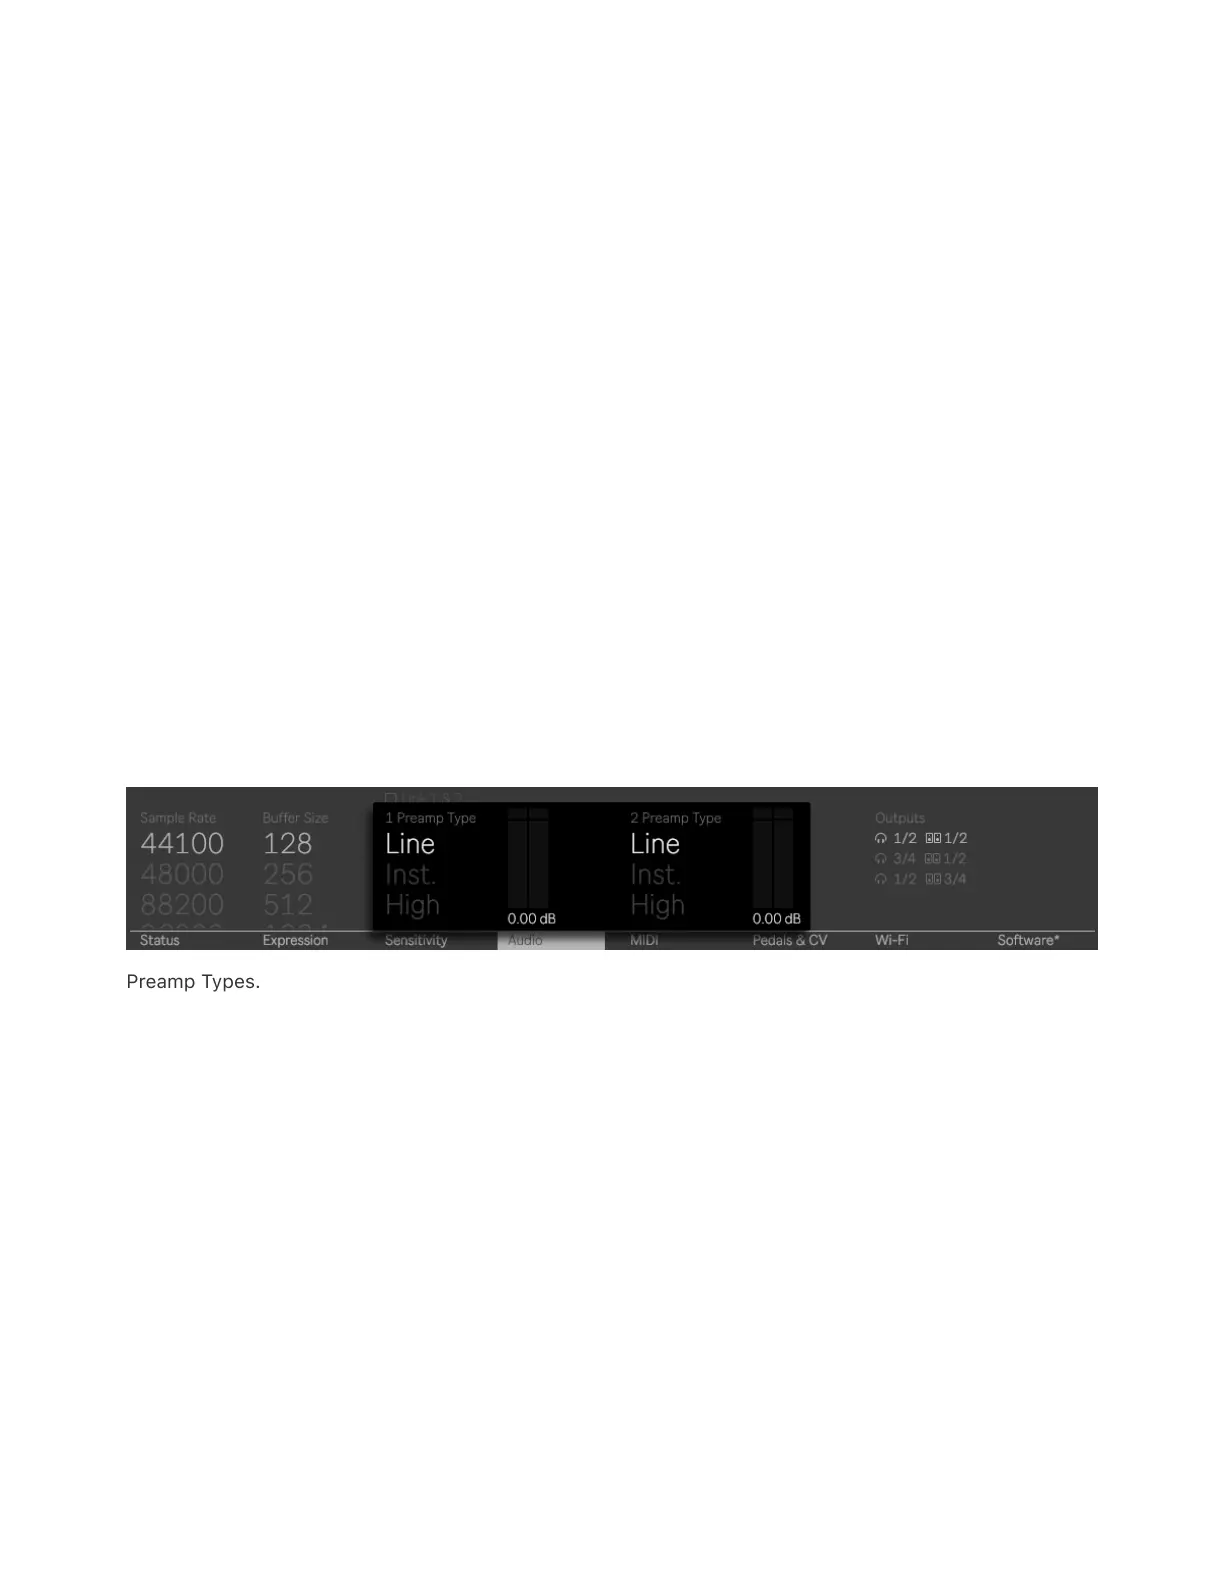
10.1.4 Input Gain
For optimal recordings, you’ll want to record the loudest possible signal
without any clipping or distortion. To do this, pay close attention to how
the incoming audio sounds and check the input meter levels on Push. If
you’re unsure whether or not the signal is clipping or distorted, you can
give yourself more headroom by lowering the reference level, which is
set using the Preamp Type options in the Audio tab of the Setup menu.
Preamp Types.
You can use the encoders above both Preamp Type entries to select
the one you would like to use for each input.
Line – this is ideal for line level equipment such as synthesizers and
drum machines.
Instrument – this is best for instruments like a guitar or bass.
High – this is well suited for equipment that needs a lot of input gain in