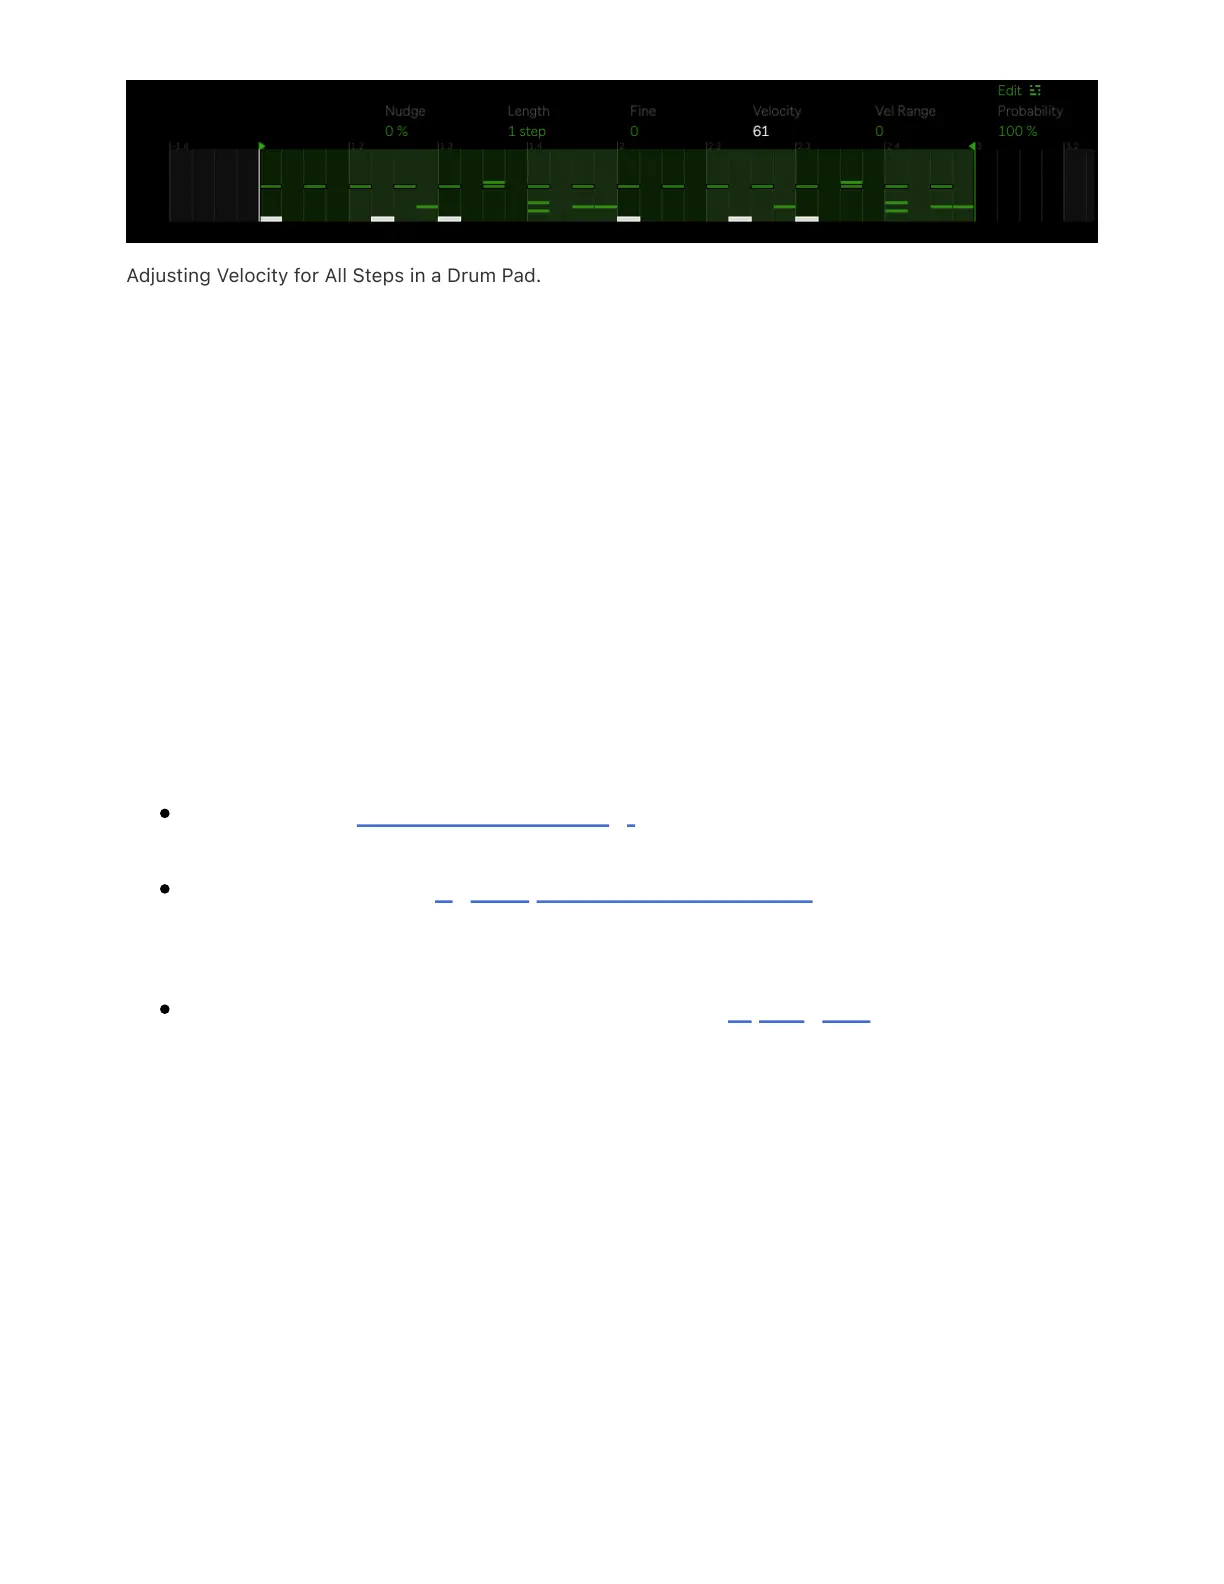
Adjusting Velocity for All Steps in a Drum Pad.
10 Recording Audio
Push has a built-in high quality audio interface with two 6.3mm
balanced inputs so you can record audio from microphones, guitars,
and synthesizers directly into clips for sampling, editing, and warping.
10.1 Setting Up an Audio Track
When setting up an audio track for recording instruments, check the
following:
The track is armed for recording.
The track has the right input channel selected, with the input
monitoring set to “Auto.”
The track has the necessary amount of input gain.
By default, audio tracks are configured to receive audio from the Input 1
port on Push. In Standalone Mode, the input monitoring is automatically
set to Auto, and the track will be armed for recording as long as it is
selected.
Use an instrument, line, or microphone cable to connect your
instrument or microphone to an Input port on Push. If an instrument can
be recorded in stereo, use In 1 for the left channel and In 2 for the right