EasyManuals Logo

Accu-Chek Compact Plus User Manual

Accu-Chek Compact Plus
440 pages
To Next Page IconTo Next Page
To Previous Page IconTo Previous Page
Page #35 background imageLoading...
Page #35 background image
35
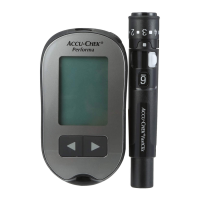
Initial steps before testing
2
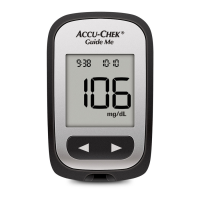
Flashing test strip and flashing drop, indicating that you may now
apply blood or control solution
Drum, indicating that the use-by period cannot be calculated
Flashing bottle, prompting you to perform a control test in order to
check the test strips
Perform a control test (see Chapter 7).
If the result from the control test is within the stated concentration
range, you can still use the test strips remaining in the drum. If the
result is outside the range, you need to insert a new drum.
After the control test, the flashing bottle and drum symbols continue to
be displayed with each test until you insert a new drum. Until then, all
results are saved together with the drum symbol.
man_06919570001_01_EnCan.indd 35 18.01.2013 18:38:05

Table of Contents

Other manuals for Accu-Chek Compact Plus

Questions and Answers:

Question and Answer IconNeed help?

Do you have a question about the Accu-Chek Compact Plus and is the answer not in the manual?

Accu-Chek Compact Plus Specifications

General IconGeneral
Measurement Range10-600 mg/dL
Sample Size1.5 µL
Test Time5 seconds
Automatic CodingYes
DisplayLCD
Measurement MethodElectrochemical
Battery Type2 x AAA
Battery LifeApprox. 1000 tests
Data TransferInfrared (IR)
Storage Conditions-25°C to +70°C
Operating Conditions10-40°C, 10-90% RH

Related product manuals