Jumper and Connector Locations 5-13
Make sure only one BIOS file is saved in the USB HDD root directory.
9. Copy the combined ROM file, COMBINE.FD, to the root directory of USB HDD.
10. Rename COMBINE.FD to P5WE0x64.FD as shown in Figure 5-13.
Figure 5-13. Renaming COMBINE.FD to P5WE0x64.FD
To use the Crisis USB key, perform the following:
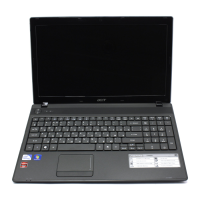
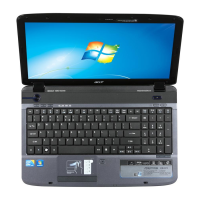
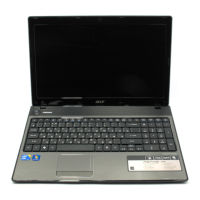
1. Turn off the system and disconnect the AC adapter (Figure 5-14). Refer to “Getting
Started”.
2. Disconnect battery pack. Refer to “Battery Pack Removal”.
Make sure the power and charge lights are off, as shown on the power indicator. Refer
to “Closed Front View”.
3. Plug in USB HDD (Figure 5-14).
Figure 5-14. Plugging in the USB HDD
SG_JV51_HR.book Page 13 Friday, July 8, 2011 5:58 PM
HTTP://MYCOMP.SU/ - Maintenance and Service Guide,Service Manual,Motherboard Schematics for Laptop/notebook
РЕМОНТ НОУТБУКОВ. Запчасти и комплектующие для ноутбука. Схемы, сервис мануалы, инструкции по разборке ноутбука.
ВОССТАНОВЛЕНИЕ ДАННЫХ. г. Санкт-Петербург, Тел.(812)951-37-99, Тел.8-921-951-37-99,ICQ:573812745, service@it-lux.ru

 Loading...