Do you have a question about the Acer B6 and is the answer not in the manual?
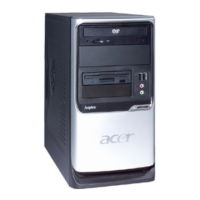
Details the connectors and indicators on the front panel of the computer system for easy access.
Describes the various ports and connectors located on the rear of the computer system for connectivity.
Provides guidelines for selecting an appropriate location for the computer system, considering dimensions and ventilation.
Explains the initial step of connecting an output device, such as a monitor, to the computer.
Details the procedure for connecting the computer to a power source via the power cord.
Covers connecting network lines, printers, audio devices, keyboards, and mice to the system.
Essential safety guidelines to prevent electrostatic discharge damage when handling components.
Step-by-step instructions on how to safely open the computer's housing for component access.
Procedure for detaching the metal frame that supports disk drives within the system housing.
Guides on installing hard disk drives, 3.5-inch diskette drives, and CD-ROM drives into the system.
Instructions for correctly aligning and securing the system board within the housing frame.
Steps to connect and secure the power supply unit to the computer's housing.
Instructions on reattaching disk drive frames and connecting power and drive cables.
Guidance on inserting riser cards and expansion boards into the system board.
Steps to correctly put back the computer's housing cover after internal component work.