Copyright 2017 ACETEL Co., Ltd. All Right
Reserved
4.1.6 NTP SETUP
MD2000-16H can be synchronized by connecting to the NTP server. From the NPT setup, it is
possible to setup the NTP via NTP setup.
STEP 1) Press [MENU] to see the main menu. Select the “NTP
SETUP” from the main menu and then press [ENTER].
STEP 2) When NTP SETUP appears, press [ENTER] from “NTP
SYNC” menu to change the setup to “ON” and press [ENTER]
again to have the time synchronization with the NTP server.
STEP 3) To use the NTP SYNC, select “IP ADDRESS” with the
[Up/Down] to enter the IP address of the NTP server and then
press “ENTER”.
STEP 4) The IP address which has been set would change to Red.
Select the desired input value with the [Up/Down] button or [1~10]
of the [CHANNEL SELECT]. (For the number ”0”, select the button
[10]) After selecting the desired input value, press [ENTER] when
all the input values are set.
[IP change] To change the IP Address to 192.168.011.231
How to Change the Setup #1)
Number Button [1] ▶ Number Button [9] ▶ Number Button [2] ▶ Number Button [1] ▶
Number Button [6] ▶ Number Button [8] ▶ Number Button [10] ▶ Number Button [1] ▶
Number Button [1] ▶ Number Button [2] ▶ Number Button [3] ▶ Number Button [1] ▶ [ENTER]
How to Change the Setup #2)
[Select the no. 1 with the up/down button] ▶ [Right button] ▶
[Select the no. 9 with the up/down button] ▶ [Right Button] ▶
[Select the no. 2 with the up/down button] ▶ [Right Button] ▶
[Select the no. 1 with the up/down button] ▶ [Right Button] ▶
[Select the no. 6 with the up/down button] ▶ [Right Button] ▶
[Select the no. 8 with the up/down button] ▶ [Right Button] ▶
[Select the no. 0 with the up/down button] ▶ [Right Button] ▶
[Select the no. 1 with the up/down button] ▶ [Right Button] ▶
[Select the no. 1 with the up/down button] ▶ [Right Button] ▶
[Select the no. 2 with the up/down button] ▶ [Right Button] ▶
[Select the no. 3 with the up/down button] ▶ [Right Button] ▶
[Select the no. 1 with the up/down button] ▶ [ENTER]
STEP 5) To apply the changed setup, select “APPLY” with the [Up/Down] button. To not apply the
changed setup, select “CANCEL”.
Caution for Entering of IP Address
1. For IP ADDRESS, it is possible to setup the IP address from “0~255”
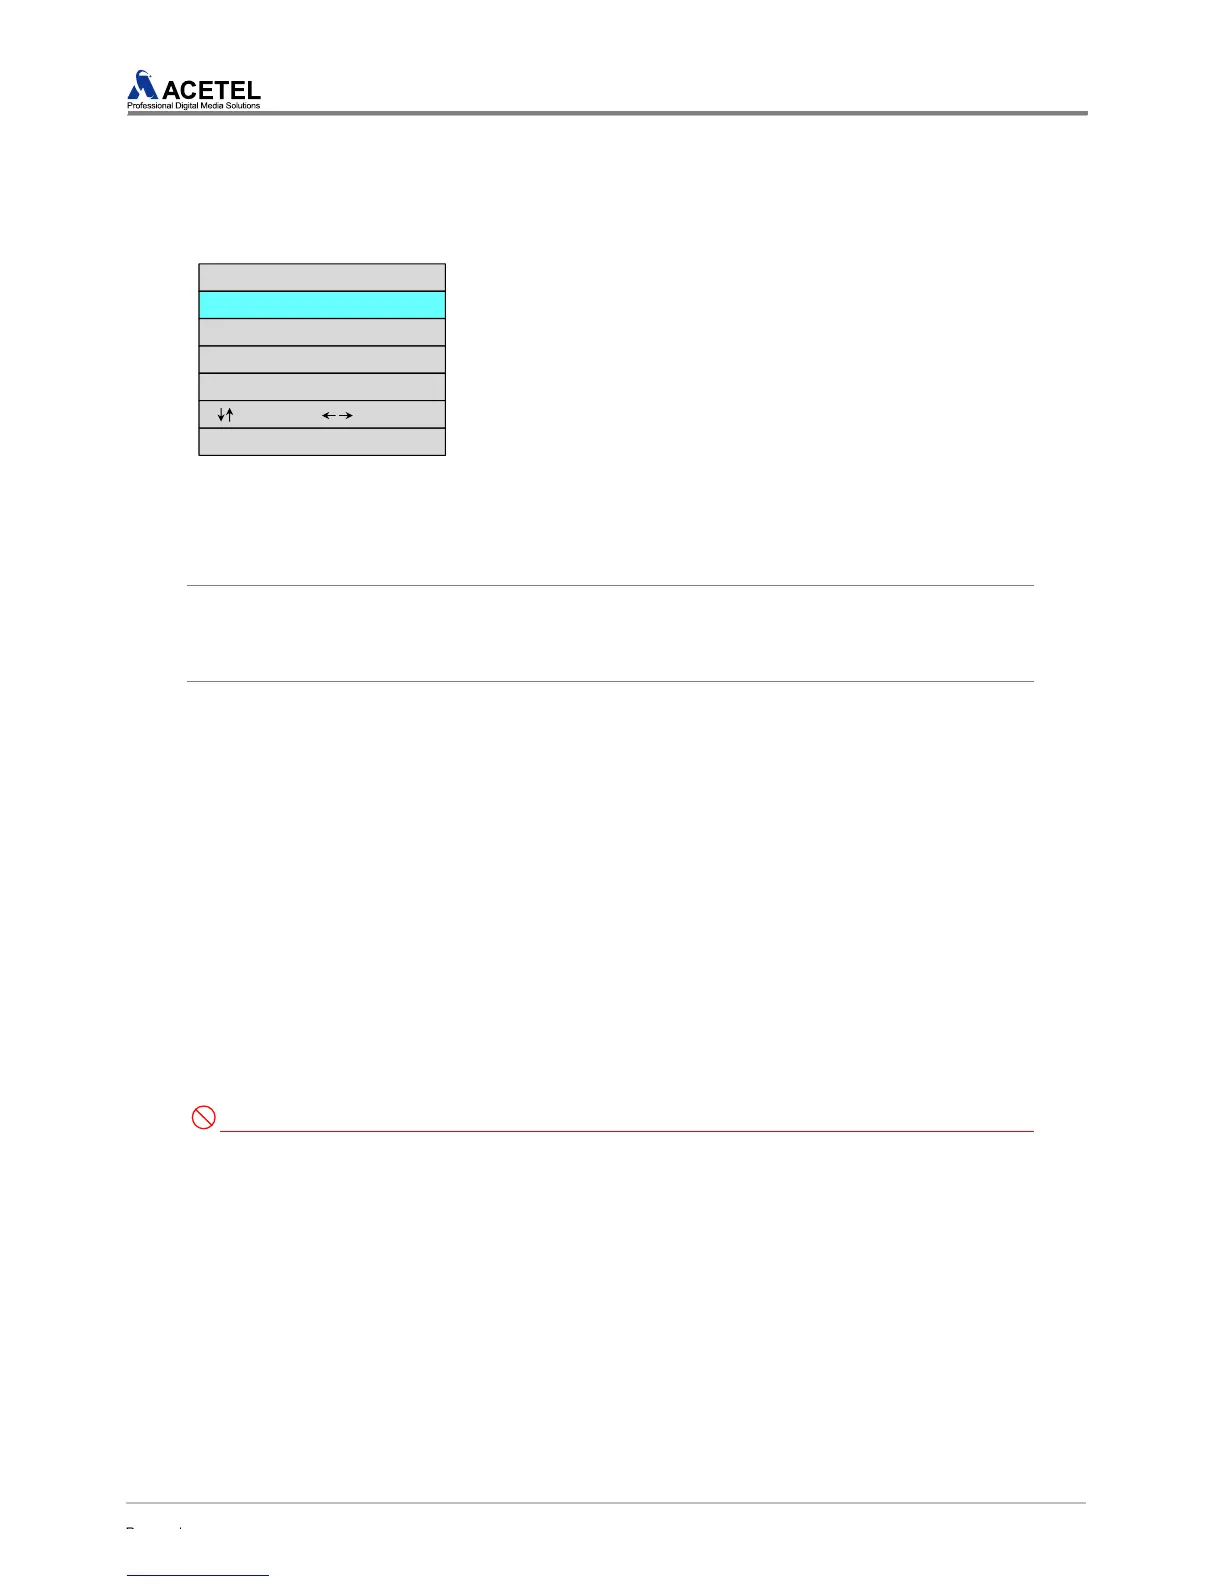
[NTP SETUP]
NTP SYNC : OFF
IP ADDRESS : 192.168.001.010
NUM(1~10) : 1~0 ENTER : Select
APPLY
CANCEL
: Move(ADJUST) : Contents