Copyright 2017 ACETEL Co., Ltd. All Right
Reserved
4.1.8 IP SETUP
For the communication with MD2000-16H and NMS, the unified IP bandwidth should be used. For
this, it is possible change the IP setup via MD2000-16H.
STEP 1) When the [MENU] button is pressed, the main menu
would appear. Select “IP SETUP” and then press [ENTER]. .
STEP 2) “MAC ADDRESS” is a serial number of the product
which is required for the NMS setup. It cannot be changed by
users. The MAC ADDRESS is required for the NMS setup.
Thus, it must be recorded.
STEP 3) For changing the IP address of a product, select “IP
ADDRESS” menu with the [Up/Down] and then press
[ENTER].
STEP 4) The IP address which has been set would change to
Red. Select the desired input value with the [Up/Down]
button or [1~10] of the [CHANNEL SELECT]. (For the
number ”0”, select the button [10]) After selecting the desired
input value, move to the desired input value with the
[Left/Right] button. Press [ENTER] when all the input values are set.
[IP Address Change] To change to 192.168.100.011
How to change the setup #1)
Number Button [1] ▶ Number Button [9] ▶ Number Button [2] ▶ Number Button [1] ▶
Number Button [6] ▶ Number Button [8] ▶ Number Button [1] ▶ Number Button [10] ▶
Number Button [10] ▶ Number Button [10] ▶ Number Button [1] ▶ Number Button [1] ▶ [ENTER]
How to change the setup #2)
[Select the no. 1 with the up/down button] ▶ [Right button] ▶
[Select the no. 9 with the up/down button] ▶ [Right Button] ▶
[Select the no. 2 with the up/down button] ▶ [Right Button] ▶
[Select the no. 1 with the up/down button] ▶ [Right Button] ▶
[Select the no. 6 with the up/down button] ▶ [Right button] ▶
[Select the no. 8 with the up/down button] ▶ [Right Button] ▶
[Select the no. 1with the up/down button] ▶ [Right Button] ▶
[Select the no. 0 with the up/down button] ▶ [Right Button] ▶
[Select the no. 0 with the up/down button] ▶ [Right button] ▶
[Select the no. 0 with the up/down button] ▶ [Right Button] ▶
[Select the no. 1 with the up/down button] ▶ [Right Button] ▶
[Select the no. 1 with the up/down button] ▶ [ENTER]
STEP 5) For the gateway with the subnet mask after setting up of IP ADDRESS, select the
“SUBNETMASK” menu and “GAYTEWAY with the [Up/Down] button and then press [ENTER].
SUBNETMASK or GATEWAY set value would change to Red. Select the desired input value with the
[Up/Down] button or [1~10] of the [CHANNEL SELECT]. (For the number ”0”, select the button [10])
After selecting the desired input value, move to the desired input value with the [Left/Right] button.
Press [ENTER] when all the input values are set.
STEP 6) To apply the changed setup, select “‘APPLY” with the [Up/Down] button. To not apply the
changed setup, select “CANCEL”.
Caution for IP Address Setup
IP Address, Subnet Mask and Gateway can be set from “0~255” pursuant to all the IP
regulations. Provided, in case of a subnet mask, the setup may not apply when it fails to comply
with the subnet mask regulation.
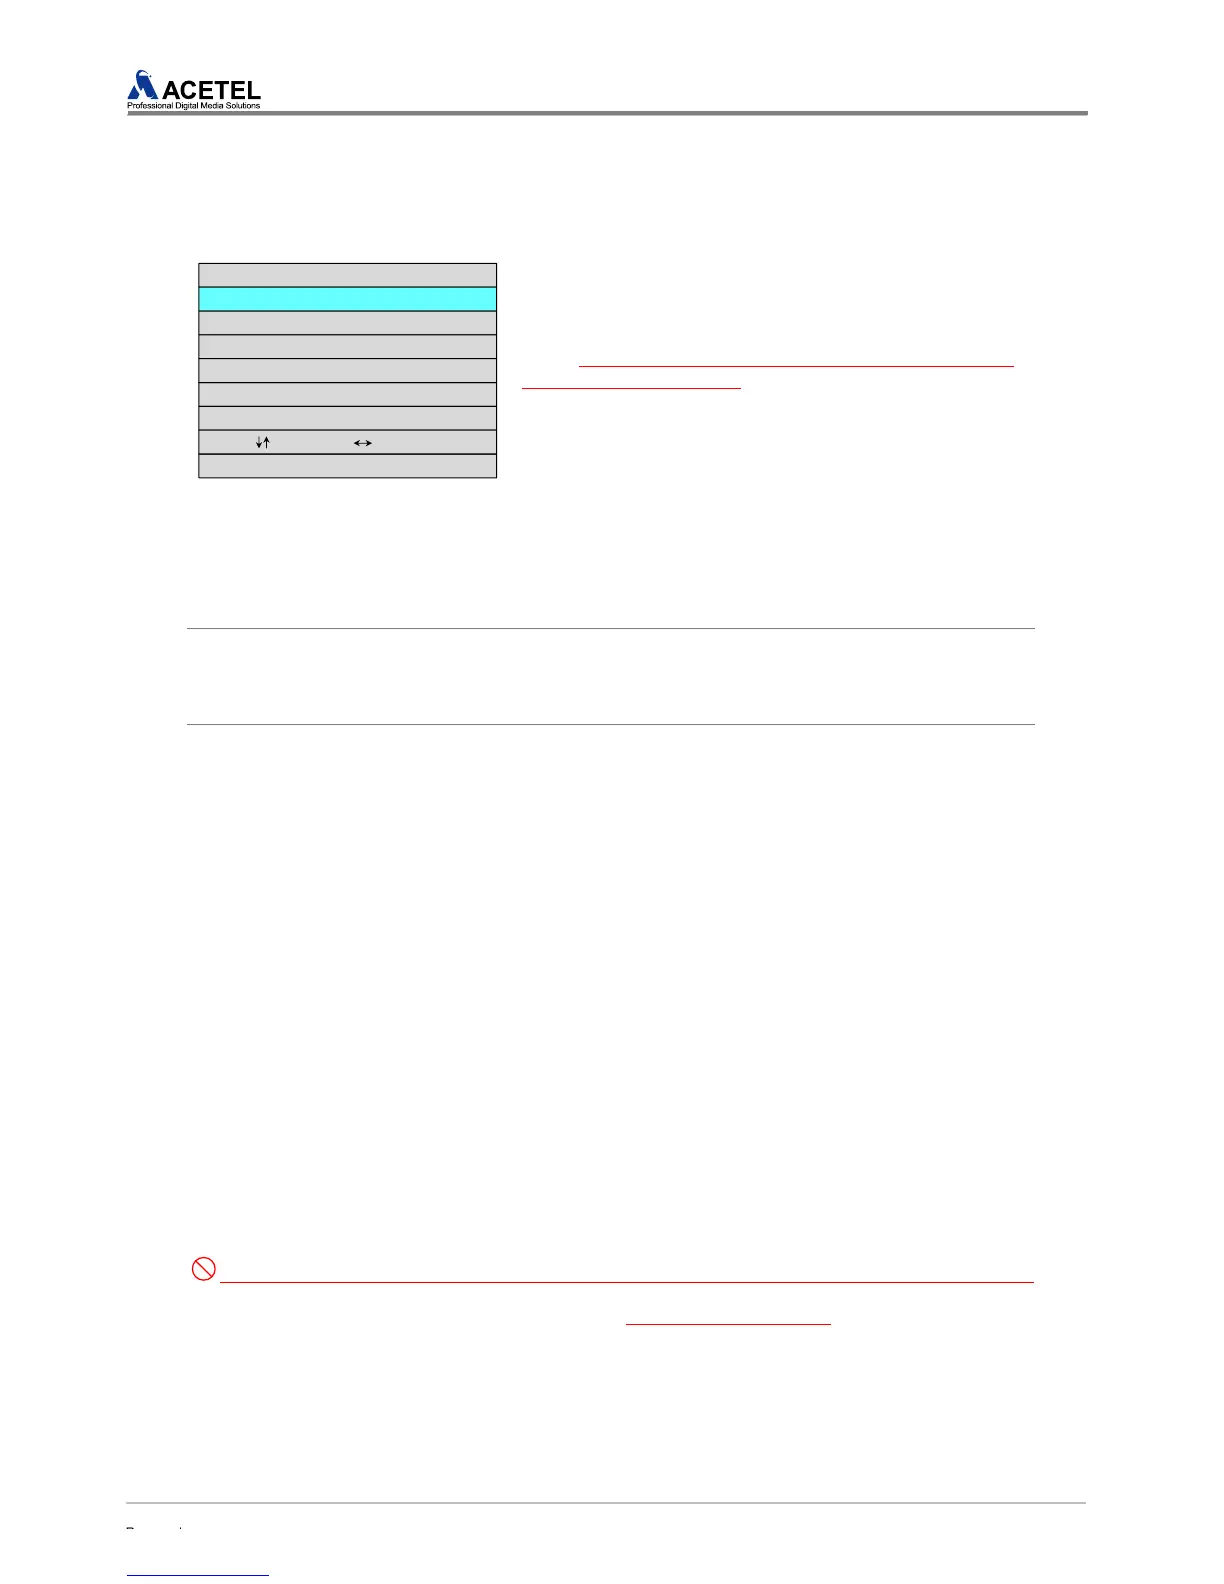
[IP SETUP]
MAC ADDRESS : 00-D1-D7-FF-F9-02
IP ADDRESS : 192.168.011.011
NUM(1~10) : 1~0 ENTER : Select
APPLY
CANCEL
: Move(ADJUST) : Contents
SUBNET MASK : 255.255.255.000
GATEWAY : 192.168.011.001


 To Next Page