Copyright 2017 ACETEL Co., Ltd. All Right
Reserved
4.1.7 CURRENT TIME SETUP
When MD2000-16H is not connected with the NMS or NTP server, it is possible to setup the date and
time manually.
STEP 1) Press [MENU] to see the main menu. Select the
“CURRENT TIME SETUP” from the main menu and then press
[ENTER].
STEP 2) When CURRENT TIME SETUP appears, setup the
date and time.
STEP 3) For the setup of date, select “DATE” with the
[Up/Down] and then press ”ENTER”.
STEP 4) The Date which has been set would change to Red.
Select the desired input value with the [Up/Down] button or
[1~10] of the [CHANNEL SELECT]. (For the number ”0”,
select the button [10]) After selecting the desired input value, press [ENTER] when all the input
values are set. In case of date, it is entered and represented in a form of “MM/DD/YYYY” and in case
of the year, the last two digits would be represented.
[DATE Change] To change to 2013.12.25
How to change the setup #1)
Number Button [1] ▶ Number Button [2] ▶ Number Button [2] ▶ Number Button [5] ▶
Number Button [1] ▶ Number Button [3] ▶ [ENTER]
How to change the setup #2)
[Select the no. 1 with the up/down button] ▶ [Right button] ▶
[Select the no. 2 with the up/down button] ▶ [Right Button] ▶
[Select the no. 2 with the up/down button] ▶ [Right Button] ▶
[Select the no. 5 with the up/down button] ▶ [Right Button] ▶
[Select the no. 1 with the up/down button] ▶ [Right Button] ▶
[Select the no. 3 with the up/down button] ▶ [ENTER]
STEP 5) To setup the time after setup of date, select “TIME” with [Up/Down] and then press
[ENTER]. The Time which has been set would change to Red. Select the desired input value with the
[Up/Down] button or [1~10] of the [CHANNEL SELECT]. (For the number ”0”, select the button [10])
After selecting the desired input value, press [ENTER] when all the input values are set. In case of
time, it is entered and represented in a form of “HH:MM:SS” in a 24 hour format.
[Time Change] To change to 5:25.30 PM
How to change the setup #1)
Number Button [1] ▶ Number Button [7] ▶ Number Button [2] ▶ Number Button [5] ▶
Number Button [3] ▶ Number Button [10] ▶ [ENTER]
How to change the setup #2)
[Select the no. 1 with the up/down button] ▶ [Right button] ▶
[Select the no. 7 with the up/down button] ▶ [Right Button] ▶
[Select the no. 2 with the up/down button] ▶ [Right Button] ▶
[Select the no. 5 with the up/down button] ▶ [Right Button] ▶
[Select the no. 3 with the up/down button] ▶ [Right Button] ▶
[Select the no. 0 with the up/down button] ▶ [ENTER]
STEP 6) To apply the changed setup, select “APPLY” with the [Up/Down] button. To not apply the
changed setup, select “CANCEL”.
Caution for Date & Time Setup
1. Year can be set from “0~99”. (Year Range : 2000 ~ 2099)
2. For the date, “1~12” for the month and “1~30 days or 1~31 days” can be set for the number
of days depending on the month.
3. For February, “1~28 days” are available and “1~29 days” are available for a leap year.
4. For the time, it is available to set the time from “0~23 hours”. .
5. For the minute and second, it is available to set from “0~59”.
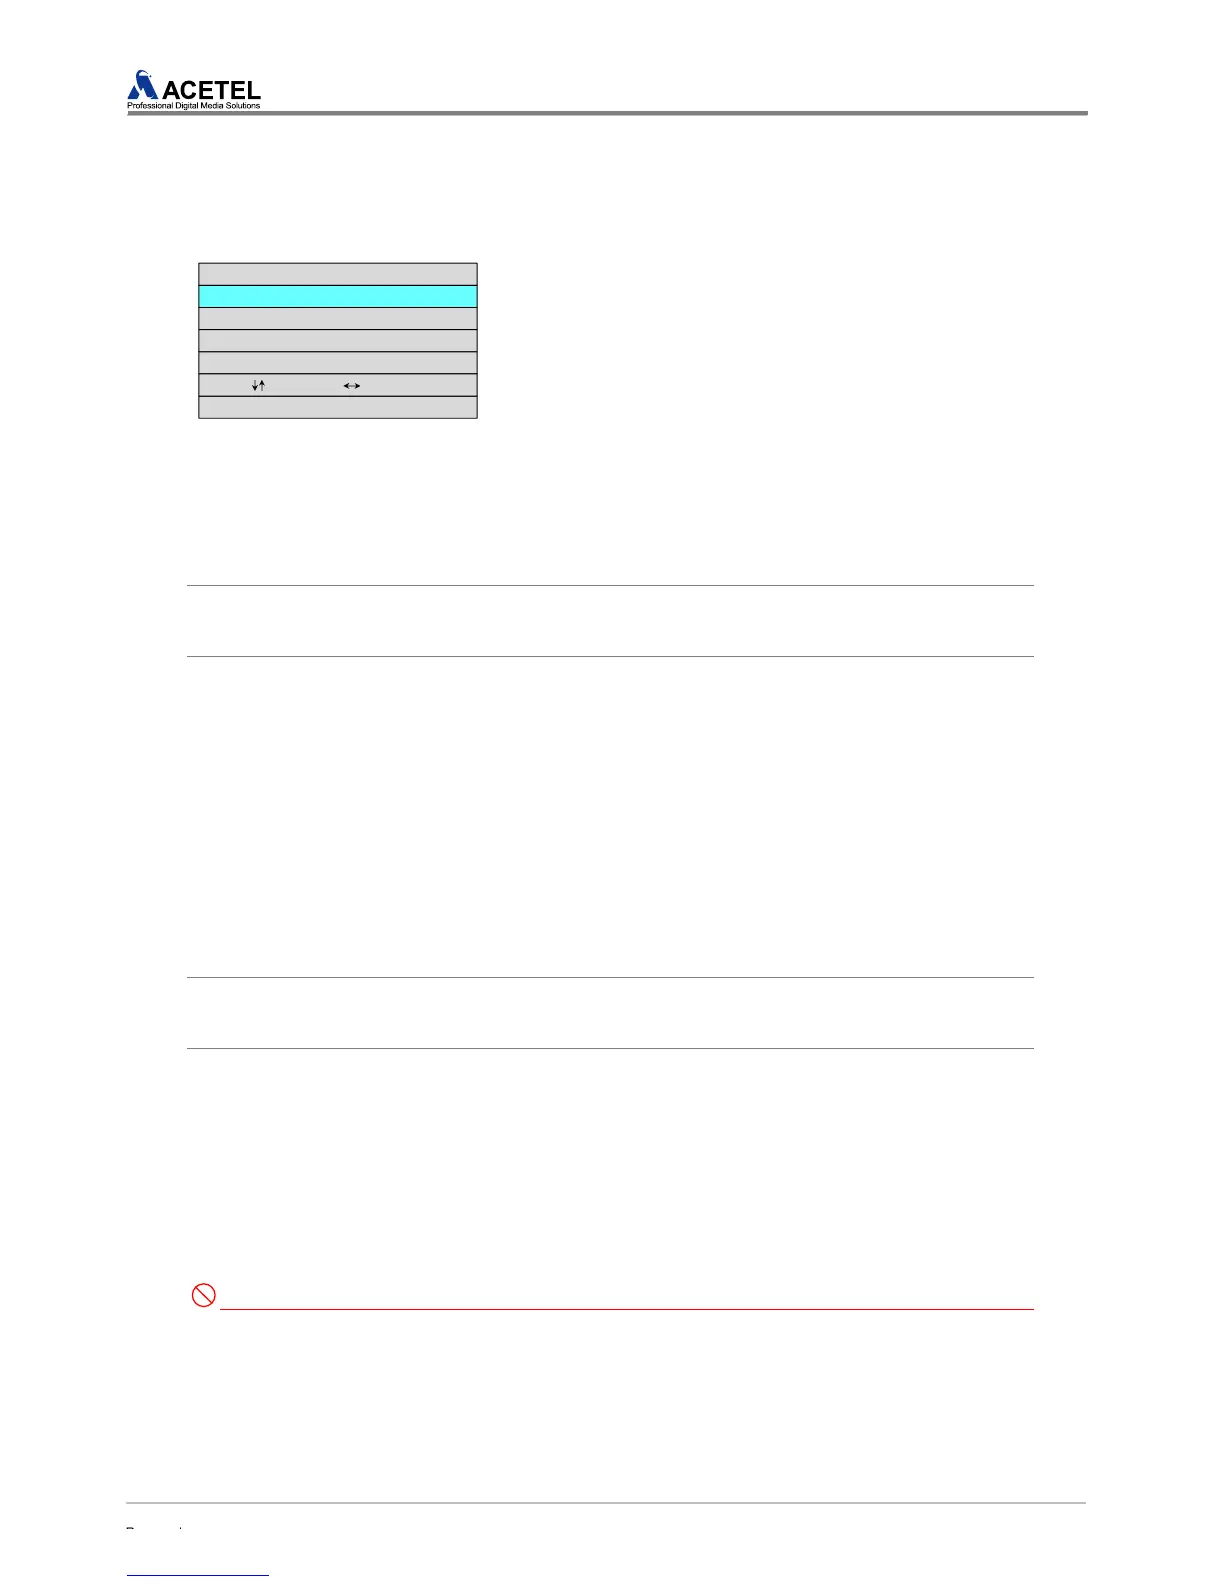
[Figure 32] CURRENT TIME
SETUP
[CURRENT TIME SETUP]
DATE : 12/11/13 (DATE FORM : MM/DD/YY)
TIME : 15:25:40 (TIME FORM : HH:MM:SS)
NUM(1~10) : 1~0 ENTER : Select
APPLY
CANCEL
: Move(ADJUST) : Contents



 To Next Page