Chapter3 Installation / 19
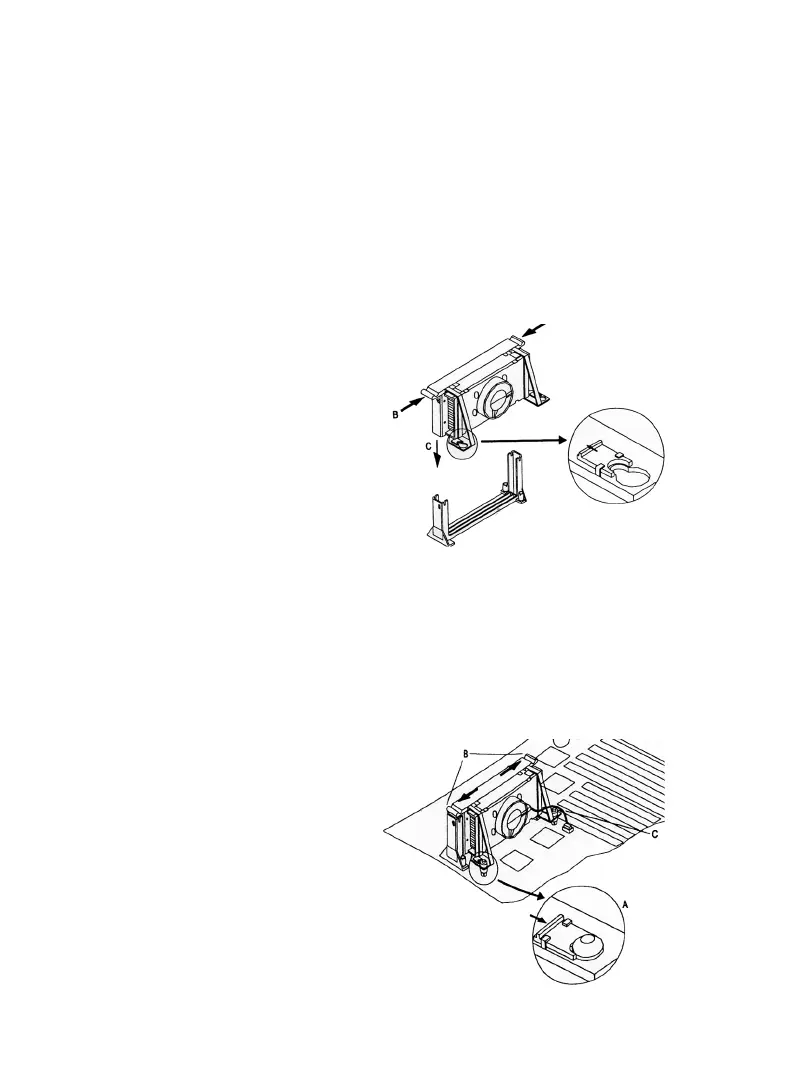
3. Slide the clip (A) as shown on each support toward the processor,
exposing the hole that will fit over the peg on the mainboard .
Push the latches (B) on the processor toward the center of the
processor until they click into place.
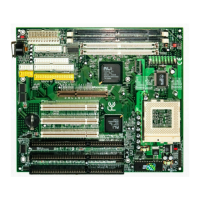
4. Hold the processor so that the fan shroud is facing toward the
pegs on the main board. Slid the Processor ( C ) into the Reten-
tion Mechanism and slide the supports onto the pegs. Make sure
that the pegs on the main
board slide into the holes
in the heatsink support and
that alignment notch I the
processor fit over the plug
in Slot 1. Push the proc-
essor down firmly, with
even pressure on both
sides of the top, until it is
seated
5. Slide the clips on the support (A) forward until they click into
place to hold the pegs securely. (Apply slight pressure on the
peg and push the peg toward the clip while pushing the click
forward) Push the latches in the processor ( B ) outward until
they click into place in the Retention Mechanism. The latches
must be secured for
proper electrical of the
processor.
6. Attach the small end of
the power cable to the
three-pin connector in
the processor, then attach
the large end to the three-
pin connector on the main
board.