HARDWARE MANUAL
24
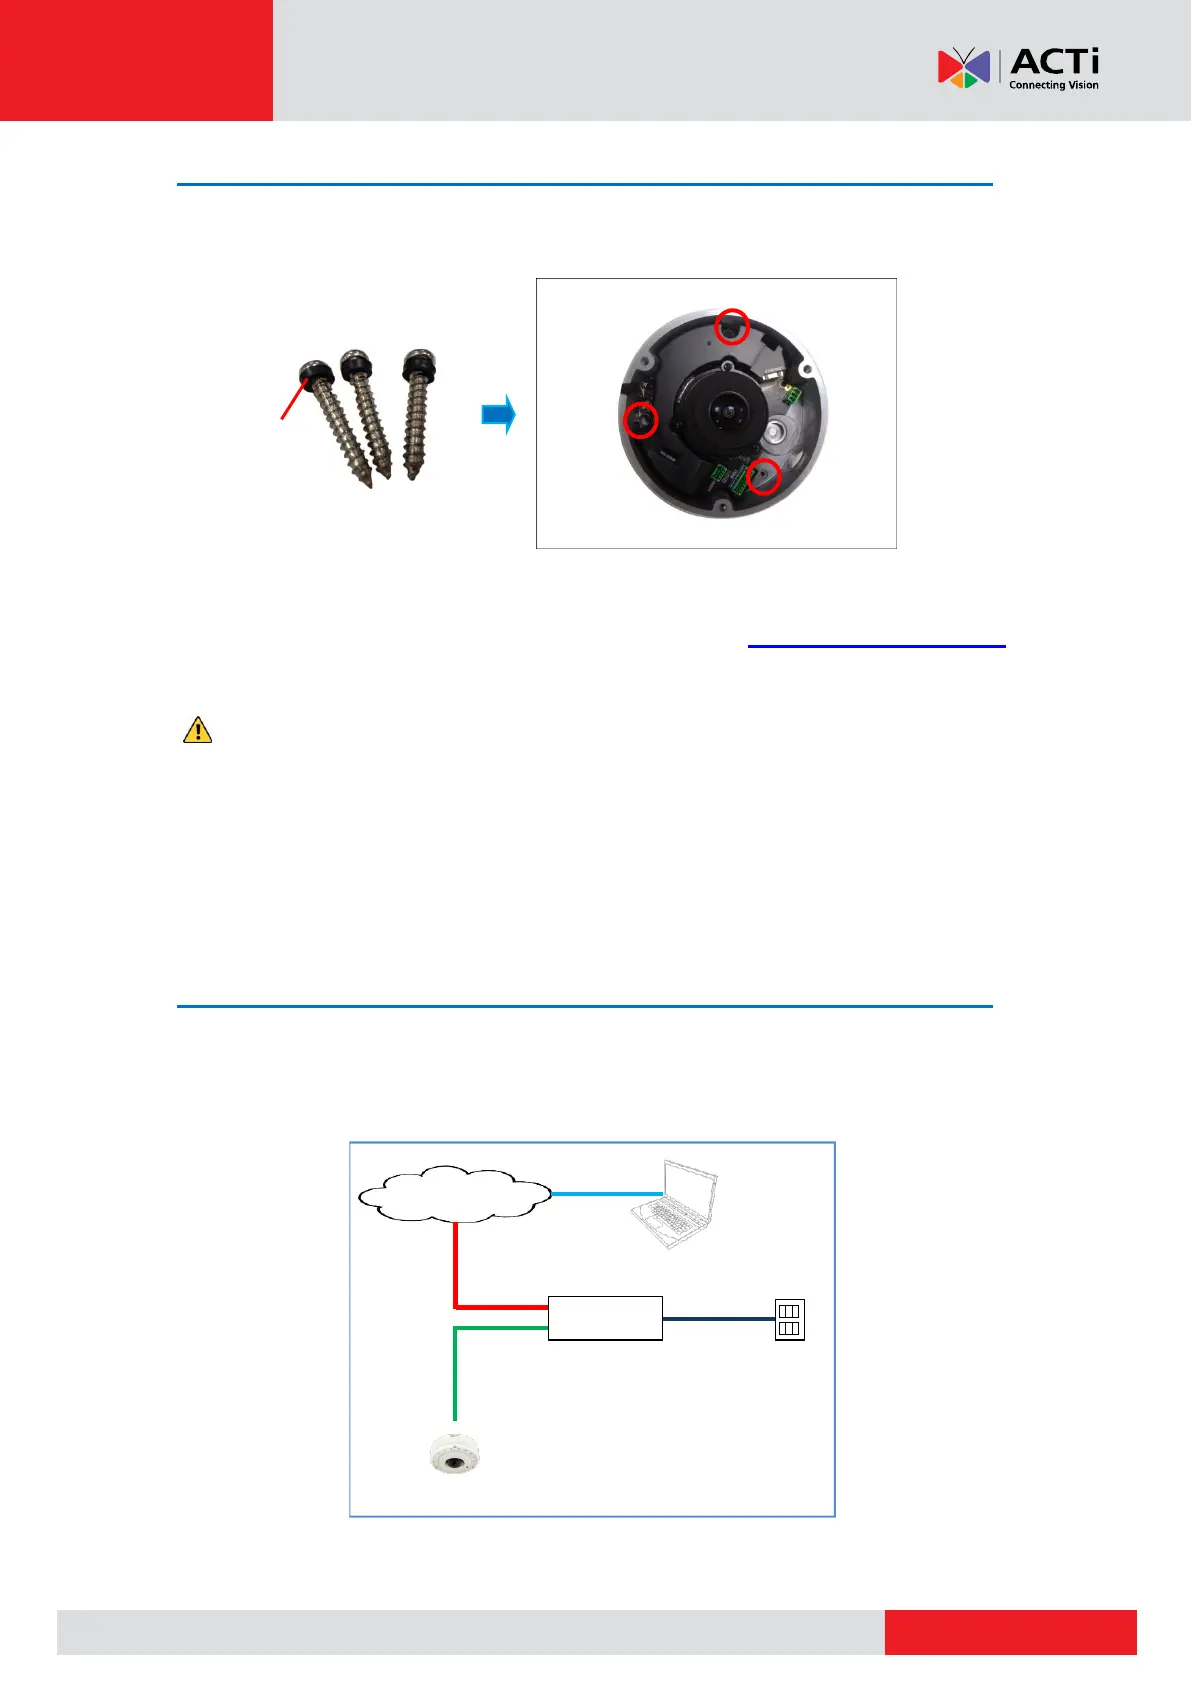
Step 4: Install the Camera to the Surface
Attach the camera to the surface using the three (3) supplied screws. It is recommended to
install the camera to the surface with the cable hole facing down to avoid water leak concerns.
NOTE: Make sure the camera screws have rubber rings. If the screws you received do not
have rubber rings, please contact your local sales agents or our Customer Help Desk (CHD)
for support.
CAUTION: When using electric screwdrivers, be careful not to touch the internal
camera components while attaching the screws. Since electric screwdrivers vary in sizes,
speed, and force, they may bruise and damage the internal camera components.
DISCLAIMER: ACTi will not be responsible for camera damage caused by improper
installations or the misuse of equipment for installation.
Step 5: Connect Camera to Network
Connect the other end of the network cable to a switch or injector. Then, connect the switch or
injector to a network or PC and a power source. See Power-over-Ethernet (PoE) example
connection diagram below.
PoE Injector /
PoE Switch
Ethernet Cable
(Data + Power)