Hardware Manual
23
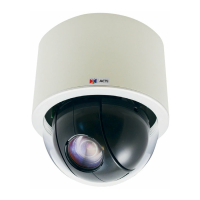
7. Tighten the screw on the fixing bracket to fix the camera position. This is to avoid accidental
camera movement as the camera performs PTZ functions.
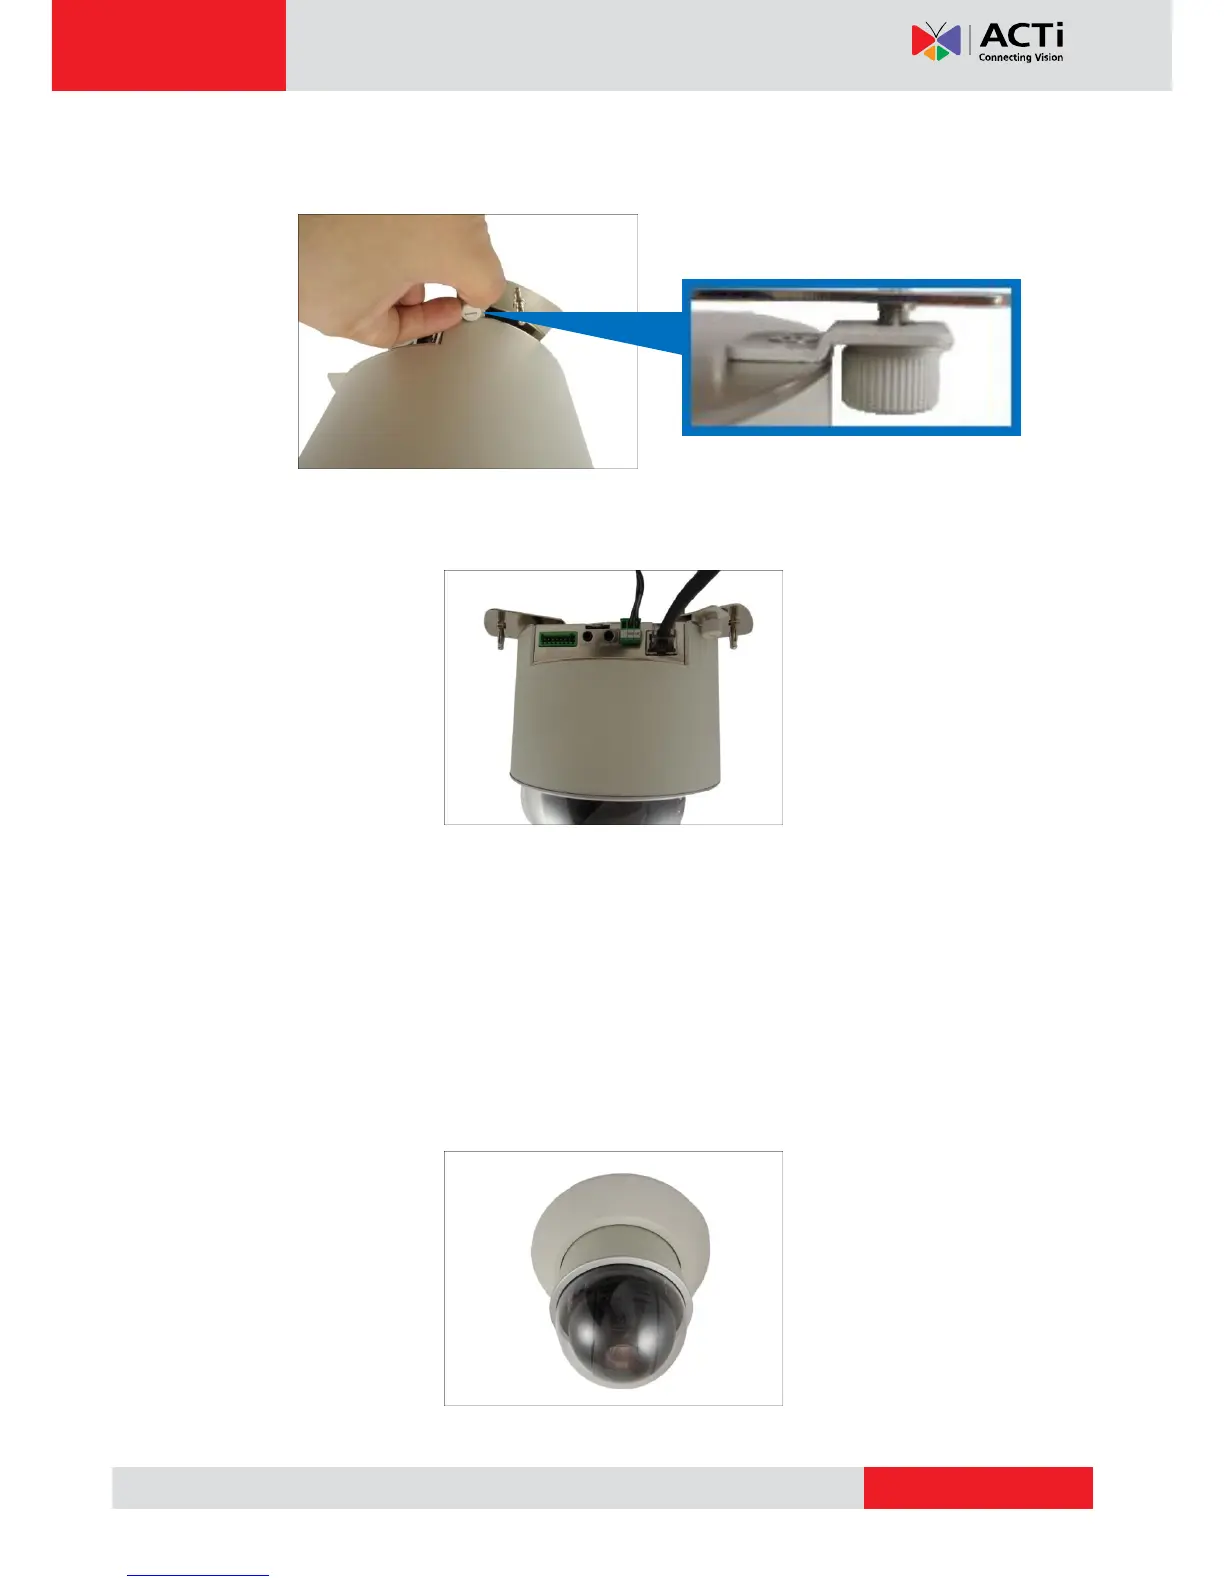
8. Connect the network cable, power adapter and any other cable connections (such as
DI/DO, audio in, etc.) to the camera.
NOTE: The cables may be routed along the ceiling if the camera is installed on a hard
ceiling. Or, the cables may pass through a hole on the ceiling if the camera is installed
on a dropped ceiling.
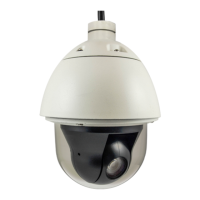
9. Remove the pre-cut tab on the cover ring using pliers.
10. Note that the cables will pass through the cut, align the metal plate hooks onto the holes of
the cover ring and then push to secure it in place.
Final installation would look similar to the picture below.