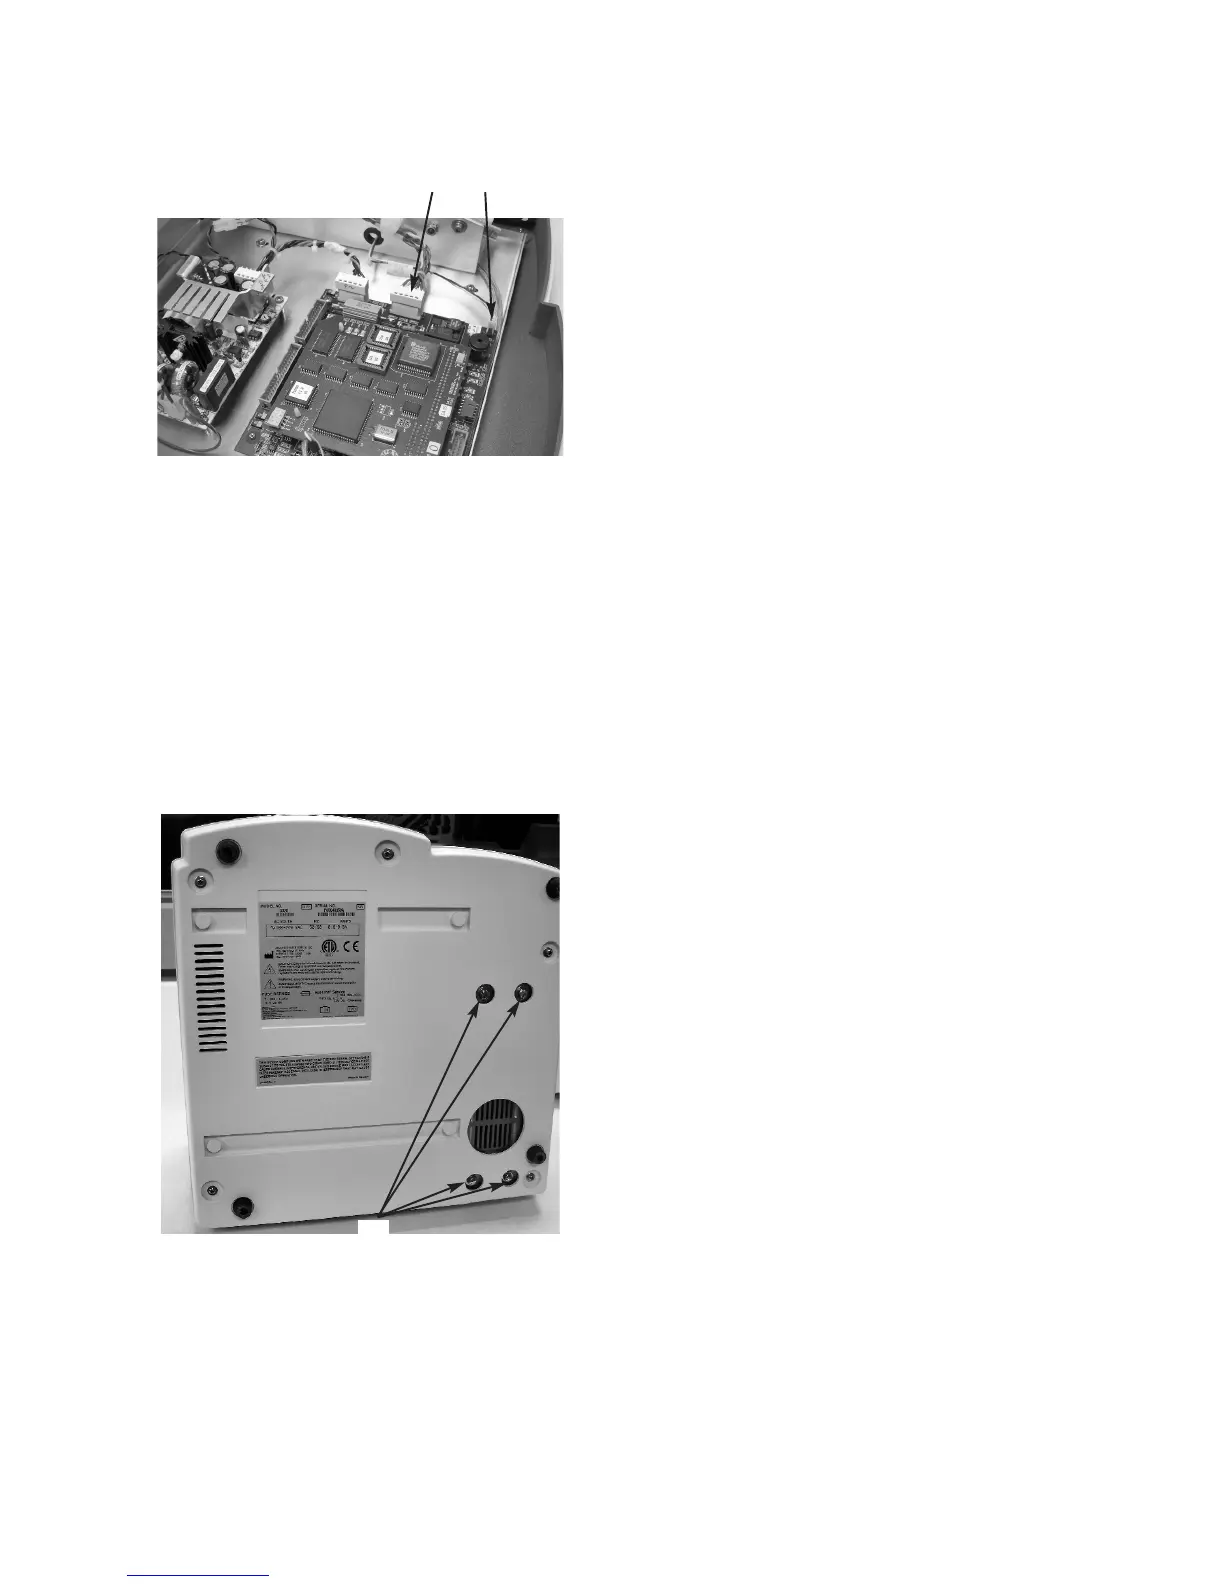
9. Reposition the base assembly to permit
access to the four screws (M) on the bot-
tom that secure the sample handling
assembly. Remove the sample handling
assembly.
10. Position the new sample handling assem-
bly over the center portions of the slots in
the base assembly. Insert the four screws
and tighten them lightly.
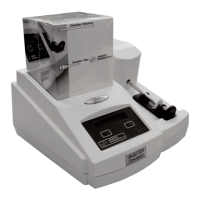
11. Reposition the base assembly upright and
reconnect all cable assemblies by revers-
ing steps 7 and 8.
12. Make sure that the slide plate is posi-
tioned toward the front of the instrument.
Reassemble the instrument by reversing
step 6, noting the proper pin 1 orienta-
tions for the cables. Position the top
cover so that it extends evenly over the
edges of the bottom cover.
13. Install the sampler cradle into the slot in
the slide plate.
14. Verify that the sampler cradle is centered
in the recess in the top cover. If not,
loosen the four screws and reposition the
sample handling assembly. Also, make
sure that the position of the sample han-
dling assembly permits installation and
removal of the solenoid cover.
15. When the proper position of the sample
handling assembly is obtained, tighten the
four sample handling assembly screws.
16. Install the screws for the top cover and
sampler cradle. Tighten all screws
securely.
17. Reinstall the solenoid cover.
M
332P310 Rev1
(3325 Service Manual)
Page 3 of 3
K
L