98
Each end of each axis must be checked for calibration. If needed, the axis can
be calibrated using the remote control.
You can also take the laser to a service center for calibration.
Check and calibrate in this order:
Check both sides of X axis.
-- If X is within spec, proceed to check both sides of Y.
-- If X needs calibration, calibrate X.
Check both sides of Y axis.
-- If Y is within spec, proceed to final X to Y check.
-- If Y needs calibration, calibrate Y; proceed to X to Y check.
Final X to Y check: compare +X, -X, +Y, -Y.
Check Z and calibrate if necessary.
Checking X axis
1) Place the laser on a flat surface or tripod 100 ft. (30 m) away from a wall.
Position so that -X is facing the wall (this is the side of the laser with the
On/Off key).
2) Turn on the laser.
3) Mark the location of the center of the beamon the wall in using a laser
detector (+X).
4) Rotate the laser 180 degrees so that -X faces the wall.
5) Mark the location of the center of the beam near the first mark so that both
marks are in line, one above the other.
6) This has to be within the stated accuracy of (± 0.01%) ; it means within
10 mm at 100 meters (+/- 3,3 mm at 30 m).
7) If the marks +X and -X are close enough, X axis is within calibration.
The second axis (Y) must then be checked (see later section).
If the marks are not close enough, the X axis needs to be calibrated (see below).
3) Charge for 15 hours.
When LT300 is charging, a red LED appears on the charger.
The LT300 can be charged while working. If electricity is available on the job
site, simply plug in the charger and keep on working.
For optimum life of the battery, it is recommended to charge the battery after
fully discharged. To assure battery life, do not charge over 20 hours.
ALTHOUGH THE LT300 IS WATERPROOF, DO NOT CHARGE
IT WHILE IT IS IN WATER OR SUBMERGED.
Checking and adjusting the LT300
THIS CHAPTER IS VERY IMPORTANT : Here are a few simple
instructions to check your LT300 for calibration. Remember that the laser
is a precision instrument and that it is important that you keep it
calibrated and in proper condition. The accuracy of your work is
completely your responsibility and you should regularly check your
instrument especially prior to important jobs.
How to check and calibrate?
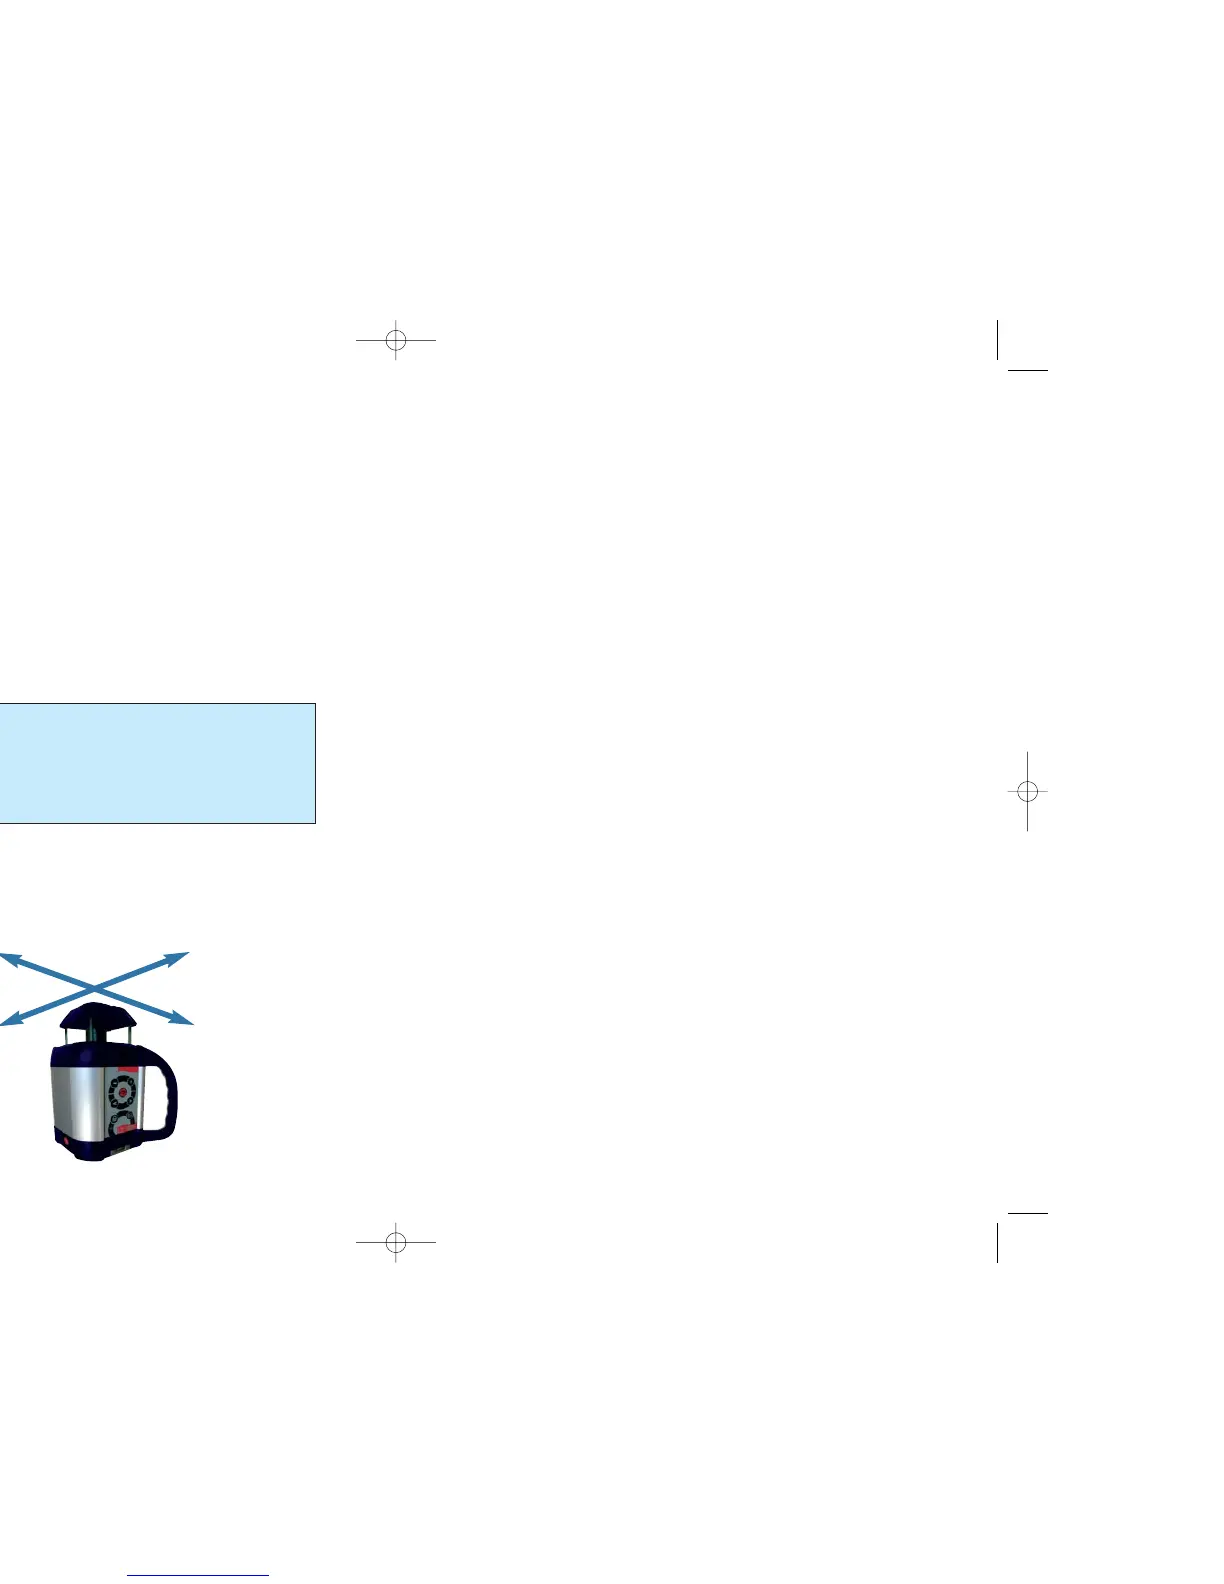
The laser has 3 axes : X and Y (horizontal) and Z (vertical).
The two horizontal axes (X and Y) are marked near the base of the laser.
-Y
+Y
-X
+X