3) If you have not moved the laser, use the Z marks made on previous steps.
4) Use the and arrows on the laser keypad to move the beam up or
down to reach the center of the two marks made in the previous step.
5) Move the beam slightly so that the beam is over the plumb line for the final
check.
6) After completing the Z calibration, press on Auto/Man key in order to save
the datas. To exit from the calibration mode without saving the datas, only
press on On/Off key.
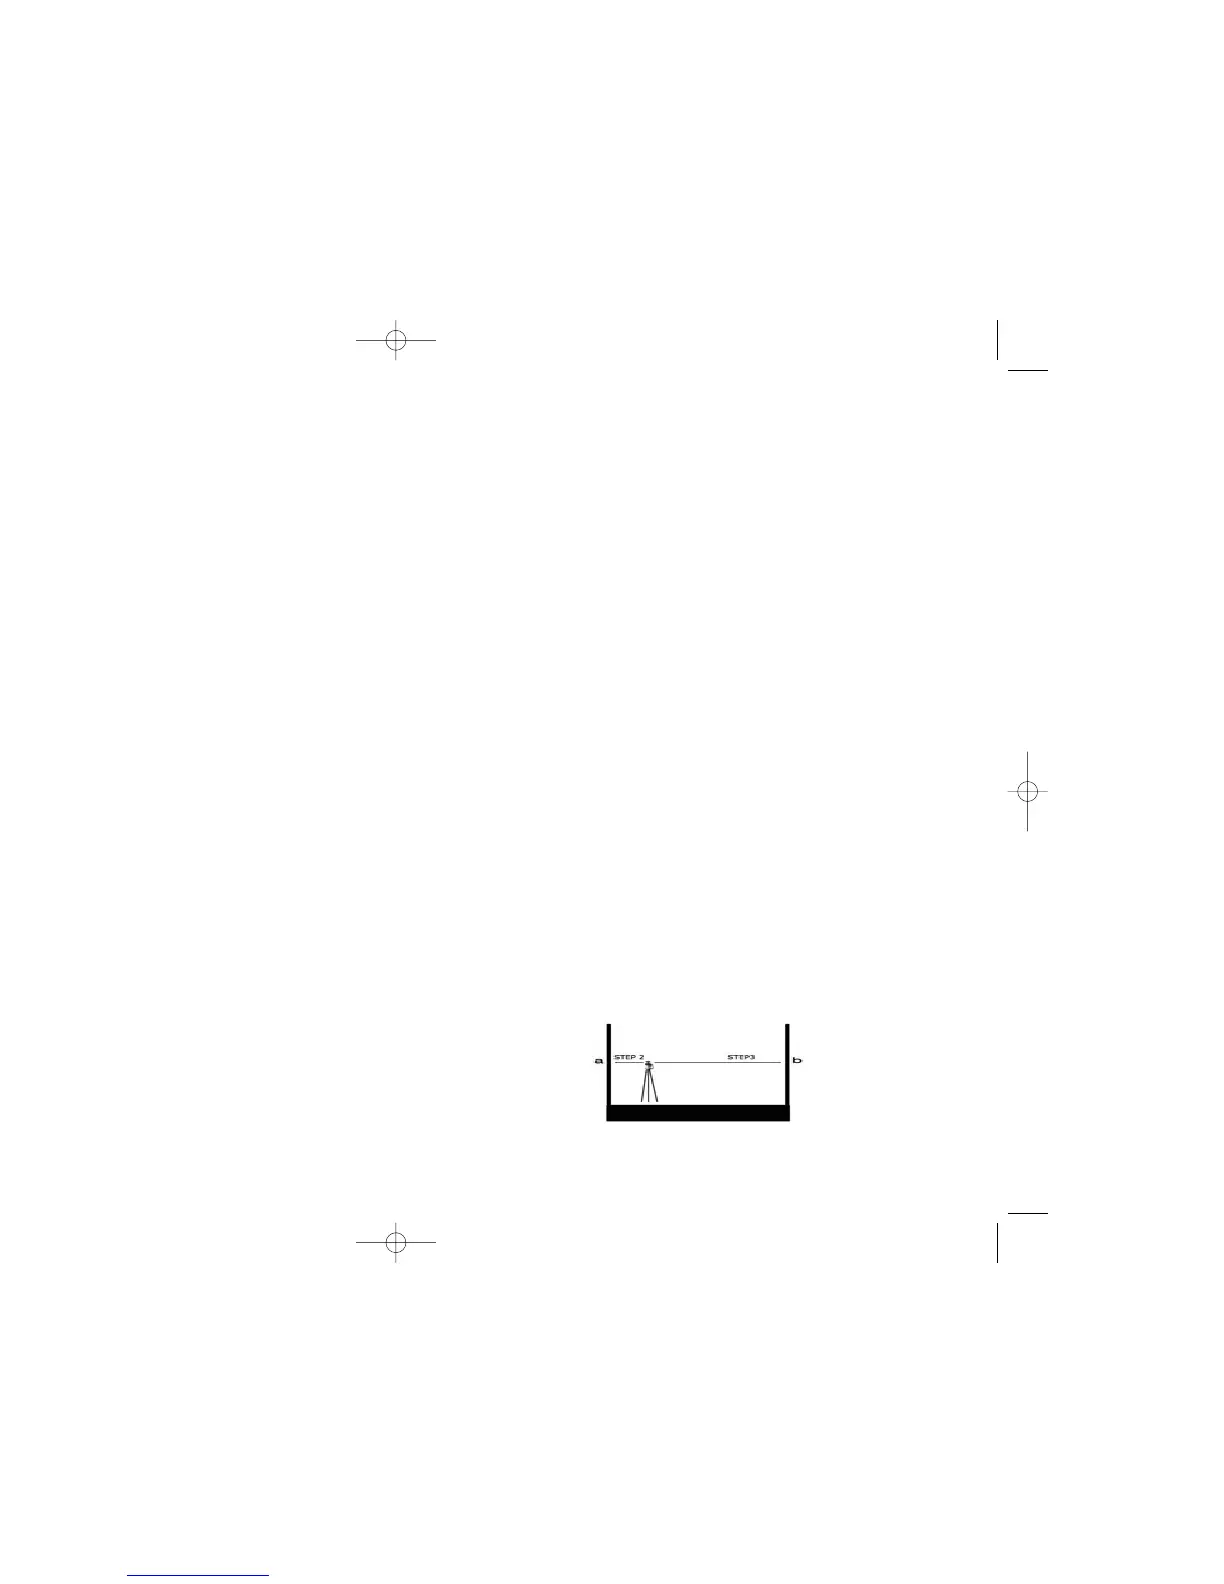
Cone error checking
1) Set up the laser about 2 feet away from a wall (a) or pole and 100 feet from
another wall (b) or pole.
2) Turn the laser on. After it has self-levelled, mark the location of the beam on
the near wall (a). Always mark the center of the beam. If it’s too bright to see
the beam, use a detector.
3) Rotate the laser 180°. Mark the location of the beam on the far wall (b).
4) Now set up the laser about two feet away from the far wall. Mark the beam
(b’) near the first mark (b).
5) Rotate the laser 180°. Mark the location of the beam on the other wall (a’),
near the first mark (a).
6) Compare the two sets of marks on the walls. If the difference between aa’-bb’
exceeds 1/4”, contact your local service center.
<
<
1312
Final X to Y Check
As a final check of the horizontal axes, compare X and Y axes to each other to
be sure that your adjusted calibration is within the specs of ± 1/8”. The marks
for +X and -X, +Y, and –Y should be no more than 1/4” apart. If X and Y are
within spec, proceed to checking Z axis.
Checking Z axis
1) Place the laser in vertical mode, on a solid, stable surface about 20 ft. away
from a plumb line (plumb bob or heavy object hanging on a string, at least 8
ft. high). You will be comparing the rotating beam to the plumb line. If you
need to calibrate, the beam will be easier to see in a darkened room.
2) Rough level the laser using the adjustable feet to center the bubble in the
vertical vial.
3) Turn on the laser.
4) Use either scan or rotation mode. Using the scanning beam is easier, but if
you cannot see the beam, work in rotation mode with a detector.
5) Move the scan to the wall over the plumb line, using the left < and > right
arrows. You can also slide the laser left or right to line up the beam over the
plumb line.
6) Move the scan up and down the entire length of the plumb line. If the beam
is slanted, and not vertical like the plumb line, the Z axis needs to be calibrated.
Calibrating Z axis
The laser must be calibrated to bring the rotating Z beam parallel to the plumb
line. Calibration is electronic, using the keys on the laser keypad or on the
remote control.
1) Press on on/off key to turn the laser on.
2) Press on HI Alert key until the led light indicator located near the H.I. Alert
key be on. Release Auto/Man. Then press the key “Tilt” (1). The (9) led indicator
will blink to inform you that your laser is now ready to be calibrated on axis Z.
Press on scanning key (3) to start rotation.
<
<