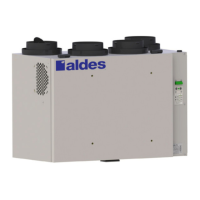
Residential HRV/ERV
20
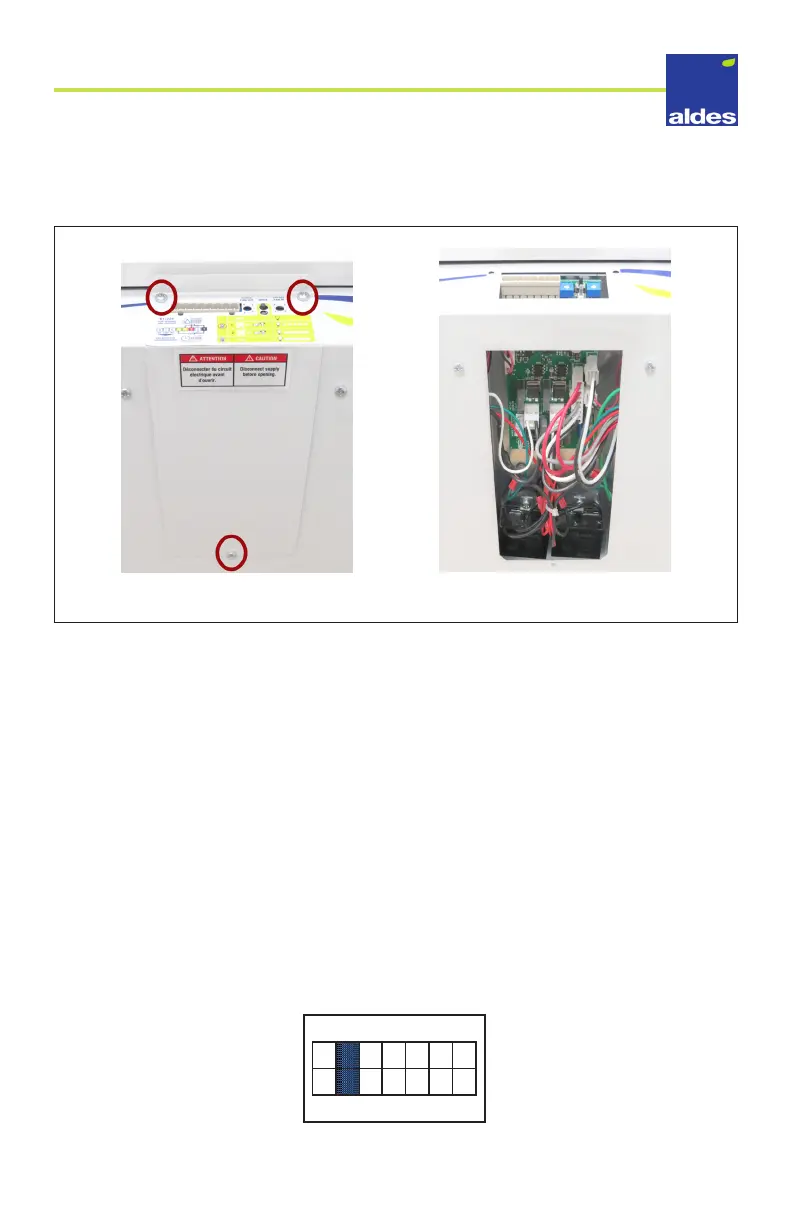
3. Using a Phillips head screwdriver, remove the three screws that secure the metal control
board cover.
Removing the screws
4. With the cover removed, locate the jumper pins on the control board. These are
positioned just behind the motor speed dials on the front of the unit. In the next few
pages, you will nd how to set the jumpers to enable or disable your options.
5. In order to congure the dierent modes available for the unit, you will need to move
dierent jumpers in the Options jumper block. It is the block with jumpers pins rang-
ing from 1 through 7. Below are the congurations for the dierent options available.
5a) Defrost modes
» By default, the HRV/ERV is congured for Normal Defrost, with no jumpers on pin
sets 5 and 6. Normal Defrost is optimized for most climate zones. The unit will
automatically protect the core from frost build up by periodically switching to high
speed recirculation or exhaust.
» For extremely cold climates, you can choose the Extended Defrost option which
increases the time in which the unit stays in the defrost cycle. To activate the
Extended Defrost option, position a jumper on the conguration port 6 and make
sure it connects boths pins in the row.
FICHE DE POSITIONNEMENT DES JUMPERS - RÉSIDENTIEL
FICHE DE POSITIONNEMENT DES JUMPERS RÉSIDENTIEL - JUIN 2019 - V1.0
ALD-VRC-RES : 699039 - 699040 - 699041 - 699042
Dégivrage prolongé
7 6 5 4 3 2 1