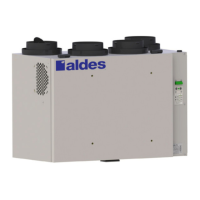
Residential HRV/ERV
27
3. Screw the back side of the control panel to the wall. Use the mounting screws to
secure the plastic lid and button into place.
The HRV/ERV, eliminates excess humidity by switching to high-speed exchange mode
whenever the realtive humidity in the room rises above the Dehumidistat’s setting. To
disable the Dehumidistat (for example on a hot humid day), turn the knob to the highest
set point.
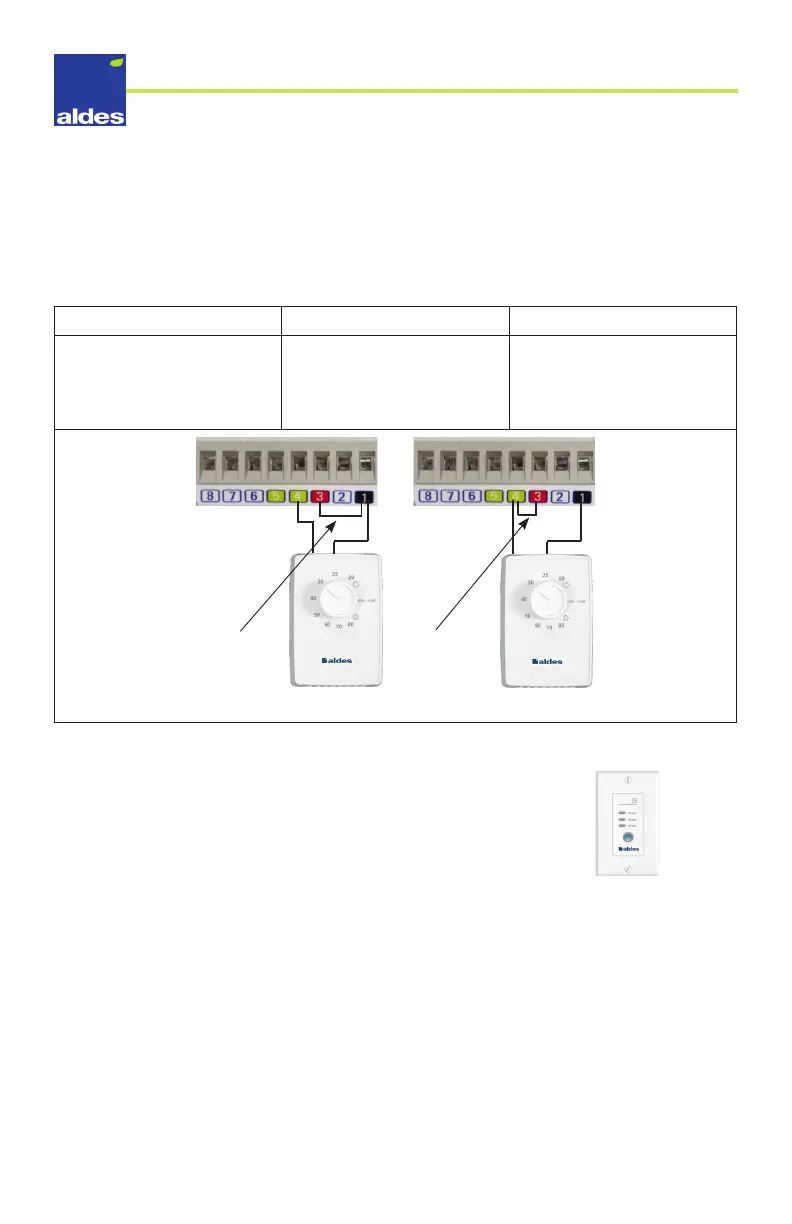
OPTION#1 OPTION #2 OPTION #3
All Units: To set the default
to low-speed exchange, add
a jumper between 1 and 3.
Units with recirculation: To
set the default to low-speed
recirculation, add a jumper
between 3 and 4.
Units without recirculation:
To set the default to
“standby/o”, do not add a
jumper.
Cabling
Option 1
Cabling
Option 2
Note: The timer must be connected according to the terminal’s color code.
Installing the 20/40/60 Minute Timer (P/N 611228)
This controller provides the ventilation unit with high-speed
exterior exchange for the following durations:
• 20 minutes
• 40 minutes
• 60 minutes
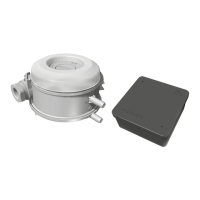
A service box is recommended when installing the timer switch.
1. Run a 3-conductor low-voltage (24V) wire through the wall until it reaches the HRV/
ERV.
2. Connect each conductor to the timer switch according to its respective color.
3. Connect the 3 conductors to the HRV/ERV’s terminal block according to their colors.
4. Screw the back side of the control panel to the wall. Use the mounting screws to
secure the top section into place.
20/40/60 Timer
(P/N 611228)