TM3Service@outlook.com
USA
877 368 8246
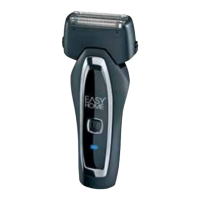
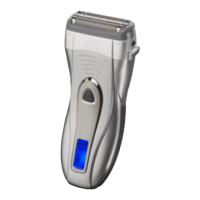
8.
9. Push the shaving foil unit into the shaver head frame
until the hooks
15
audibly lock into the shaver head
frame.
10. Firmly mount the shaver head on the shaver until the
locking mechanism audibly locks into place (see fig.F).
11. Place the protective cap
1
onto the shaver (see fig.A).
Your shaver is now ready for use again.
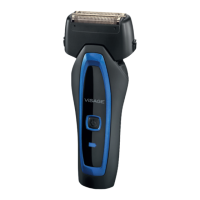
Replacing the shaver blades
We recommend replacing the shaver blades after 12
months of daily use. The two shaver blades must always
be replaced at the same time.
1. Depress both release buttons
4
to release the shav-
er head
2
(see fig. E).
2. Pull the shaver head up and off of the shaver.
3. Pull the shaver blades
3
straight up and out of their
brackets (see fig. I).
4. Dispose of the used shaver blades as described in the
chapter “Disposal”.
5. Mount the new shaver blades on the brackets.
6. Firmly mount the shaver head
2
on the shaver until the
locking mechanism audibly locks into place (see fig.F).
7. Place the protective cap
1
onto the shaver (see fig.A).
Your shaver is now ready for use again.