13
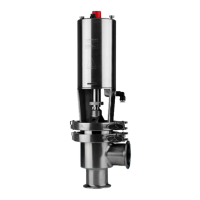
The valve plug jerks The sealings seize Lubricate:
- O-rings (2)
- O-ring (5) and the inside of
cylinder (3)
- Lip seal (14)
Product leakage Worn/product affected lip - Replace the seals
at stem and/or clamp seal (14) and/or seal ring (17) - Replace with seals of a
different rubber grade
Product leakage - Worn/product affected - Replace the seal ring
(closed valve) plug seal ring - Replace with a seal of a
different rubber grade
- Loose plug parts - Tighten the loose parts
(vibrations)
- Product deposits on - Frequent cleaning
the seat and/or plug
Product leakage - Worn actuator O-rings - Replace the O-rings
(too high pressure or too - Too small actuator or - Replace with a larger actuator
small actuator) actuator spring (for valve sizes 38 - 63.5 mm
(1½ - 2½))
- Fit a stronger spring
- Use auxiliary air on the spring
side (NOT-element)
Water hammer The flow direction is the - The flow direction should be
same as the closing direction against the closing direction
- Fit a damper on the valve
(optional extra)
- Use auxiliary air on the spring
side (NOT-element)
The valve does not - Faulty clip assembly (11) - Replace the clip assembly
open/close - The pressure on the plug - Reduce the pressure
plug is too high - Fit stronger spring/larger
actuator
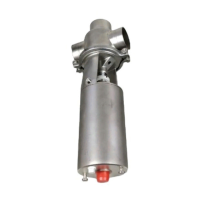
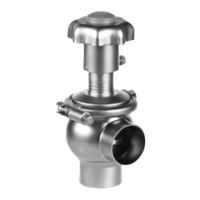
Study the instructions carefully.
The items refer to the drawings and the parts list the on
pages 22-37.
Problem Cause/result Repair
Pay attention to possible faults.
2. Fault finding
NOTE!
Study the maintenance instructions carefully
before replacing worn parts. - See page 15!
Operation