9
1
3
2
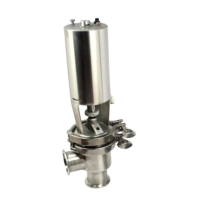
The valve can be fitted with the top units LKT-N and
LKT-S. It can also be fitted with an indication unit.
Study the instructions carefully and pay special
attention to the warnings!
The items refer to the drawings and the parts list on
pages 42-43.
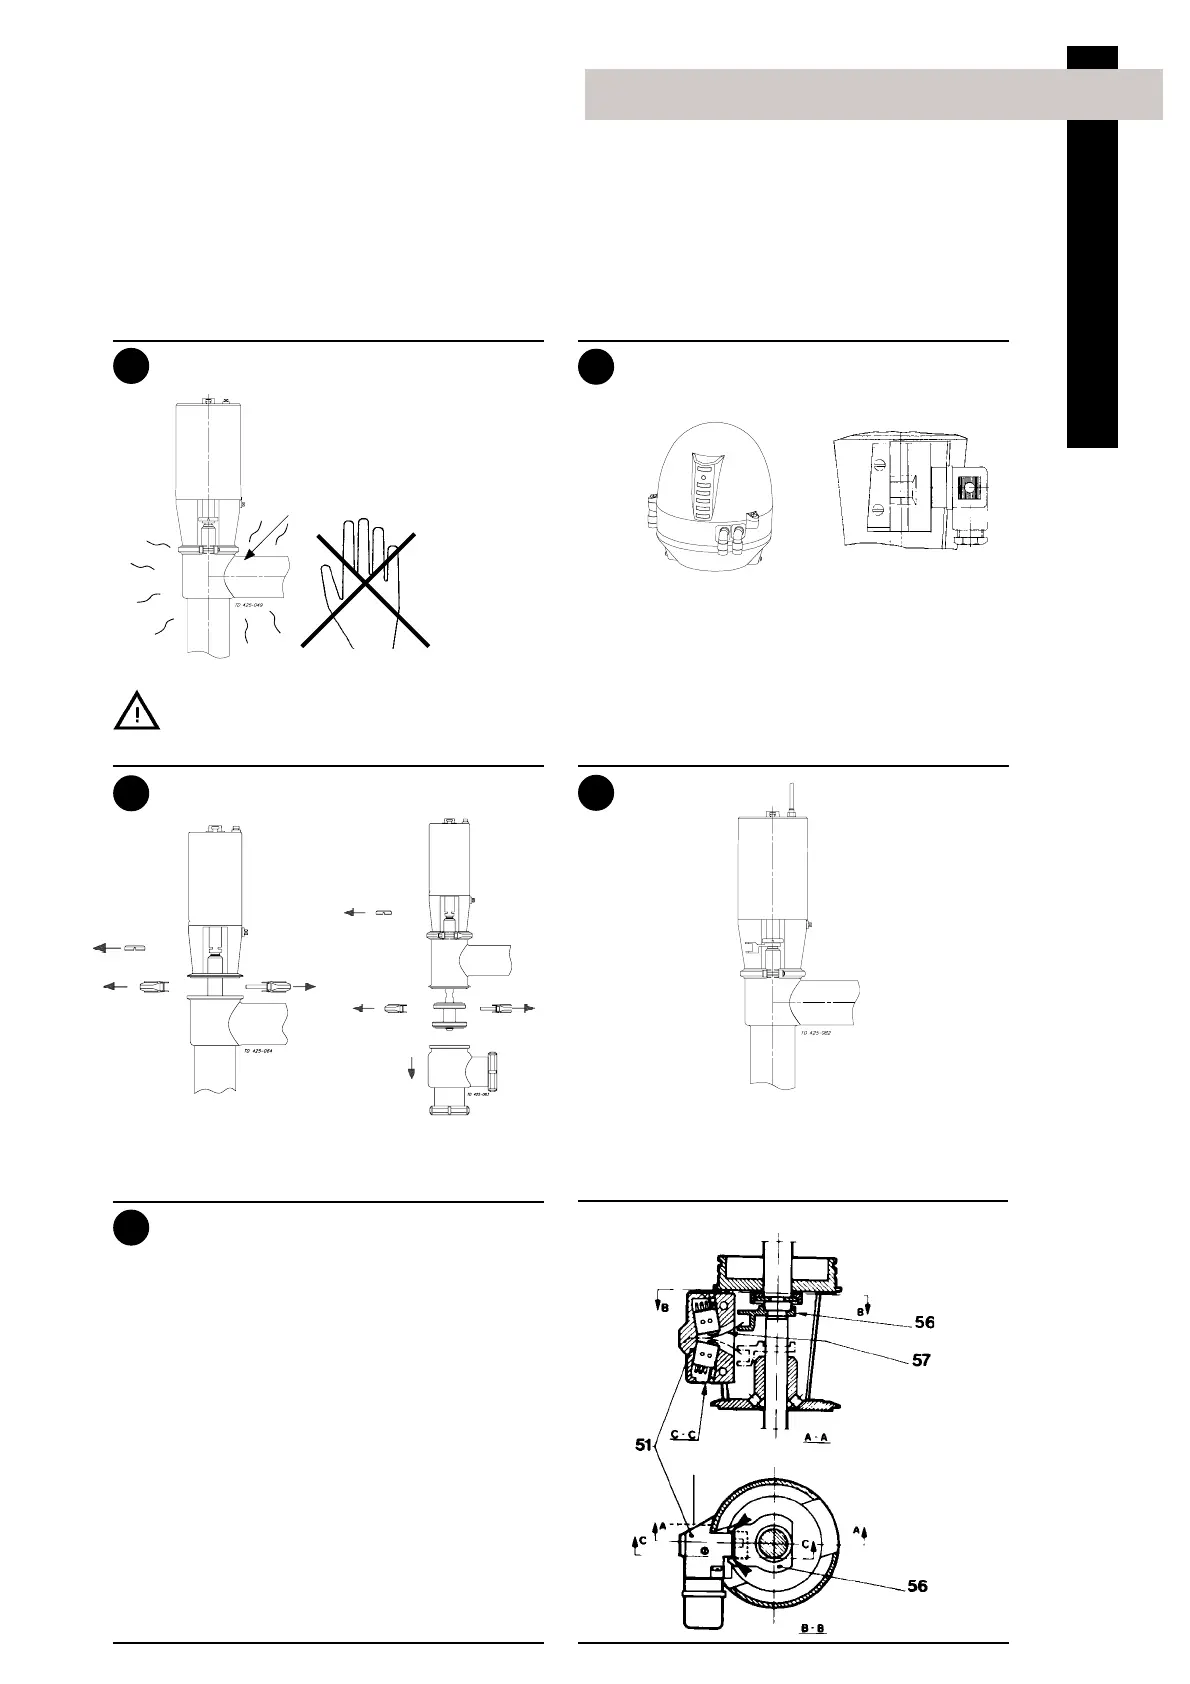
5. Fitting indication equipment, 25-101.6 mm/DN25-100, optional extra
5
4
58
Change-over valve
Indication unit
1. Fit ring (56) on the plug stem.
2. Assemble the valve in accordance with the
instructions 3-6 on page 18.
Pay special attention to the warnings!
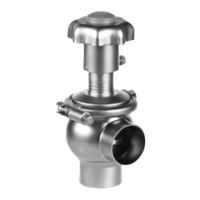
Stop valve
Dismantle the valve in accordance with the
instructions 1-4 on page 17.
Pay special attention to the warnings!
- Never dismantle the valve when it is hot.
- Never dismantle the valve with valve and
pipelines under pressure.
Burning
danger!
Installation
CAUTION!
The indication and control equipment must be
electrically installed by authorized personnel.
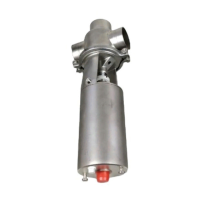
- Top unit ThinkTop
®
:
(see the separate instruction manuals).
- Indication unit:
(see the instructions on the pages 9-11).
Micro switch unit:
1. Assemble and fit the switch unit
2. Turn ring (56) so that the edges of holder (51)
guide its movements.
3. Ensure that spring (57) enters the recess in
the ring.
4. Fix the switch unit by means of screws (58).
Atmospheric
pressure required!
ThinkTop
®