Publication 1769-UM009B-EN-P - May 2002
Installation and Wiring 3-11
6. If you feel excessive resistance, make sure that you
disconnected the scanner from the bus and that you removed
both mounting screws (or opened the DIN latches).
7. Before installing the replacement scanner, be sure that the bus
lever on the right-side adjacent module is in the unlocked (fully
right) position.
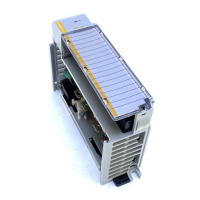
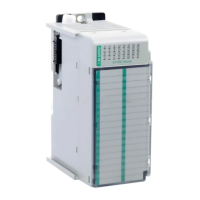
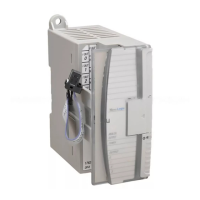
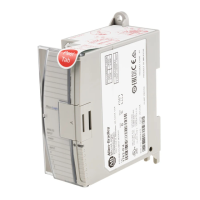
8. Slide the replacement scanner into the open slot.
9. Connect the scanner and modules together by locking (fully left)
the bus levers on the replacement scanner and the right-side
adjacent module or end cap.
10. Replace the mounting screws (or snap the scanner onto the DIN
rail).
11. Replace the DeviceNet cable on the scanner by attaching the
connector to the scanner.
12. Restore scanner configuration using RSNetWorx for DeviceNet.
Field Wiring Connections
Grounding the Scanner Module
This product is intended to be mounted to a well-grounded mounting
surface such as a metal panel. Additional grounding connections from
the scanner’s mounting tabs or DIN rail (if used), are not required
unless the mounting surface cannot be grounded.
Refer to Industrial Automation Wiring and Grounding Guidelines,
Allen-Bradley publication 1770-4.1, for additional information.
TIP
It may be necessary to rock the scanner slightly
from front to back to remove it, or, in a
panel-mounted system, to loosen the screws of
adjacent modules.
IMPORTANT
Be sure that the new module has the same
node address and baud rate as the module that
was replaced.
ATTENTION
!
The grounding screw on the front of the scanner
must be connected to a suitable ground source when
operating in electrically noisy environments. Use a
#14 AWG wire to make this connection.
Allen-Bradley Drives
 Loading...
