AM81687-A
Original Instructions – English
11
The charger used is a diagnostic charger. The Charger LED Lights will illuminate in a specific order to
communicate the current battery status. They are as follows:
False defect note:
When the battery is inserted into the charger, and the status LED flashes RED, remove the battery
from the charger for 1 minute, then reinsert. If the status LED flashes green then the battery pack is
good. If the status LED is still blinking RED, remove the battery pack and unplug the charger. Wait 1
minute and plug the charger back in and reinstall the battery pack. If the status LED blinks GREEN
then the battery pack is good. If the status LED is still blinking RED then the battery pack is defective
and needs to be replaced.
For further information please refer to the charger manual.
For best results, the battery should be charged in a location with a temperature between 7°C (43°F)
and 40°C (104°F).
When using multiple chargers in one location budget that each charger needs a supply of 230V AC at
2.5A input.
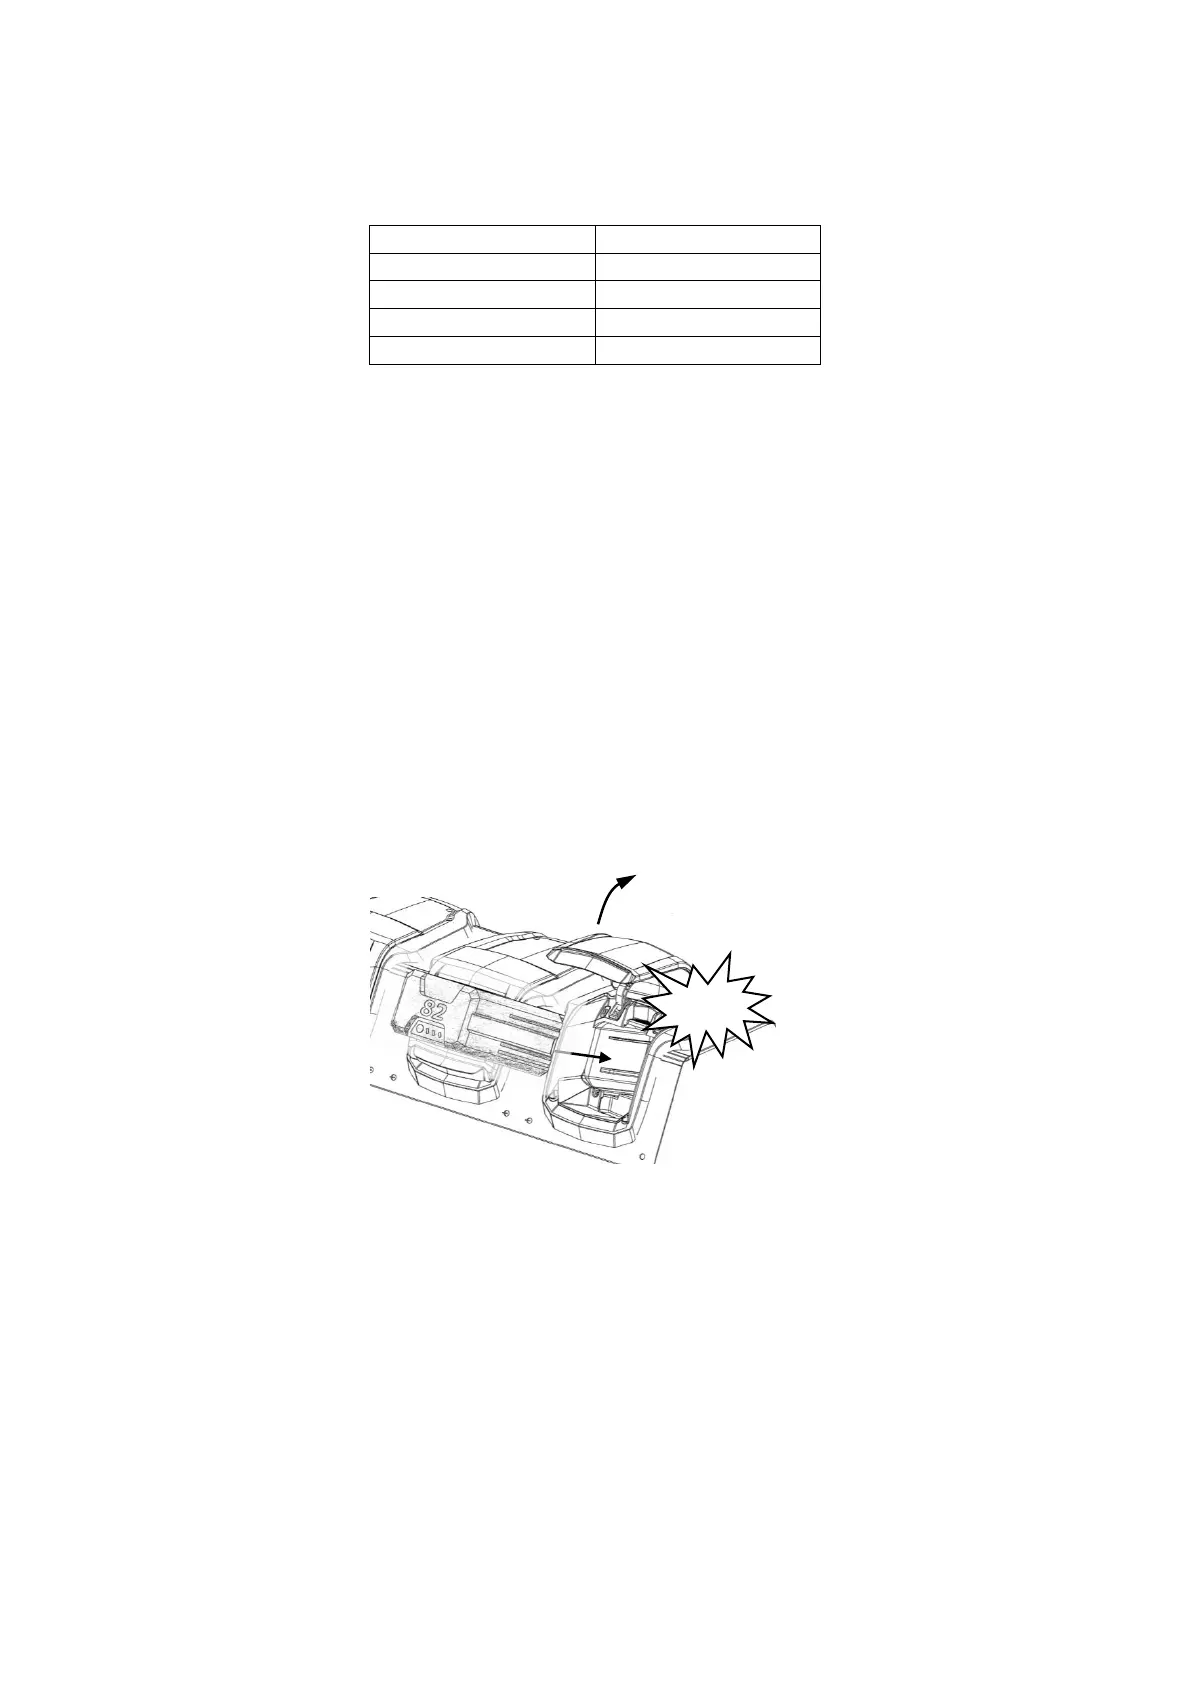
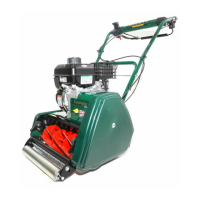
Inserting the battery into the mower
1. Lift and hold up the battery compartment lid.
2. Place the battery in the dock. Align ribs on battery with grooves in the battery compartment.
Make sure the battery release button CLICKS in place and that battery is fully seated and secured in
the dock and the lid is closed before beginning operation.