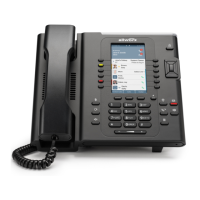
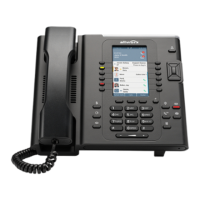
Allworx Phone Model 9212/9212L User Guide
Page 4 +1 866 ALLWORX * +1 585 421 3850
www.allworx.com
Version: J Revised: March 2, 2017
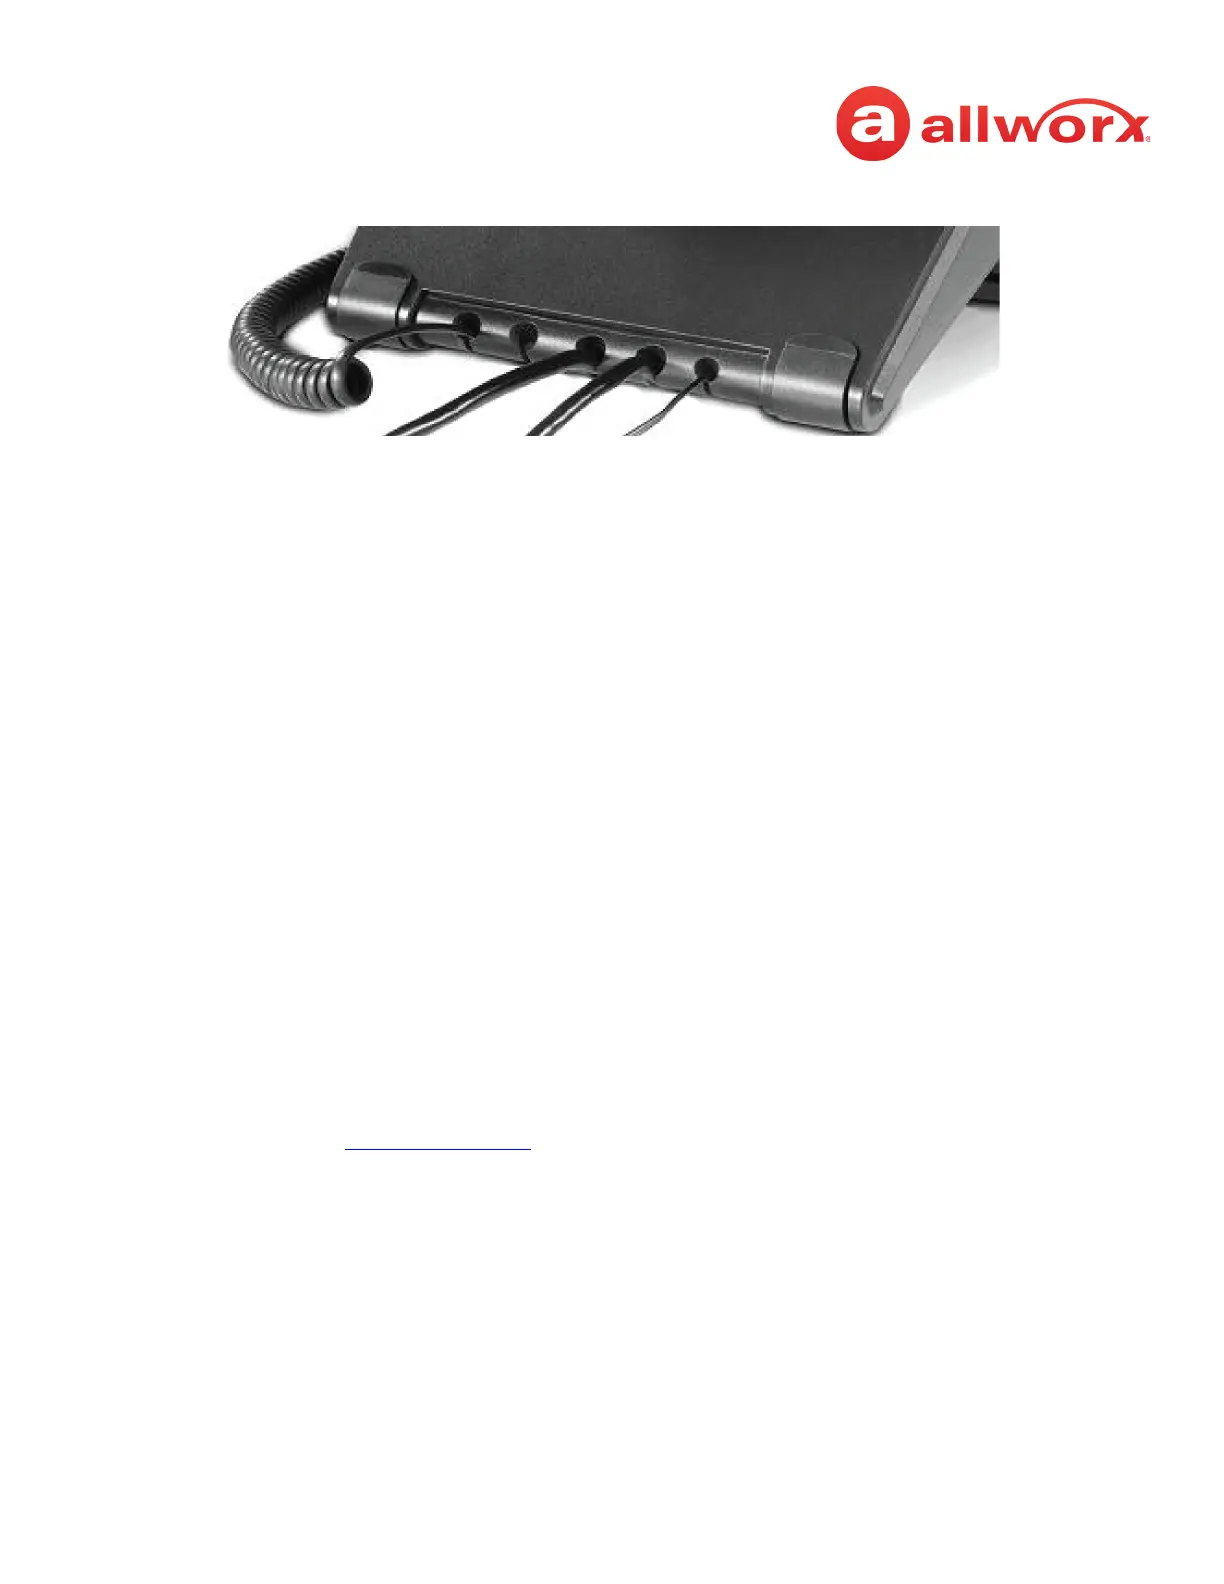
2. Thread cables through the strain relief guide on the phone base.
3. View the initialization progress on the phone screen. A normal sequence includes:
•Allworx Logo
• Configuring Network
• Starting network
• Loading configuration files
• Station Init complete
After successful startup, the phone displays a combination of the date, time, user presence, user
name, and extension or the phone display may suggest assigning the handset to a user. If this
occurs, follow the on screen directions. If the phone does not follow this sequence or displays
an error, contact the Allworx Server Administrator.
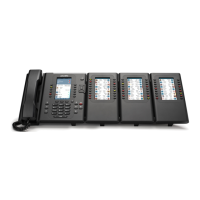
To add or change the PFK (Programmable Function Keys) label:
Update the PFK labels whenever the PFK configuration changes to avoid misdialing.
1. Locate the PFK label. Lift the bottom edge of the plastic cover to release it, and then lift up on
the plastic cover to remove it from the phone.
2. Remove the label from beneath the plastic label cover.
3. Add text on the label in the space corresponding to the desired PFK. There is a blank label
Microsoft Word™ template on the Allworx.com website.
a. Navigate to www.Allworx.com. Click the Support button, and then click Resources.
b. Scroll to the Documentation section and locate the IP Phones section of the table, the
specific phone model section, and then the template.
c. Follow the instructions to create the PFK labels.
4. Position the label onto the plastic label cover. Hold the label in place and snap the cover in place
on the phone.