ALPINE HDA-M80/HDA-F60/HDA-V90 68-44781Z25-A (EN/DE/FR/ES/IT/SE/RU/CS)ALPINE HDA-M80/HDA-F60/HDA-V90 68-44781Z25-A (EN/DE/FR/ES/IT/SE/RU/CS)
3-EN
EN
ES
DE
IT
RU
FR
SE
CS
INSTALLATION
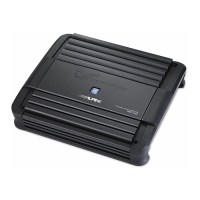
Due to the high power output of the HDA-M80/
HDA-F60/HDA-V90 considerable heat is produced
when the amplifier is in operation. For this reason,
the amplifier should be mounted in a location
which will allow for free circulation of air, such as
inside the trunk. For alternate installation locations,
please contact your authorized Alpine dealer.
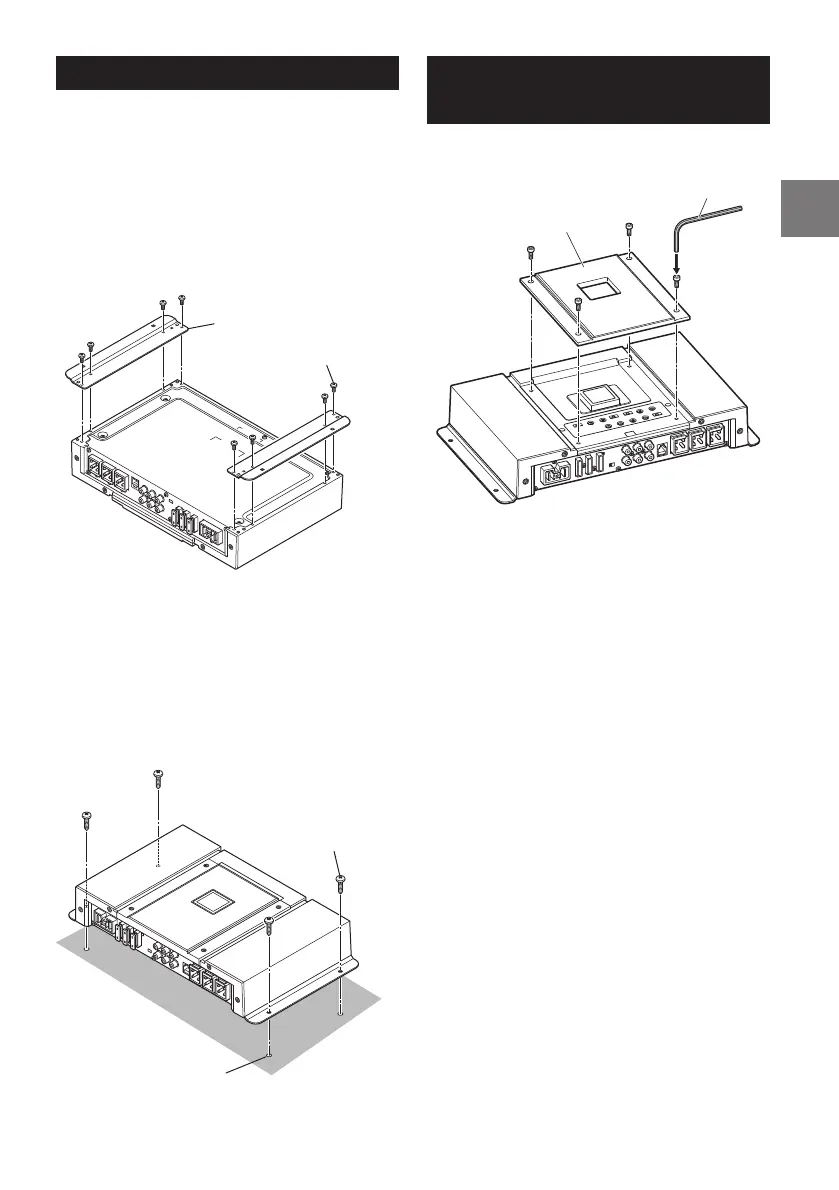
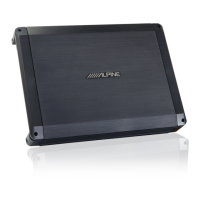
1. Attach the mounting legs to the bottom of the
amplifier with 8 screws.
Screws (×8) (included)
Mounting legs (×2) (included)
(e.g. HDA-V90)
2. Make sure there are no objects behind the
surface that may become damaged during
drilling.
3. Drill the screw holes.
4. Position the HDA-M80/HDA-F60/HDA-V90 over
the screw holes, and secure with 4 self-tapping
screws.
Holes (×4)
Self-Tapping Screws (×4)
(included)
(e.g. HDA-V90)
REMOVING THE TOP
COVER
To use the top inner panel, remove the top cover.
Top cover
Hexagon wrench
(included)
(e.g. HDA-V90)
SERVICE CARE
IMPORTANT NOTICE
This Amplifier has been type tested and found to
comply with the limits for a Class B computing
device in accordance with the specifications in
Subpart J of Part 15 of FCC Rules. This equipment
generates and uses radio frequency energy, and it
must be installed and used properly in accordance
with the manufacturer’s instructions.
SERIAL NUMBER:
INSTALLATION DATE:
INSTALLATION TECHNICIAN:
PLACE OF PURCHASE:
IMPORTANT
Please record the serial number of your unit in
the space provided here and keep it as a
permanent record. The serial number plate is
located on the rear of the unit.
For European Customers
Should you have any questions about warranty,
please consult your store of purchase.
For Customers in other Countries
IMPORTANT NOTICE
Customers who purchase the product with which
this notice is packaged, and who make this
purchase in countries other than the United States
of America and Canada, please contact your dealer
for information regarding warranty coverage.
ACCESSORIES
• Self-Tapping Screw.......................................................... 4
• Mounting leg..................................................................... 2
• Screw....................................................................................8
• Battery Connector ...........................................................1
• Speaker Connector
HDA-M80.........................................................................1
HDA-F60........................................................................... 2
HDA-V90 ..........................................................................3
• Hexagon Wrench......................................................1 SET