TRY IT!
For
110°F
120 °F
130 °F
140 oF
150°F
160°F
170°F
180°F
190°F
Press
Press II
Press
Press
Press
Press
Press
Press I;'11
Press In
ACTUAL PROGRAMMED
TEMPERATURE TEMPERATURE
Cooking to Temperature
19
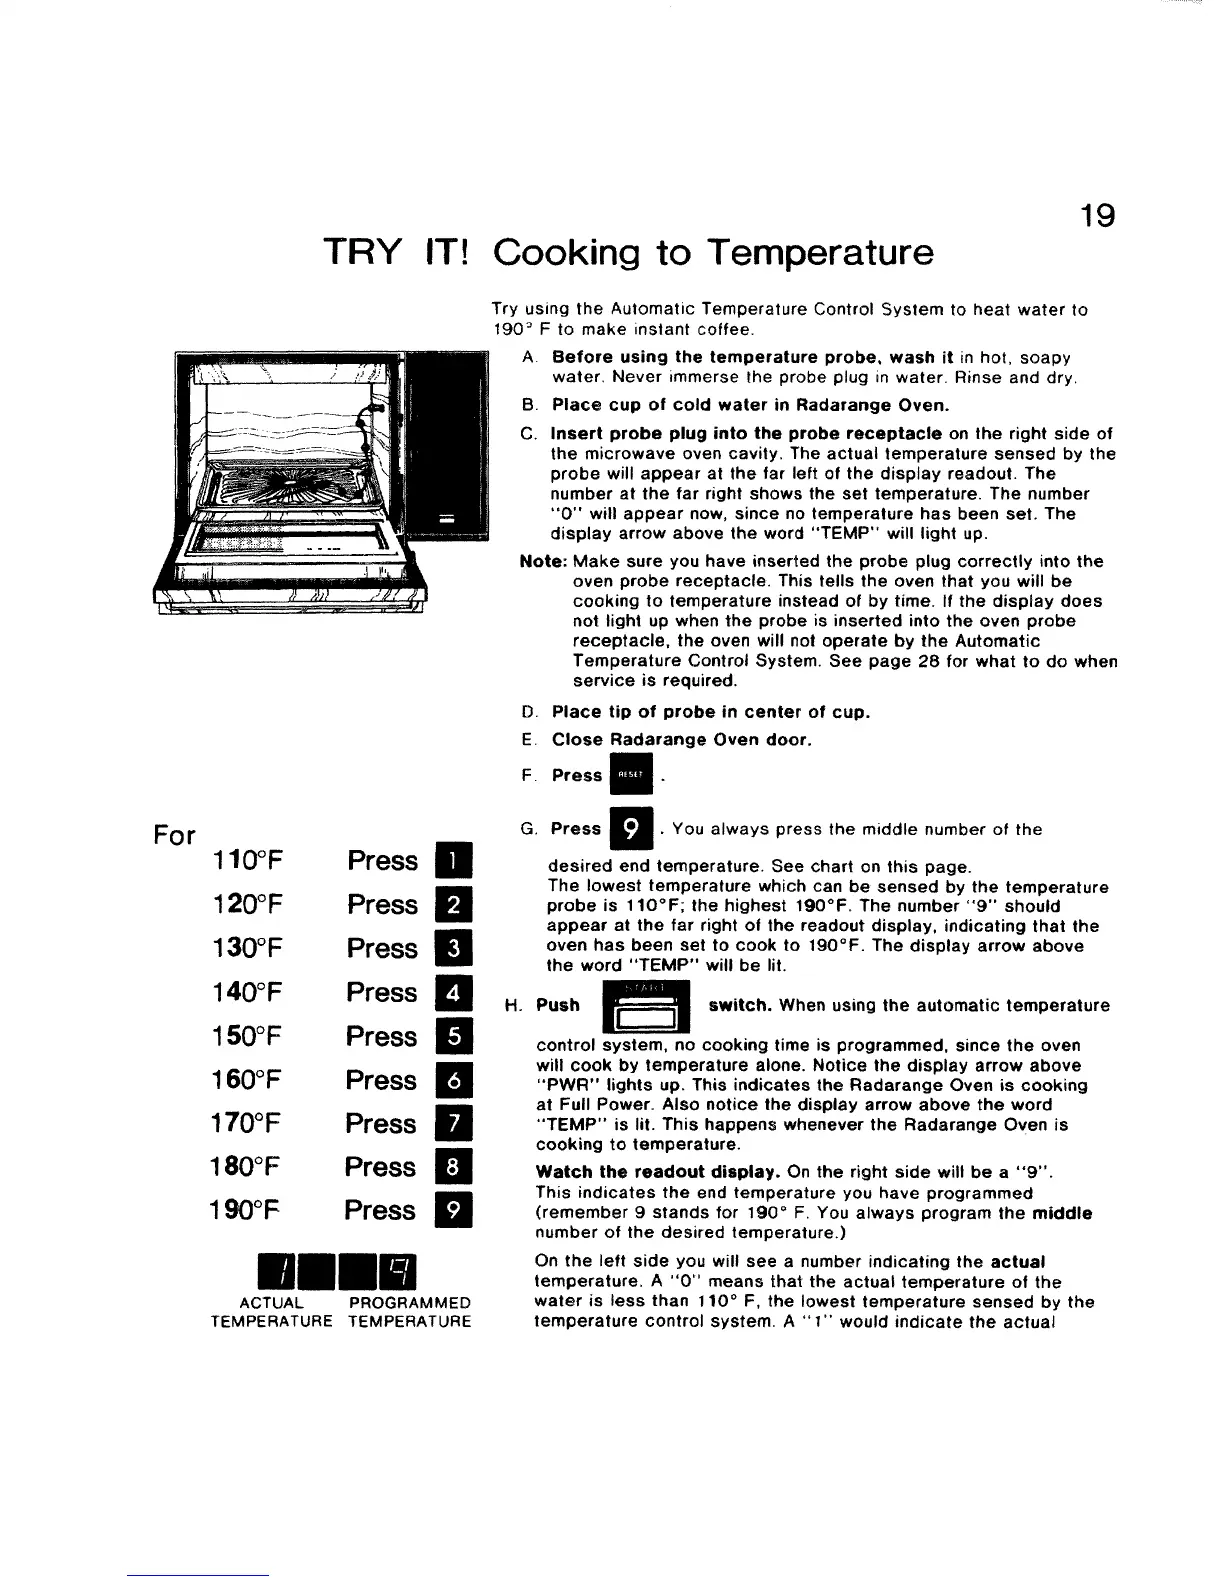
Try using the Automatic Temperature Control System to heat water to
190 _ F to make instant coffee.
A. Before using the temperature probe, wash it in hot, soapy
water. Never immerse the probe plug in water. Rinse and dry.
B Place cup of cold water in Radarange Oven.
C. Insert probe plug into the probe receptacle on the right side of
the microwave oven cavity. The actual temperature sensed by the
probe will appear at the far left of the display readout. The
number at the far right shows the set temperature. The number
"0" will appear now, since no temperature has been set. The
display arrow above the word "TEMP" will light up.
Note: Make sure you have inserted the probe plug correctly into the
oven probe receptacle. This tells the oven that you will be
cooking to temperature instead of by time. If the display does
not light up when the probe is inserted into the oven probe
receptacle, the oven will not operate by the Automatic
Temperature Control System. See page 28 for what to do when
service is required.
D. Place tip of probe in center of cup.
E Close Radarange Oven door.
F. Press
G.
Press You always press the middle number of the
desired end temperature. See chart on this page.
The lowest temperature which can be sensed by the temperature
probe is 110°F; the highest 190°F. The number "9" should
appear at the far right of the readout display, indicating that the
oven has been set to cook to 190°F. The display arrow above
the word "TEMP" will be lit.
H. Push
switch. When using the automatic temperature
control system, no cooking time is programmed, since the oven
will cook by temperature alone. Notice the display arrow above
"PWR" lights up. This indicates the Radarange Oven is cooking
at Full Power. Also notice the display arrow above the word
"TEMP" is lit. This happens whenever the Radarange Oven is
cooking to temperature.
Watch the readout display. On the right side will be a "9".
This indicates the end temperature you have programmed
(remember 9 stands for 190 ° F. You always program the middle
number of the desired temperature.)
On the left side you will see a number indicating the actual
temperature. A "0" means that the actual temperature of the
water is less than t 10 ° F, the lowest temperature sensed by the
temperature control system. A "I" would indicate the actual
 Loading...