Amprobe Europe GmbH AT-2000
- 7 -
Using the R2000 Receiver
1. Turn the R2000 'ON' by rotating the thumbwheel and leave it around
position '5'.
2. Move the range switch to x1 (this is the least sensitive setting).
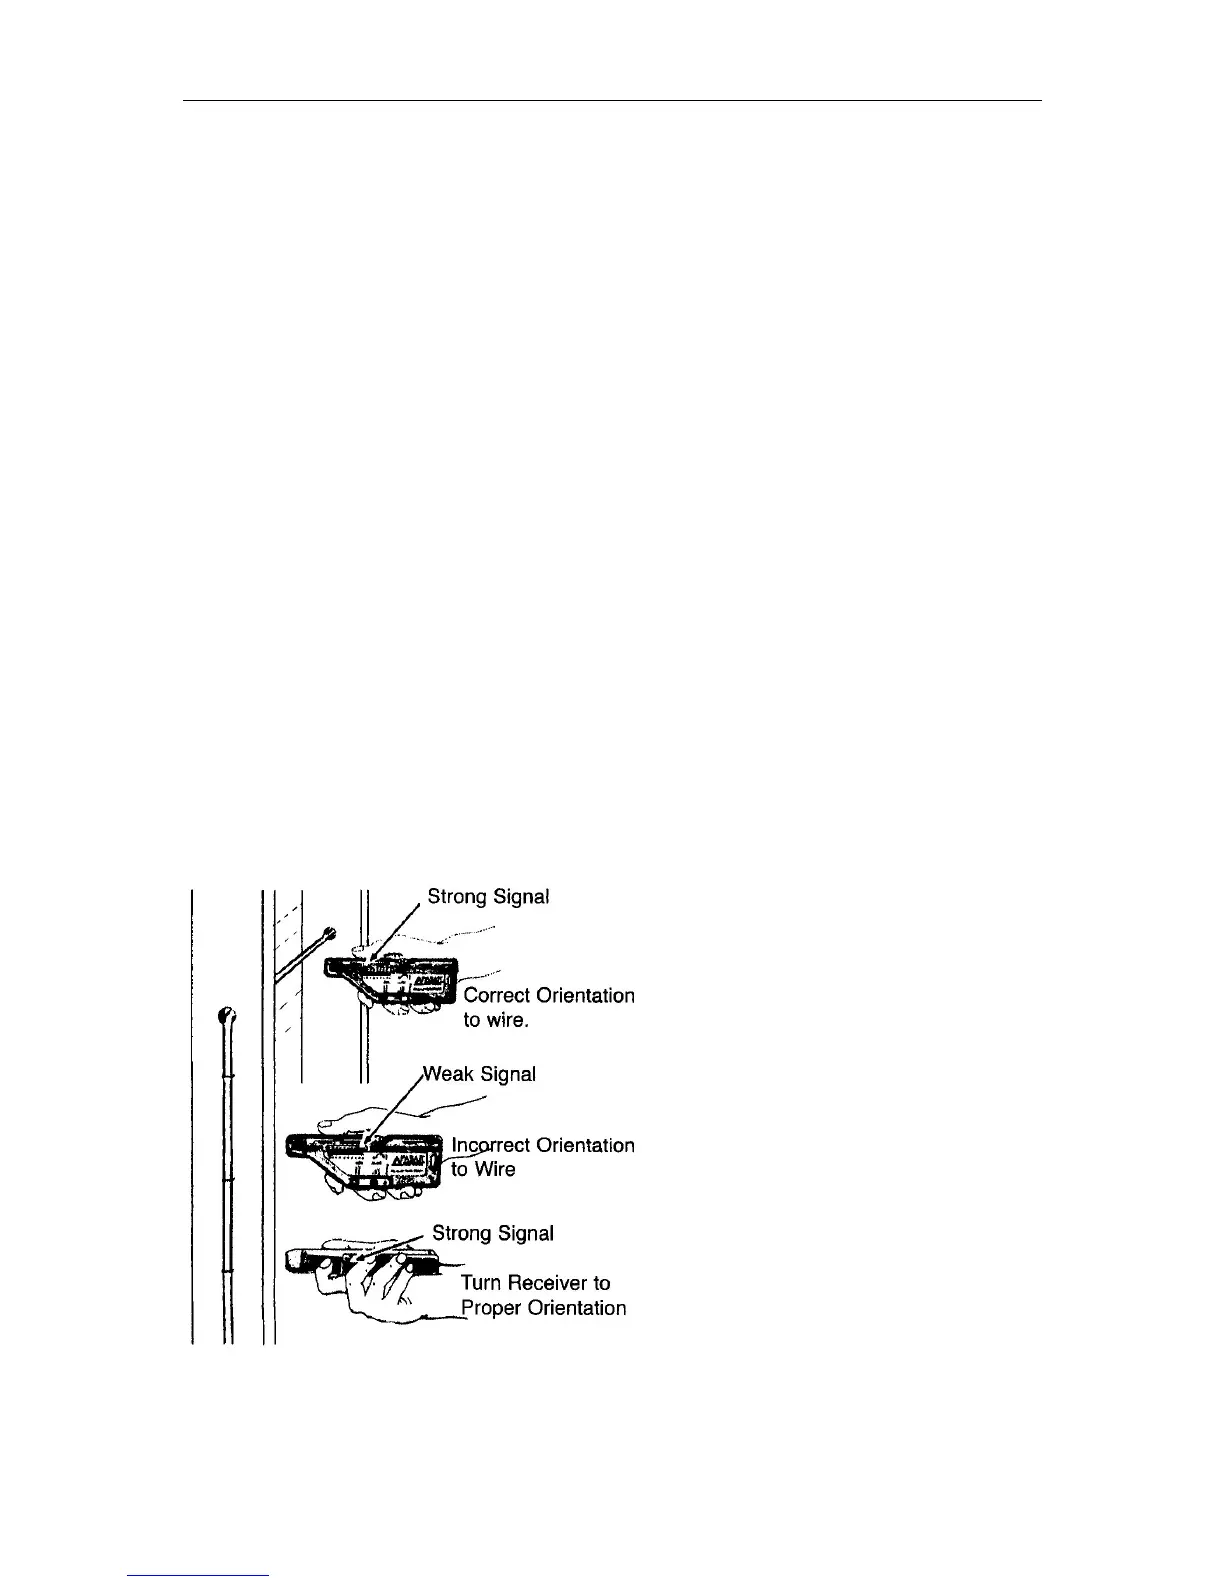
3. Place the mode switch into the appropriate position and aim the
R2000 properly (see illustration below).
4. If there is no indication on the display, increase the sensitivity by
moving the range switch to x10 or x100. The thumbwheel is used as a
fine adjustment to maintain a midrange indication (3-9 LED's).
IMPORTANT: Always try to keep the sensitivity low enough to a
maximum of 9 LED'S on the indicator. Otherwise, you could waste a
lot of time determining the proper signal source - a weak signal may
register 10 LED'S in the x 100 range, but so will a strong signal
(typically the one you want to follow).
5. When tracing, move the R2000 back and forth over the path of the
wire and adjust the sensitivity so that you can see the rise and fall of
the signal level. The strongest signal confirms the path of the wire.
NOTE: The R2000 will experience electromagnetic saturation when held
up against wires carrying more than 500Amps. If this occurs, the signal
strength indicator will go black. To remedy this, simply move the R2000 a
few inches away from the wire.