25
Additional Assembly Instructions
Select models also feature a front brake and are available as a 3-speed model.
Refer to following instructions on how to install these additional parts.
Front Brake (Models 1416, 1420, 1420-XL)
The front brake caliper is already installed but you need to install a brake lever
onto the handlebar and connect the brake cable to it (the cable is already
attached to the frame) and attach the cable to the brake caliper.
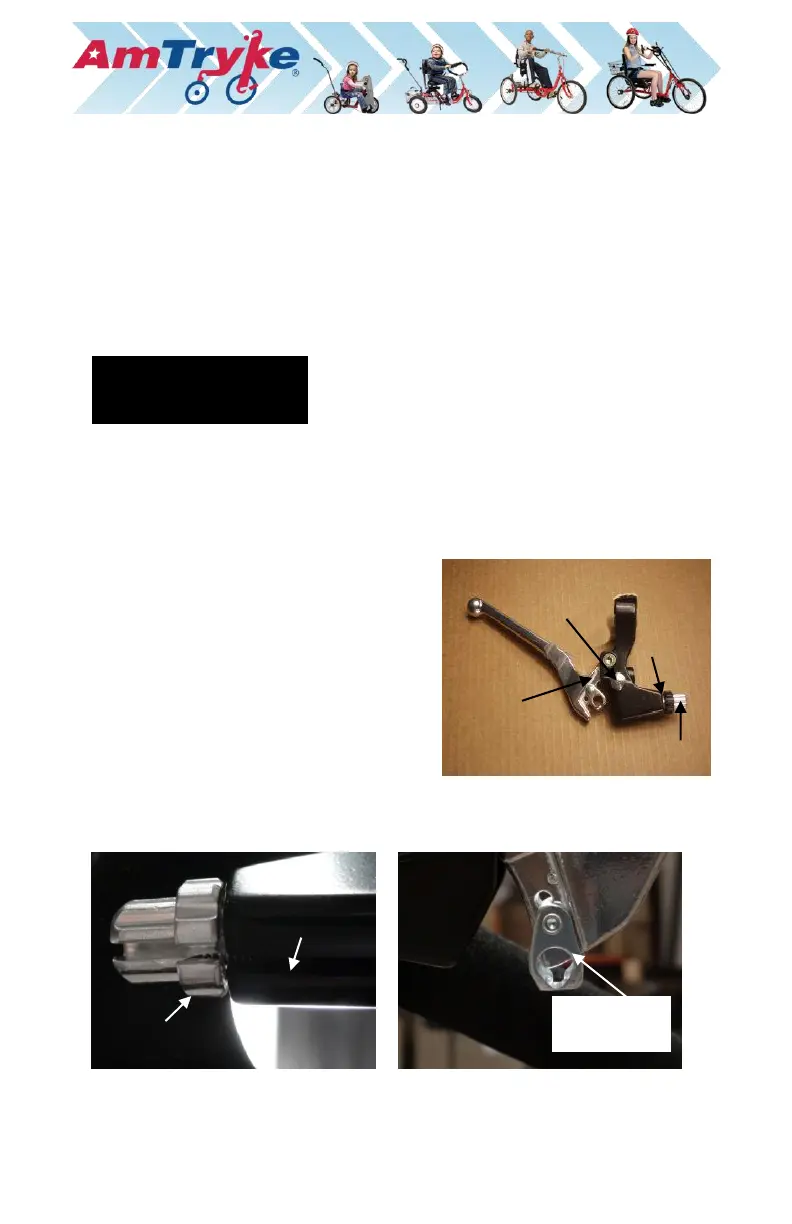
Brake Lever and Cable
The brake lever has a button on it with a spring underneath it. The brake lever
should be installed so that the button is on the top side and hand grip points to
the outside of the tryke:
1. Slide the brake lever over one side of
the handlebar until just before the
curved portion of the handlebar. Adjust
the lever to a comfortable position.
2. Tighten the brake lever clamp securely
with a 5 mm Allen wrench so that it
cannot slide.
To attach the brake cable to the brake lever, follow these steps: