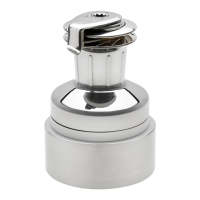
8
Manufactured by: Ronstan Denmark ApS. - Jægervænget 36 - 7100 Vejle – Denmark - info@andersenwinches - www.andersenwinches.com
(Not used on 28ST & 40ST
models. For 68ST 2 axels
pre-mounted in the winch)
rings top & side
thermo cut-out
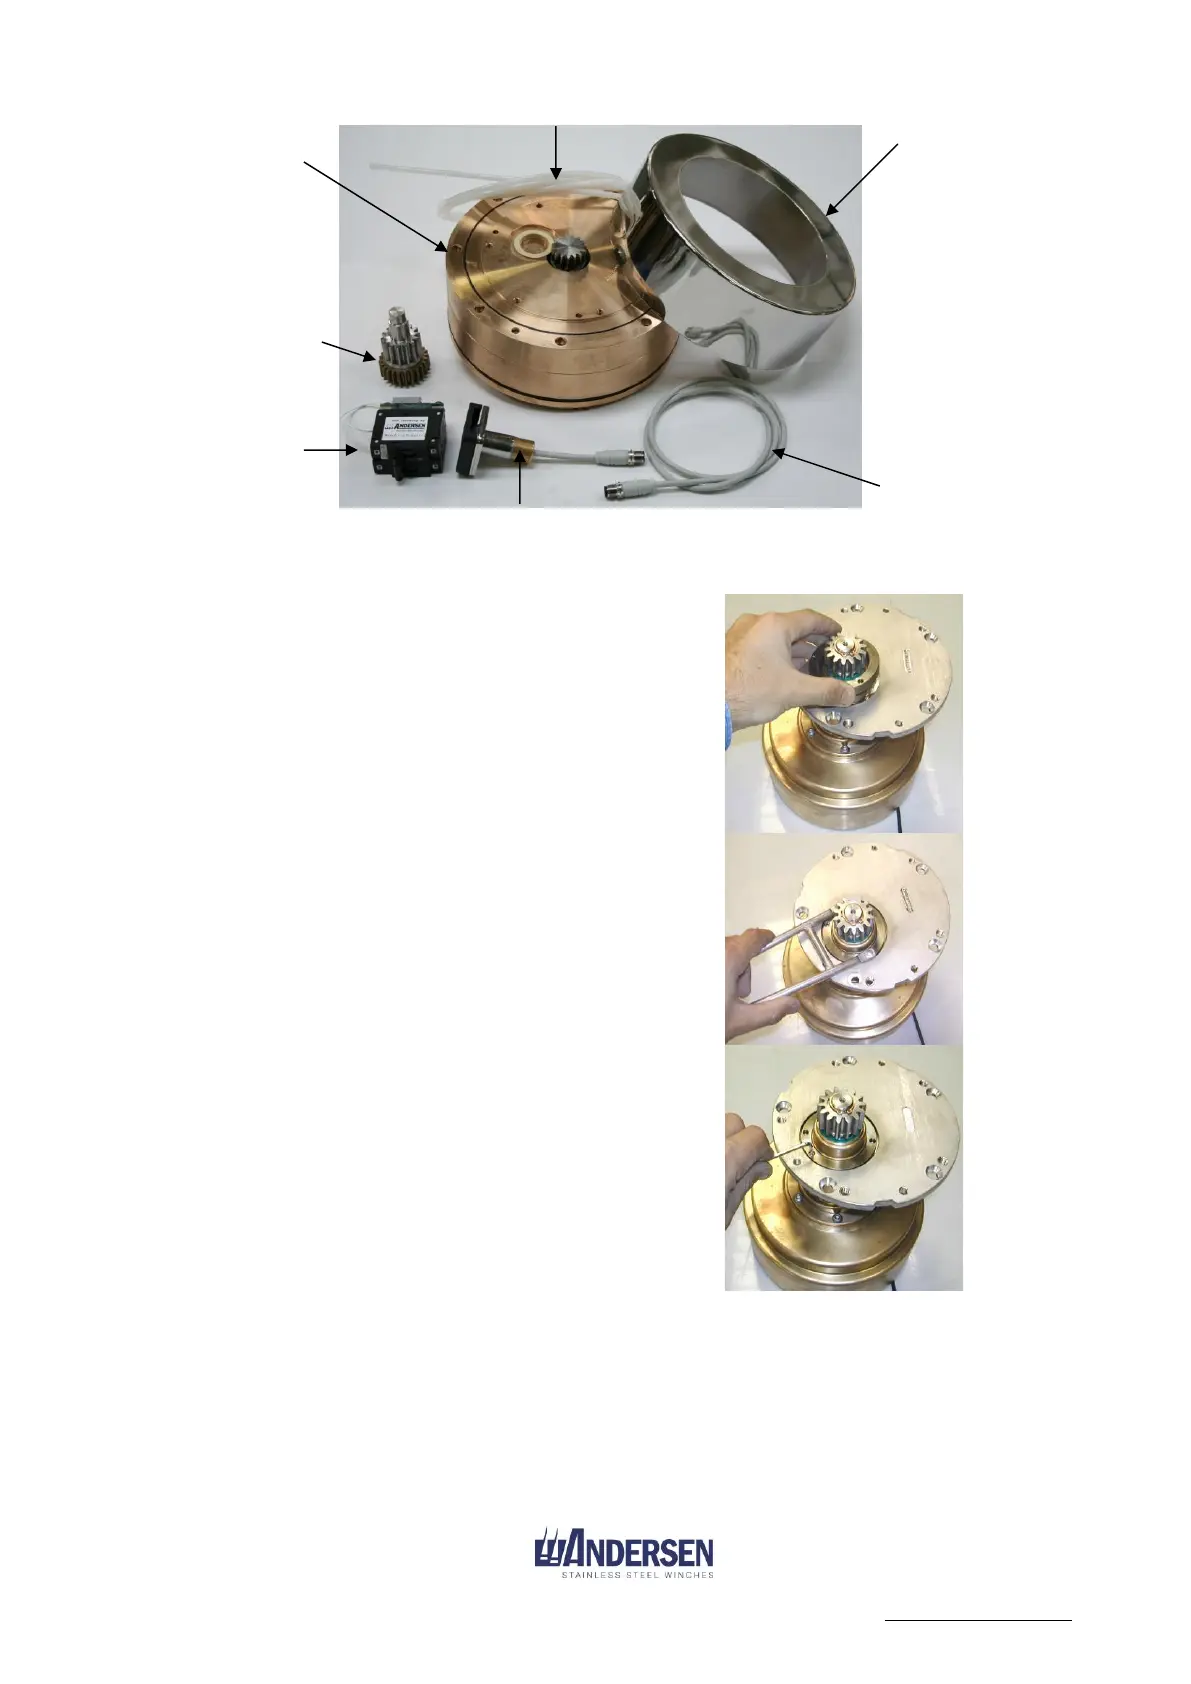
8. Replace the stainless steel sleeve,
checking that the o-rings are in place and
are lightly greased. Place the free running
axel in the Ø30mm bearing on the top of
the motor. (The free running axel is not
used on 28ST and 40ST winches. For
68/72ST models the free running axels
are pre-mounted in the winch.) Make
sure that the bearing hole and the gear
wheels are greased. Please note that the
axle may run tightly before the motor is
run in. Go to step 12.
9. With the deck plate securely in place,
remove the mounting nut and push the
top of the motor up through the deck and
the deck plate*. Re-secure the mounting
nut on top of the deck. This may require
two people to complete if the motor
cannot be supported by another device.
For 52/58/62/68/72ST winches you need
to remove the gear wheel on the top of
the motor to be able to push the top of the
motor through the deck plate. To do this,
remove the circlip from the top of the
gear wheel, then slide the gear off the
axle. Remount the gear once the motor
has been installed through the deck.
10. With the tool provided tighten the
mounting nut on top of the deck.
11. Tighten the small hexagon locking screw
on the mounting nut.
mounting
nut over the
axle.
2. With the
tool
provided
tighten the
nut firmly.
3. Lock the
mounting
nut by
tightening
the screw on
nut’s top
side.