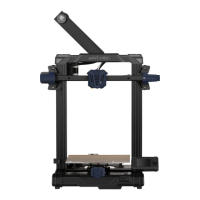
16
“Stop” on the screen, raise the nozzle to avoid platform burnt (click “Tools”-->
“Axis”-->“10”on +Z column), and manually fine tune the nuts under the platform.
Specifically, when “nozzle too high”, slowly loosen the corresponding nuts
underneath by half circle, while “nozzle too close”, slowly tighten the corresponding
nuts underneath by half circle. After that, carefully scrape off the previous firstly layer,
and run the owl_pair print again to verify. It may need few times adjustment until
satisfying results.
Tips:
a “Assisted Leveling” is only functional if the relative distance between proximity sensor and
Z axis end stop is not changed. If it has been changed accidently please contact us or you
may have to use the manual leveling which will be explained in next section.
b If using Cura for slicing, please set the “Initial layer thickness” to 0 for better adhesion.
c During assisted leveling, it is OK the nozzle may out of the range of the print platform.
d The proximity sensor only valid to metallic plate such as aluminum, and it is sensitive to
temperature. It is suggested to use this function at room temperature. If changed to glass
print platform, please use manual leveling.
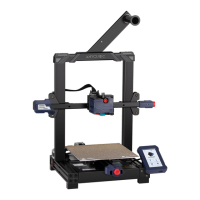
4.2 Manual Leveling
1. Switch on the machine, click on the Home Menu, “Tools”-->“Home”-->“Home all”,
and make sure X axis is visually leveled as shown before, refer to the previous Fig. 10.
2. Click on Home Menu, “Setup”-->“Motor” to disable the motors. Manually move the
print head and platform back and forth to let the print head travel to the 4 corners of the
platform one by one.
Insert a piece of paper between the nozzle and the print platform, and adjust the