3.3 Connectors
The meter adopts 8-pin connector, into which pH, ORP, and conductivity electrode can be connected. When
connected, the meter will automatically switch to the correspondent measurement mode.
3.4 Display Mode
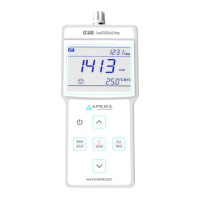
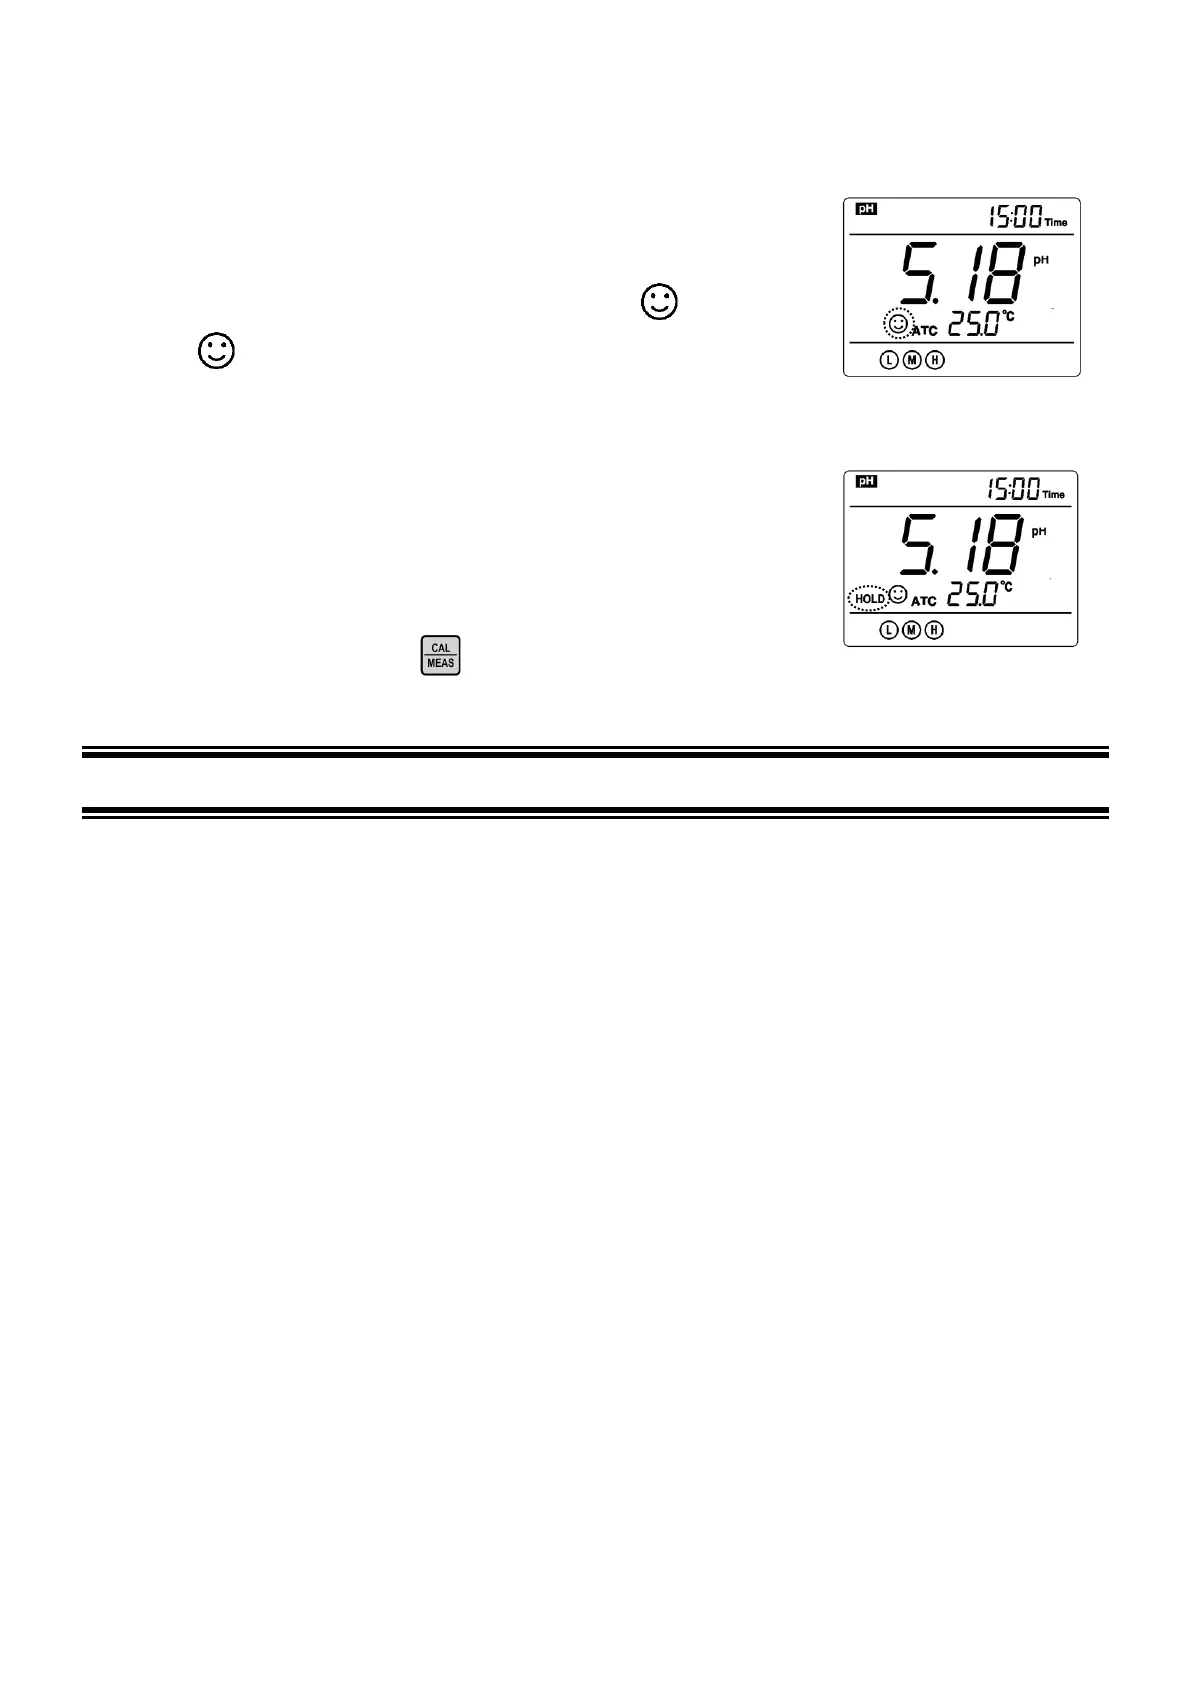
3.4.1 Stable Reading Display Mode
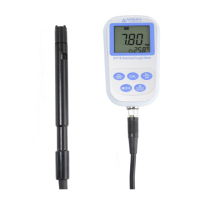
When the measuring value is stable, the screen displays as shown in
Figure-2. If does not appear or is flashing, that means the measuring
value has not been stable. Users should wait for the smiley face and not
record the readings or conduct calibrations at that moment.
3.4.2 Auto-Lock Display Mode
In parameter setting P4.6, select “On” to turn on the auto-lock display mode,
In which the reading will be automatically locked after the measuring value
has been stable for more than 10 seconds, and the HOLD icon will come up
as shown in Figure-3. Short press to cancel the hold.
4 pH MEASUREMENT
4.1 Information regarding the pH Electrode
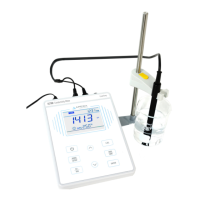
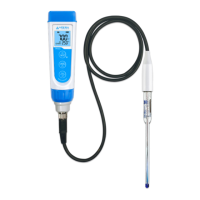
The instrument is equipped with a 201T-S 3-in-1 Combination pH Electrode. Its built-in temperature sensor
allows for auto. temperature compensation. There is a vial stored with 3M KCL storage solution on top of
the electrode. Before using, loosen the cap of the vial, take out the electrode and rinse it in distilled water
and then do measurement. When not in use, place the electrode back to the vial and tighten the cap so
that the pH sensor can be stored in the best condition. When the pH electrode is dipped into the test
sample solution, stir it for a few seconds to remove potential air bubbles inside the probe to help the
measurement get stabilized quickly.
When connecting the electrode into the instrument, please slowly rotate the connector, identify the location
of the mount to insert it, and then screw it on. Please note that do not pull on the cables in case of poor
contact.
Please keep the connector clean and dry. For detailed information of the electrode’s maintenance, please
refer to section 4.5.
4.2 Information regarding pH Calibration
4.2.1 Standard Buffer Solutions
The instrument adopts two series of standard buffer solutions: USA and NIST as shown in Table-2. Users
can select which one to use in P1.1 (refer to section 7.3).