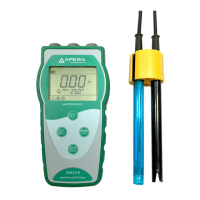
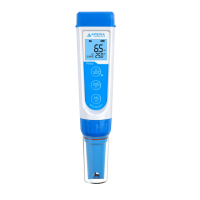
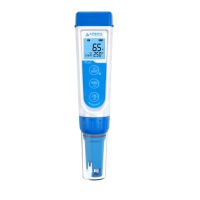
6.3 Conductivity Calibration (take 1413μS/cm as an example)
6.3.1. Rinse the electrode in pure water, allow it to dry, wash with a little of standard solution and submerge
it in standard solution. Stir the solution briefly and allow it to stay in the solution until a stable reading is
reached.
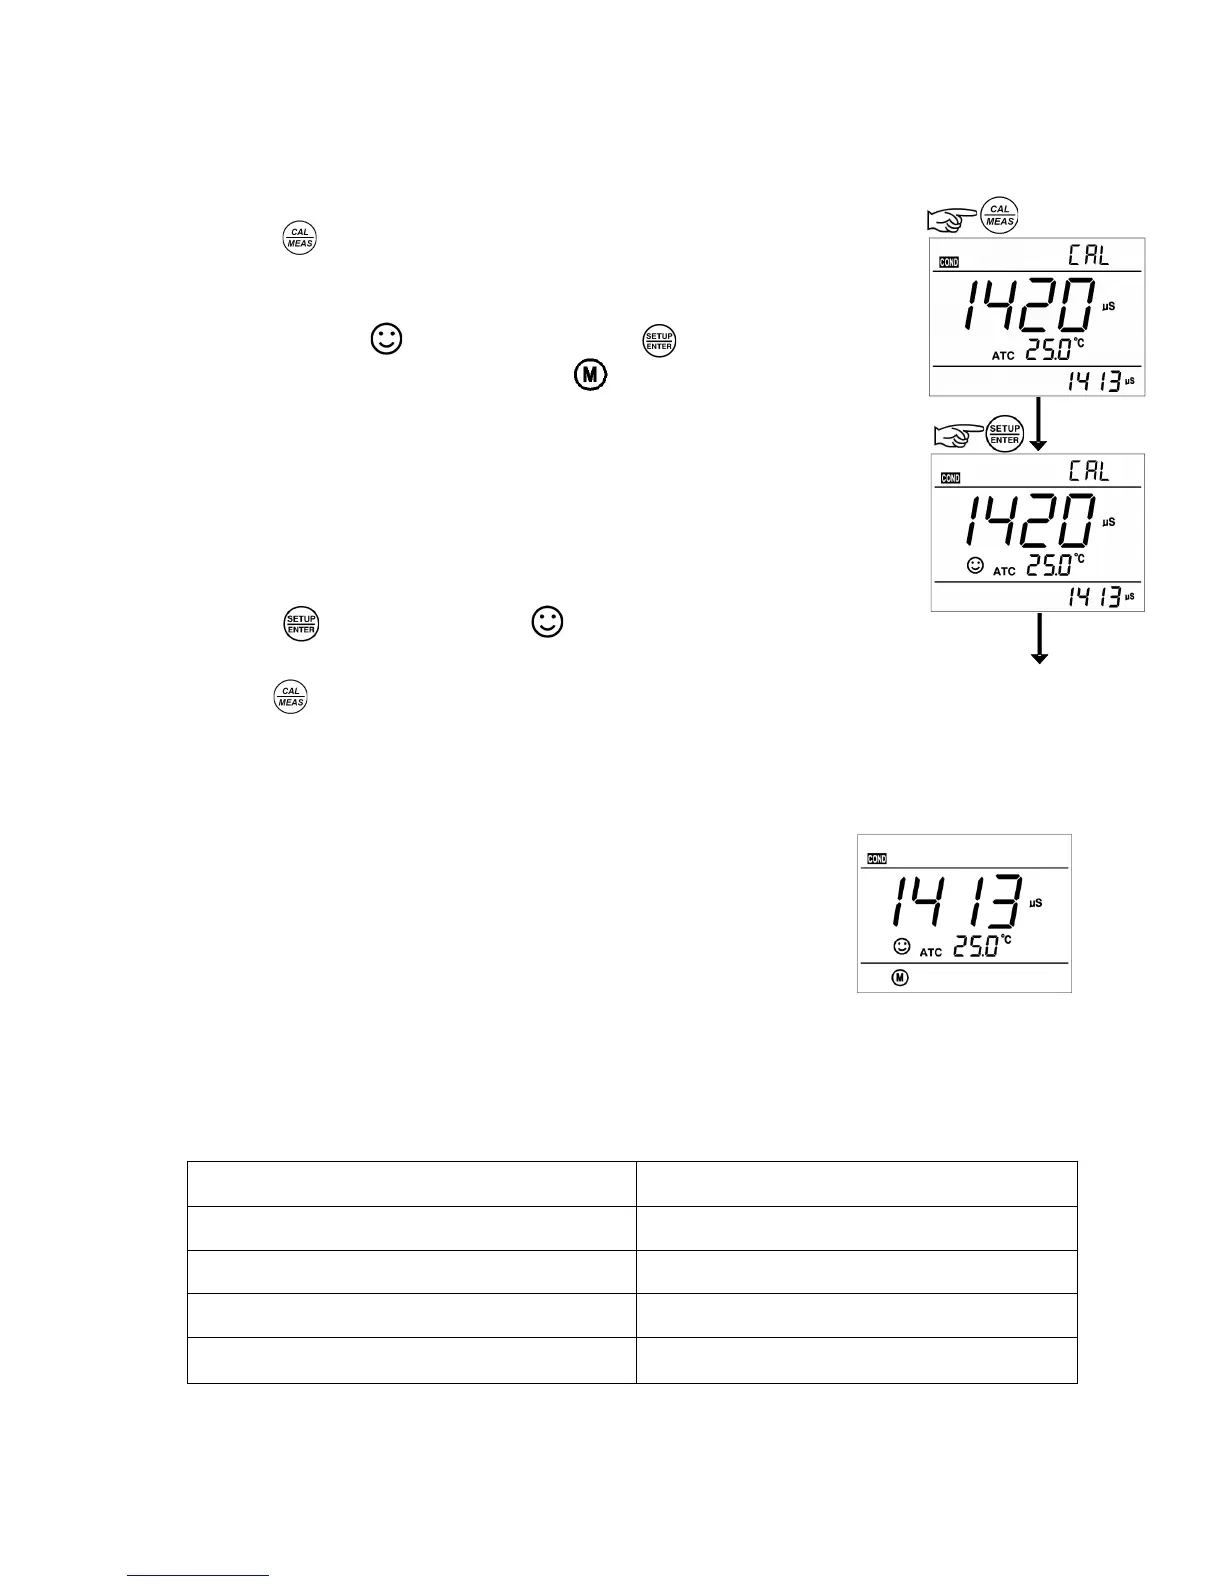
6.3.2. Press key to enter into the calibration mode.
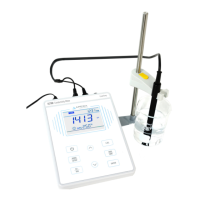
The meter’s display will show blinking “CAL” at the top right, and scanning
and locking process of calibration solution at the bottom right. When the meter locks
1413 mS, stable icon will display on LCD. Press key to complete calibration.
The meter will return to measuring mode and is displayed on bottom
left of the LCD screen. See diagram-8.
6.3.3. For multi-point calibration, please repeat clause 6.3.1-6.3.2 until all
the calibration is done. The meter can repeat calibration in the same
calibration solution until the stable value is reached.
6.3.4. Notes:
(a) If press key before stable icon appeared on LCD screen,
Error indication icon Er 2 will be shown. See Chart -11.
(b) Press key to exit calibration mode.
6.4 Relations between TDS and Conductivity
6.4.1. TDS and conductivity is linear related. The conversion factor
is 0.40-1.00. Adjust the factor from parameter P2.4. The factory default
setting is 0.71 and please refer to Item 7.4. The meter only needs to be
calibrated in Conductivity mode, then after calibration of conductivity,
the meter can switch from conductivity to TDS or salinity.
6.4.2 Adjust TDS conversion factor in parameter setting P2.4 according to the
data collected during testing and experience. Chart – 9 lists some common
use Conductivity and TDS conversion factors. This is for your reference only.
Chart – 9 Conductivity and TDS conversion factors