Page 28
Installing the Apollo GEM Controller
Positioning
The Apollo GEM control unit is generally installed in the vicinity of the main consumer unit.
If used in wireless mode with the optional wireless power sensor the control unit can be
positioned in the vicinity of the hot water cylinder.
The control unit has a display and operator controls and so should be mounted in an easily
accessible position.
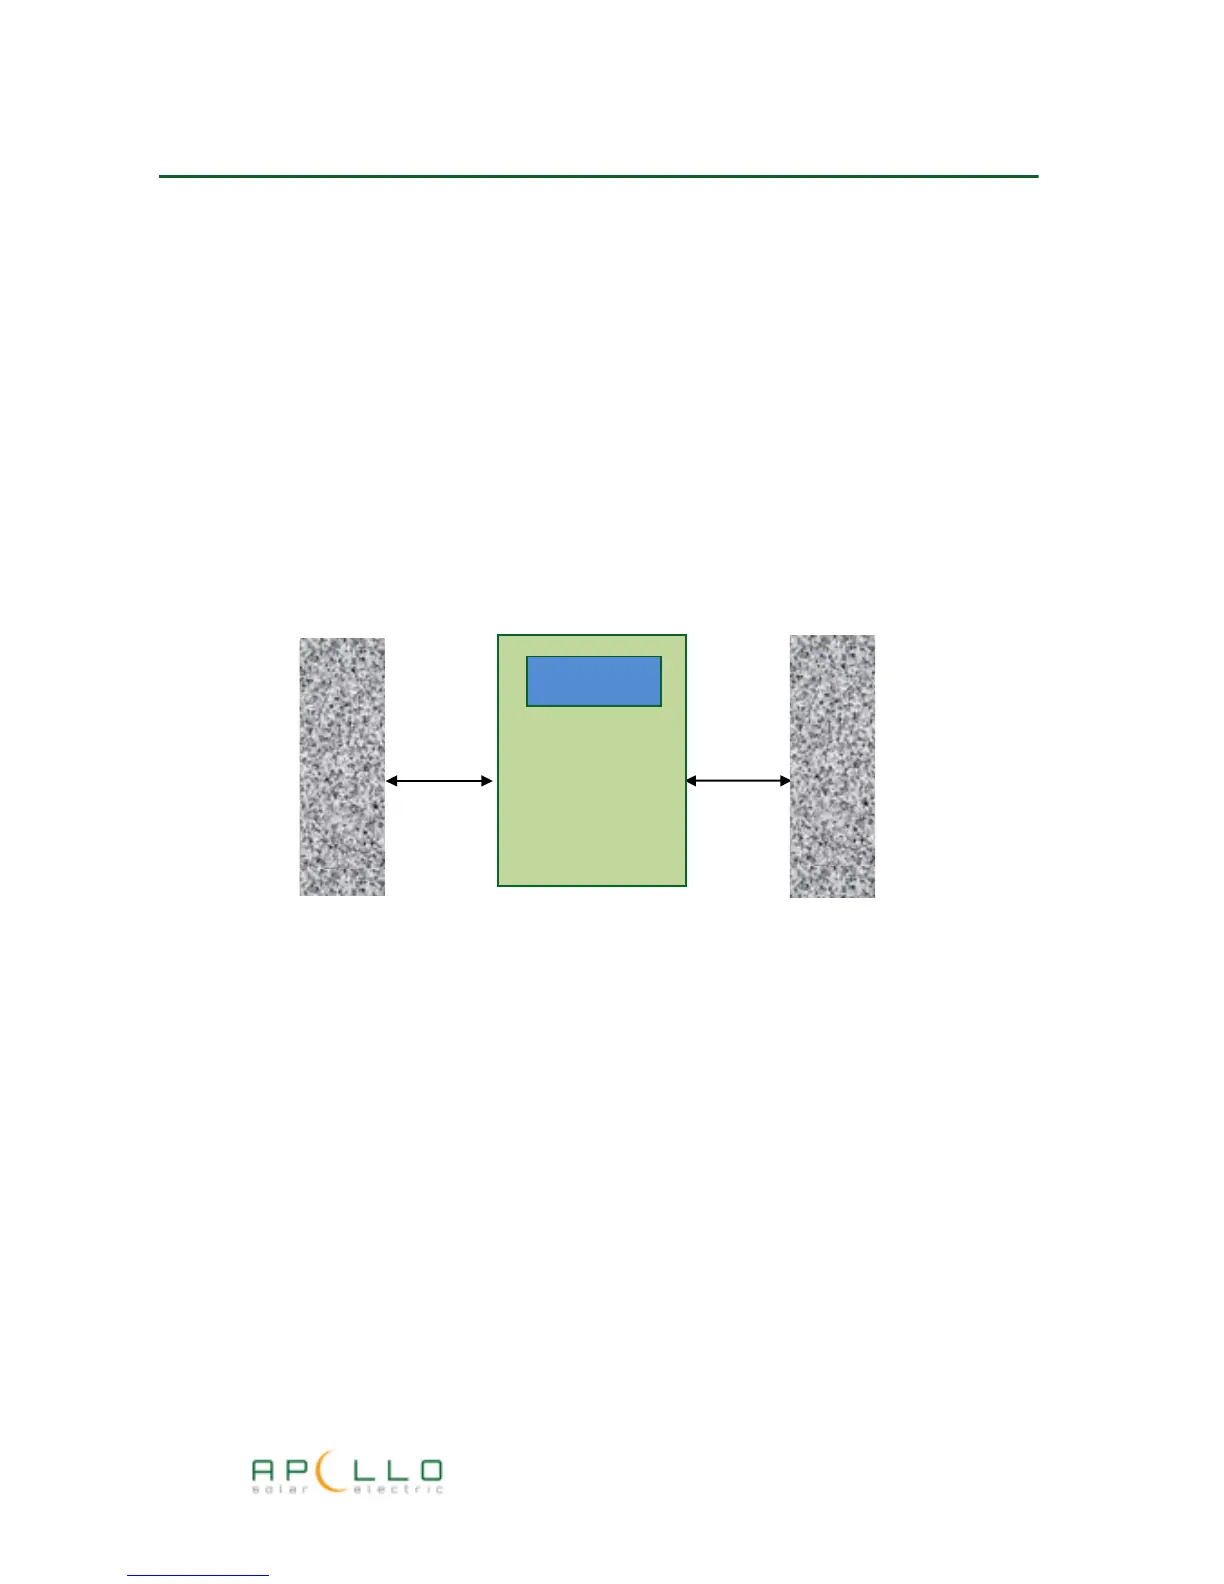
The Apollo GEM controller requires adequate ventilation and must be mounted vertically and
such that a minimum of 50mm clearance is provided on both sides of the unit.
Cover removal
Remove the four screws on the front of the unit and the front cover will then slide off.
Cable entry
“Knockouts” are provided for both rear and bottom cable entry.
Use a Stanley knife or similar to cut out the cable access apertures relevant to your installation.
Take care when removing the cut-outs as the edges can be very sharp. Run a file round the edge
of the aperture to clean up any sharp edges.
Mounting
Mount the unit onto a wall or other secure surface using the mounting holes in the back of the
unit.
GEM-D Installation Manual