Troubleshooting
Apollo SL40 Field Maintenance Manual
21
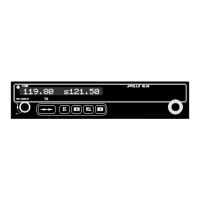
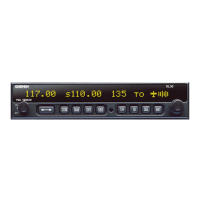
Com Display Board Removal
1. Place the SL40 on a properly grounded work surface.
2. Using a #2 Phillips head screwdriver, remove the nine 4-40x3/16” flat head screws
securing the cover to the chassis.
3. Lift the back end of the cover and slide it towards the rear of the chassis until it is
clear of tab on the display bezel, then remove the cover.
4. Disconnect the ribbon cable connector from J1 on the Com Display board.
5. Using a #2 Phillips head screwdriver, remove the three 4-40x1/4” flat head screws
(one on each side and one on the bottom) that secure the display bezel to the chassis
and remove the bezel.
REASSEMBLY
Perform the procedures in the following paragraphs to reassemble the SL40. All
reassembly must be performed in an ESD safe work area (see guidelines on Page 5) using
ESD safe working techniques.
Com Main Board Replacement
1. Tilt the Com Main board to allow the connectors to go through the holes in the back
of the chassis.
2. Ensure that the notch in the upper right corner of the board (see Figure 6) is aligned with
the tab on the display bezel and push the board down into the chassis. If more that a very
slight forward pressure on the bezel is required to replace the Com Main board, reposition
of the board in the chassis and ensure that the notch is aligned with the tab on the bezel.
CAUTION: Do not force the board or apply excessive force to the display
bezel.
3. Ensure that the holes in the board are aligned with the matching holes in the chassis.
Start 1 or 2 screws to maintain alignment.
4. Secure the 15-pin d-sub connector to the rear of the chassis using two 4-40x1/4” flat
head screws.
5. Using a 9/16” deep well socket, fasten the BNC connector to the rear of the chassis
with a nut and internally toothed lockwasher.
6. Secure the Com Main board to the chassis using ten 4-40x1/4” pan head screws and
lockwashers.
7. Reconnect the ribbon cable from the display board to J603 on the Com Main board.
8. Tilt the SL40 cover so the front edge slides under the tab on the display bezel, and
position the cover so the screw holes are aligned with the PEM nuts. Secure the cover
with nine 4-40x3/16” flat head screws.
Com Display Board Replacement
1. Position the bezel assembly on the front of the chassis so that the screw holes in the
bezel align with the holes in the chassis, and secure the bezel in position using three
4-40x1/4” flat head screws, one on each side and one on the bottom.
2. Reconnect the ribbon cable from the Com Main board to J1 on the Com Display
board.