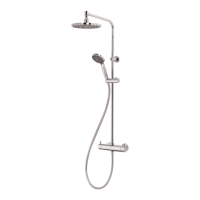
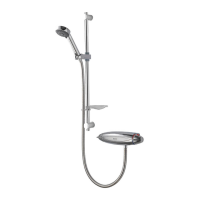
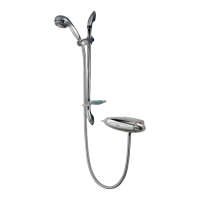
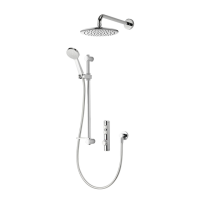
Dual exposed shower with fixed and adjustable shower heads installation instuctions page 6
Step-by-step instructions
In addition to the guide below it is essential that the written instructions
overleaf are read and understood and that you have all the necessary
components (shown overleaf) before commencing installation. Failure to
install the product in accordance with these instructions may adversely affect
the warranty terms and conditions. Do not undertake any part of this
installation unless you are competent to do so. Prior to starting ensure that
you are familiar with the necessary plumbing regulations required to install
the product correctly and safely.
A first fix easy fit fixing bracket is available
separately, product code MD300EFB, designed
for ease of installation. If required, fit the easy
fit bracket following the installation instruction
sheet supplied with the bracket and proceed to step 6 below.
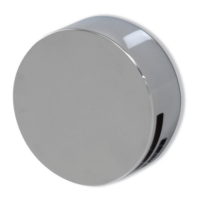
If using the MD300EFB bracket ensure sufficient threads are left from the
finished wall surface, after the cover plates have been fitted, to ensure
adequate purchase for the exposed valve.
The exposed valve and fixing bracket assembly MUST NOT be used as a
grab rail support method.
!
!
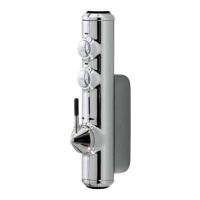
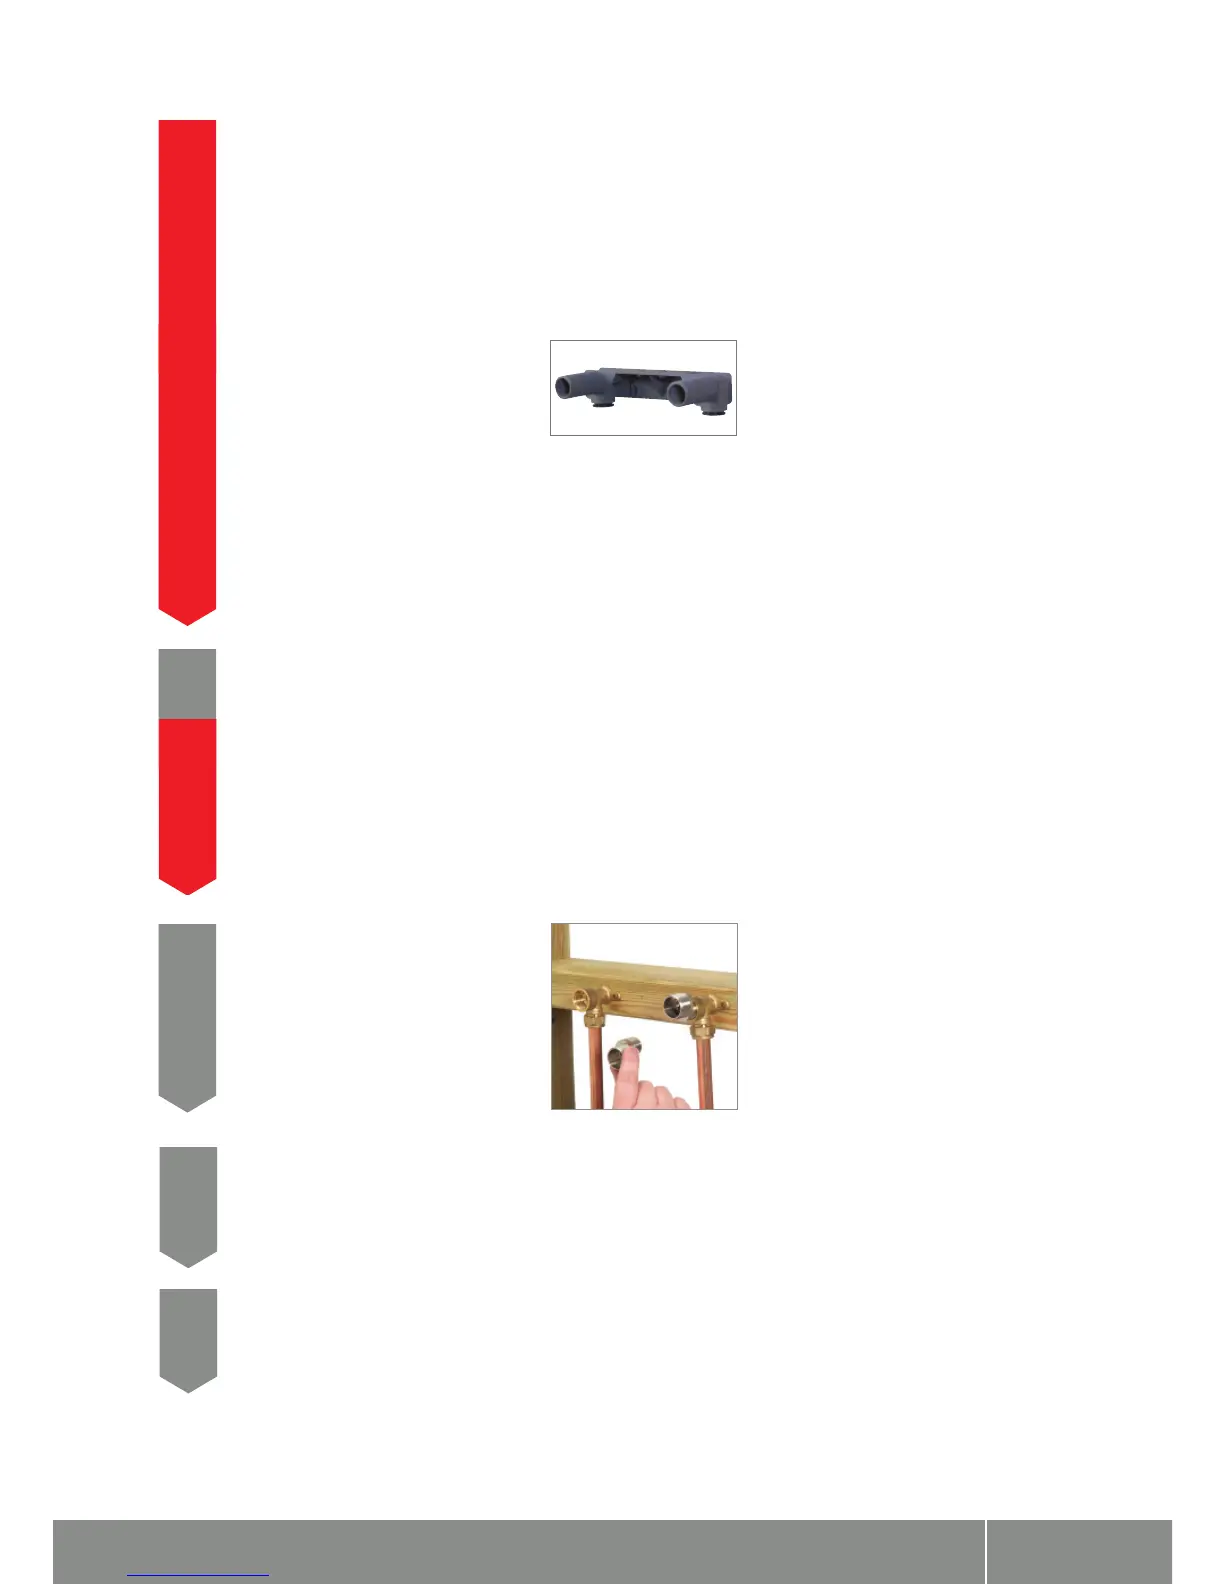
If required, apply jointing tape to the threads
and fit the eccentric elbow connectors
sufficiently to achieve a water tight seal,
terminating at 150mm centres to suit the
exposed valve inlets.
2
Ensuring adequate provision to allow the water to discharge safely to waste,
turn on the supplies to flush the system through. Attach pressure test equipment
and pressure test the system in accordance with Water Supply Regulations.
3
Eccentric elbows are provided to allow for inlet pipework adjustment between
130mm – 170mm centres.
Construct suitable connections terminating in
½”BSP female fittings.
When using the eccentric elbows provided we recommend leaving sufficient
threads from the finished wall surface, after the cover plates have been
fitted, to ensure adequate purchase for the exposed valve.
If using alternative fixings please refer to the installation instructions
provided to ensure adequate threads are left to connect the exposed valve
after the cover plates have been fitted to the finished wall surface.
1
!
Ensure the ¾” supply connections are temporarily capped to prevent any dirt or
dust ingress into the pipe work during the making good process. Remove the
caps prior to connecting the shower valve.
4