28/02/2020 Page 30 of 41 ARB Copyright 2018 3789452
If you have any queries regarding the installation of this product please contact the distributor from whom it was purchased, or alternatively the ARB office in your state.
Head Office – ARB Corporation Ltd VIC: 42-44 Garden Street, Kilsyth, Victoria, 3137 Tel: (03) 9761 6622 Fax: (03) 9761 6807
WA:(08) 9244 3553 NSW: (02) 9821 3633 ACT: (02) 6280 7475 SA: (08) 8244 5001 QLD: (07) 3872 3872 NT: (08) 8947 2262 TAS: (03) 6331 4190
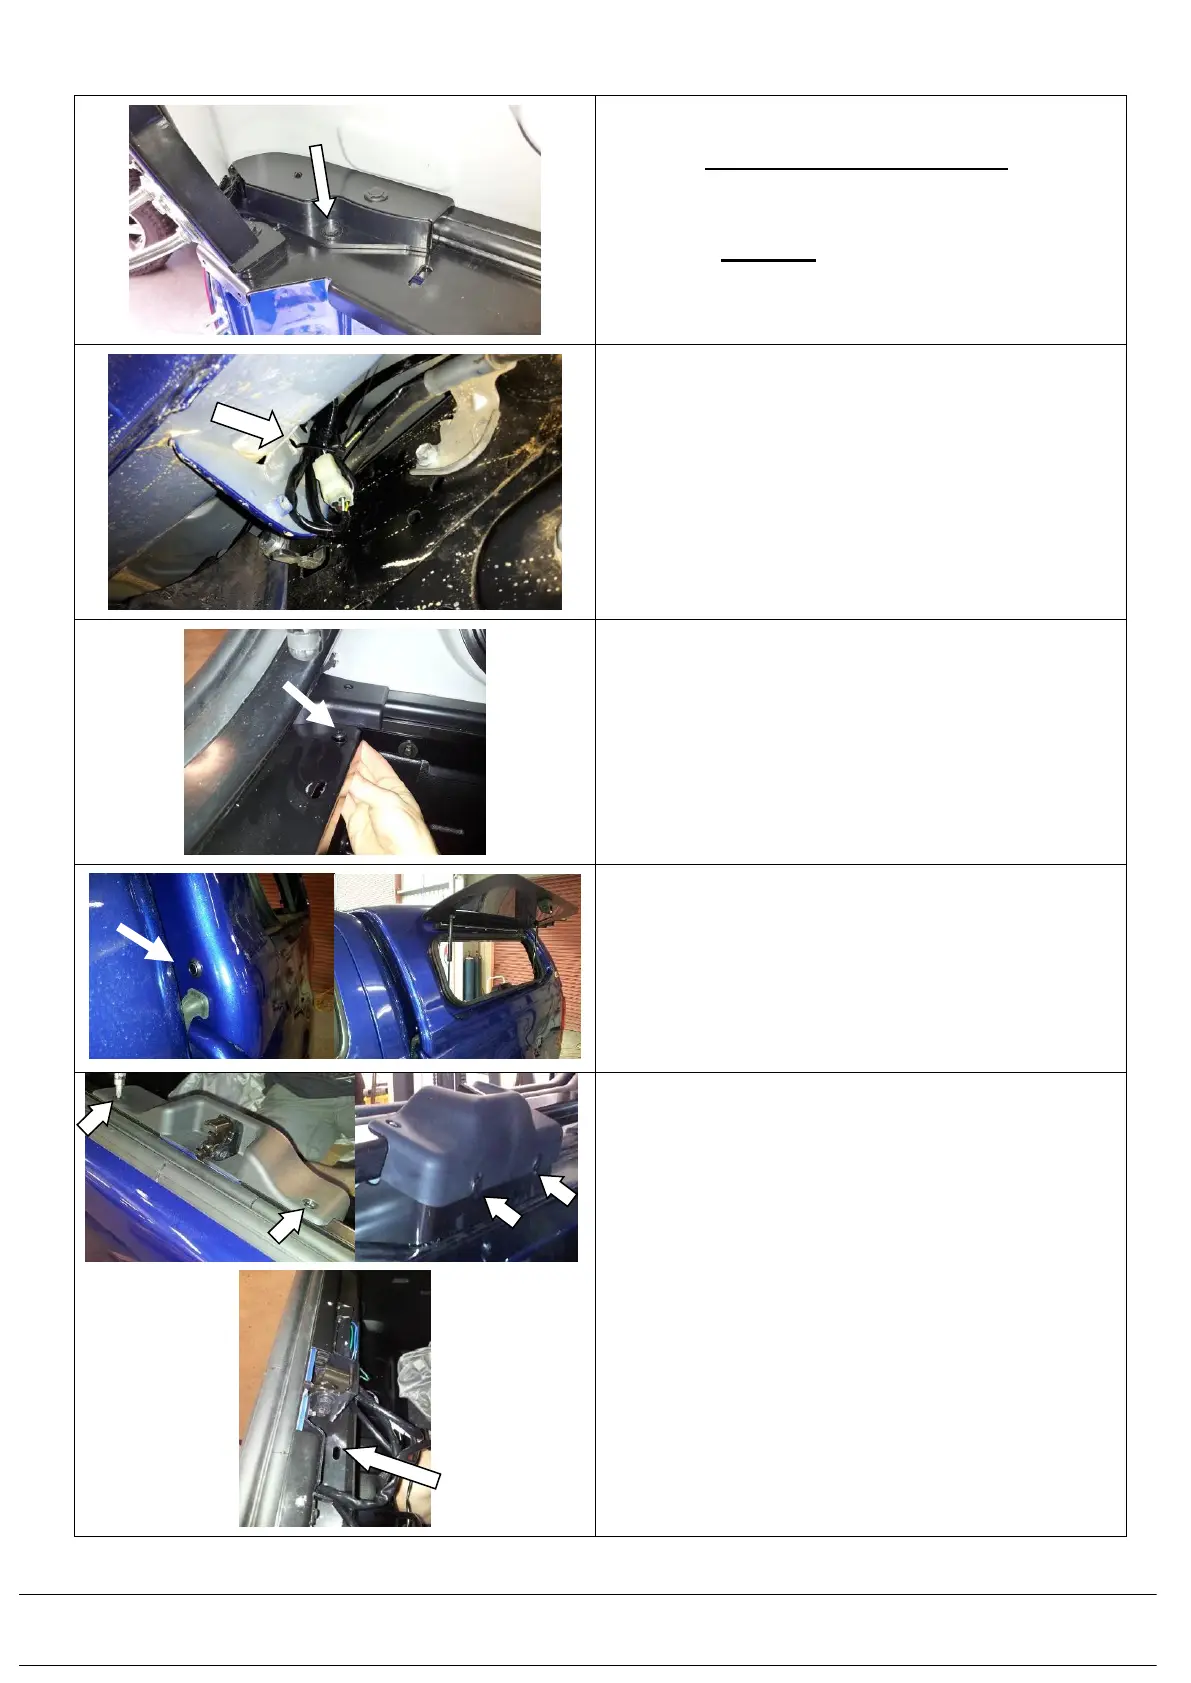
4.20) Using the retained M6 x 25 screw, M6 washer,
and M6 larger washer on the bottom and M6
nyloc nut, screw the corner wing on the injection
moulded corner piece down through the rear
corner tub mounting bracket on the inside and do
up to 7Nm only.
Repeat on the opposite side of the canopy.
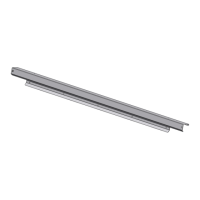
4.21) Roll the remaining harness up in the LH rear
corner under sill area of the cabin near the
connection between the 2 canopy harnesses and
zip tie this down to the lower sill support bracket.
4.22) Wiring is now complete.
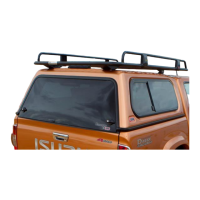
4.23) Using M8x25 Torx pan head screw and M8x19mm
(smaller) washer screw the canopy down at the
front tightly through the canopy mount rail holes to
the front corner tub mounting brackets with an M8
nyloc nut and M8x25mm (larger) washer on the
underside.
Do up to 22Nm.
Repeat on the opposite side.
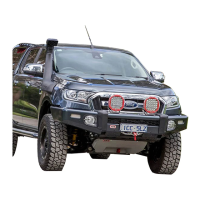
4.24) Locate the push button switch, (if a lift up window
is fitted on the canopy), that is between the front of
the canopy and the vehicle’s tub.
Open the window.
Repeat on the opposite side if a double lift
window canopy is optioned.
4.25) Remove the 2 screws in the cover over the latch
mechanism using a Philips screw driver and
remove the 2 scrivets with a flat blade screw
driver. Retain all hardware. Lift the cover off.
Uncoil the loom inside to gain access to the
mounting hole slot.
Repeat this on the opposite side if a double lift
window canopy is optioned.