Do you have a question about the ARB 3921120 and is the answer not in the manual?
Critical safety instructions and cautions for fitting the ARB bumper.
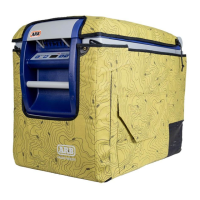
Initial steps for fitting the buffer and securing components.
Attaching chassis mount braces and reinforcing bars to the vehicle.
Fitting chassis mount brackets, spacers, and ensuring proper brace positioning.
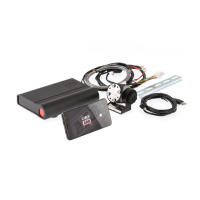
Rotating the winch gearbox and attaching the winch assembly to the bumper bar.
Mounting the control box, connecting power cables, and ground wire to the winch.
Attaching the license plate and painting the lower front guard section black.
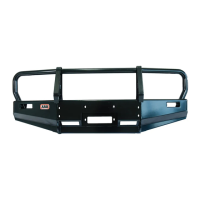
Positioning the main bumper bar onto the chassis brackets and initial fastening.
Fitting the top tube to the bumper and aligning the bar with specified gaps.
Drilling chassis holes and securing bar uprights using supplied hardware.
Removing the original front stone tray and refitting it with rear bolts only.
Attaching the ARB stone tray and the washer bottle guard to the bumper assembly.
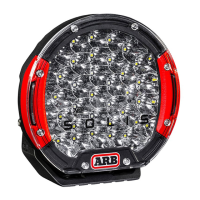
Assembling light surrounds and wiring them to vehicle indicator lamps.
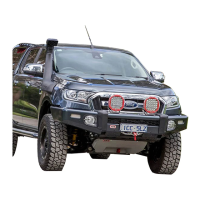
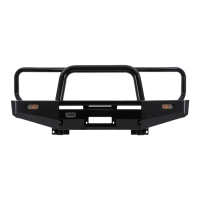
This document provides fitting instructions for the ARB Prado Winch/Non Winch Bumper, designed for GXL, VX, and Grande models from 2003 onwards. The bumper is identified by part number 3921120, with a fitting kit number 6172356. Optional components include a Top Tube Kit (5100050) and two Buffer Kits (5100160 with a hole for the Top Tube, and 5100170 without a hole).
The ARB Prado Winch/Non Winch Bumper is a front protection bar designed to be installed on specific Toyota Prado models. It serves to enhance the vehicle's front-end protection and provides mounting points for various accessories, including a winch, driving lights, and a license plate. The design ensures that it does not interfere with the operation of the vehicle's SRS Airbag system when installed correctly. The bumper is compatible with winches up to 9000lb and 9500lb High Speed models from Warn.
Impact Absorber to Chassis:
Bar to Impact Absorber:
Stone Tray to Bar:
Top Tube to Bar (for 5100050 Top Tube Kit):
Buffer to Bar (for 5100160 - with hole for Top Tube):
Buffer to Bar (for 5100170 - without Top Tube):
Buffer Lower to Bar:
Indicators to Bar:
Licence Plate to Bar:
Winch Cover to Bar:
Winch to Bull Bar:
Washer Bottle Guard to Bar:
Miscellaneous:
The bumper is designed for straightforward installation, though it requires careful attention to detail and adherence to the provided instructions. Key installation steps include:
| Brand | ARB |
|---|---|
| Model | 3921120 |
| Category | Automobile Accessories |
| Language | English |