20
4.7 Exposure Techniques
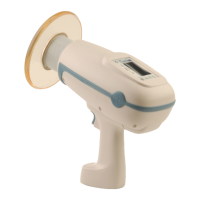
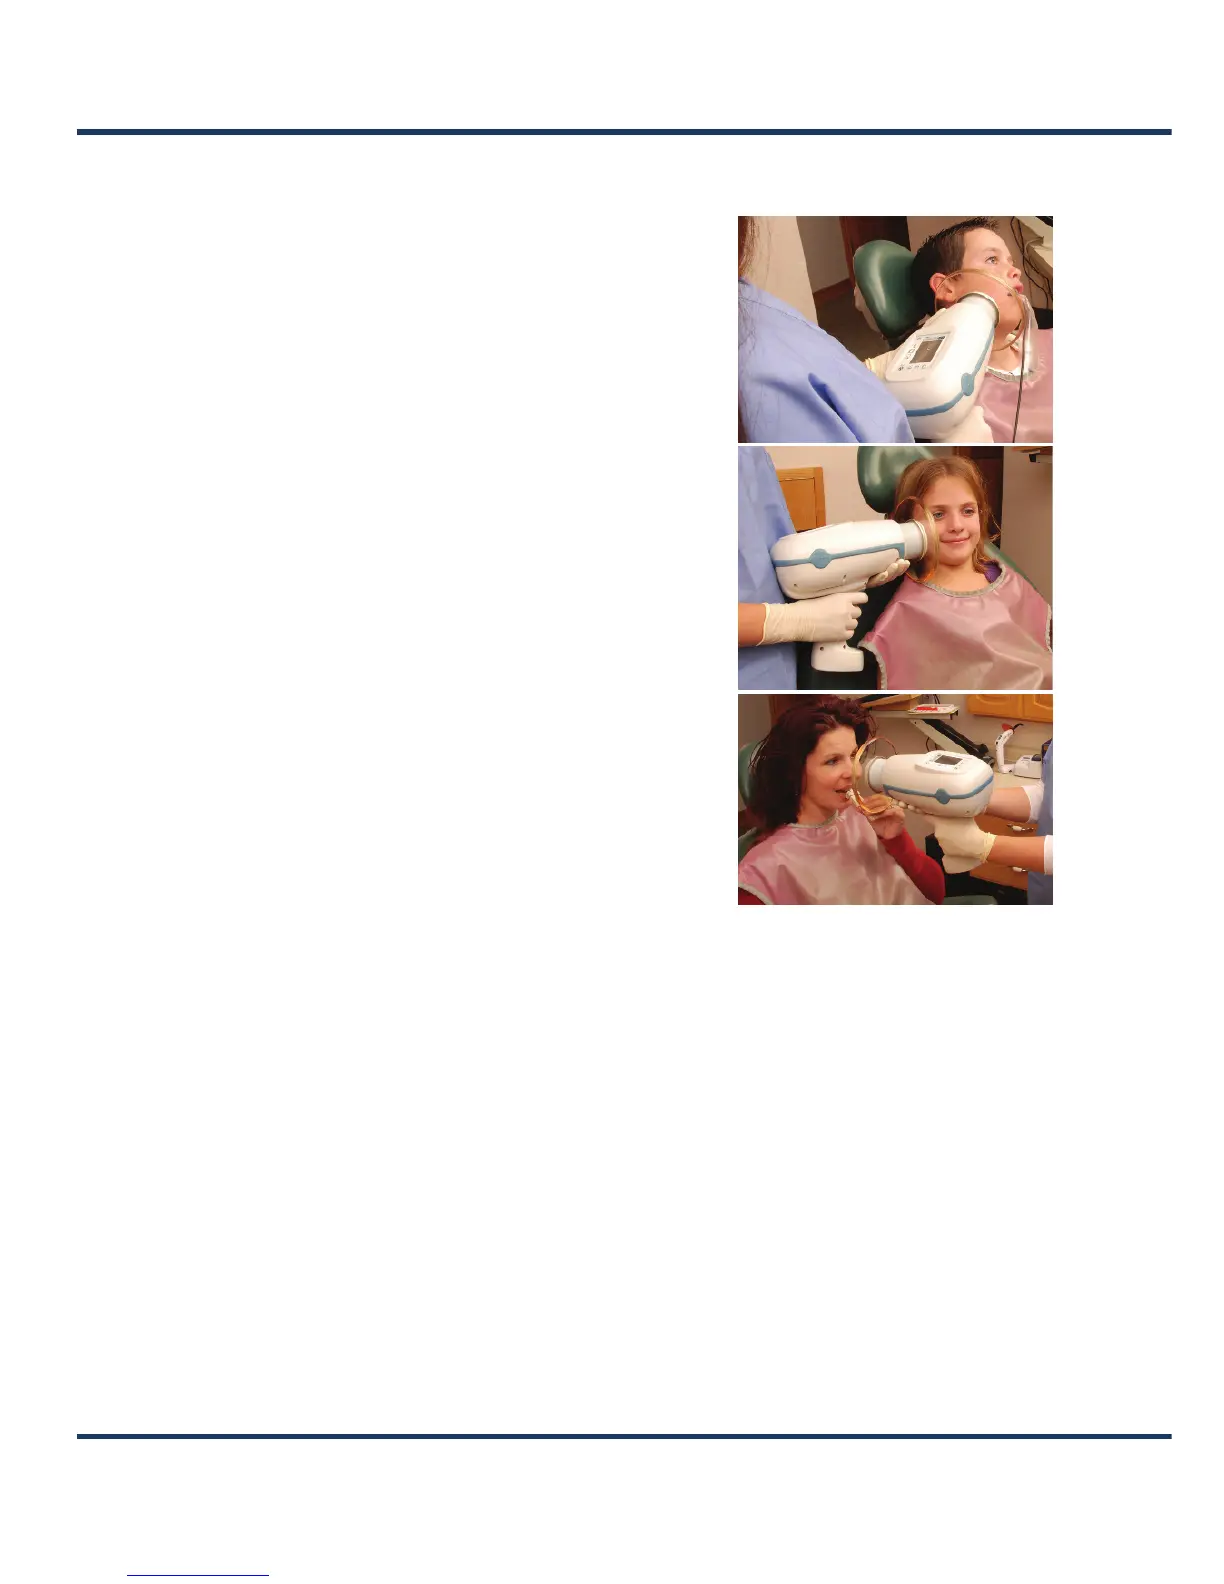
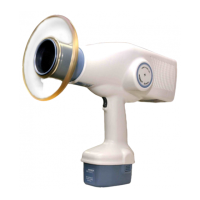
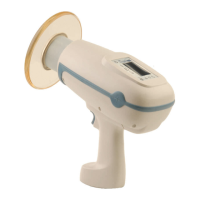
As an intra-oral dental X-ray system, the NOMAD
Pro 2 can be easily positioned. This high degree of
flexibility makes it easy to take exposures while the
patient is reclined, lying completely on their back,
or sitting upright. Ensure the patient is protected
by using an apron.
n When taking images, operators may hold
the NOMAD Pro 2 by having both hands on the
handset grip, or, for increased stability and patient
safety, by placing one on the grip and the other
on the underside of the housing (but not on the
collimator cone).
oPosition the NOMAD Pro 2 relative to the
imaging system to minimize cone-cutting. (If your
practice uses film holding kits or aiming devices,
check compatibility in advance.)
pExposure times increase proportionally when
the imaging angles vary away from 90° (or
perpendicular) to the film or sensor. To maintain
low patient X-ray doses and to keep the operator
within the protection zone, have the head of the
patient slightly tilted, and/or raise or
lower the chin as needed. (See
Section 2.1
Radiation Safety.)
qWhen the device must be angled and the
operator cannot be completely within the protection zone, ensure operator protection
through the use of proper safety measures, such as the use of an apron. (See
Section 2.1
Radiation Safety.)
rAvoid touching the patient with the cone or backscatter shield; disposable plastic
coverings can be used to prevent cross-contamination.
sDetermine what NOMAD Pro 2 exposure time settings deliver optimal results for the
type of imaging (digital or film-based) that is used on a regular basis.
NOTE: Both digital imaging sensors and film and phosphor plate speeds can vary
somewhat in their characteristics and could require different exposure settings to meet
density preference. (See
Section 4.10 Settings Menu for more information.)