Do you have a question about the Aries 2051101 and is the answer not in the manual?
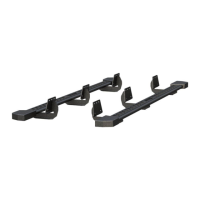
Lists all components needed for running board installation, including boards, brackets, bolts, washers, and nuts.
Specifies the necessary tools for installation, such as a ratchet, 13mm socket, and extension.
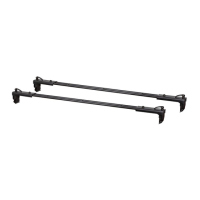
Identify mounting locations and the front bracket on the driver's side of the vehicle.
Attach the front bracket to the vehicle using specified bolts, lock washers, and flat washers.
Repeat the bracket installation process for the middle and rear mounting holes.
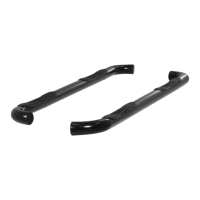
Place the running board onto the brackets and align bolts with bracket slots.
Attach the running board to brackets using washers and nuts, snugging hardware without full tightening.
Center the running board and tighten all bracket and running board connections.
Complete installation by repeating all steps for the passenger side of the vehicle.
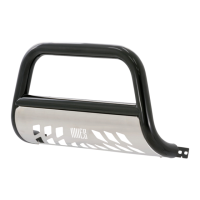
Provides guidance on thorough reading of instructions, tool usage, and cleaning methods for stainless steel and black finishes.
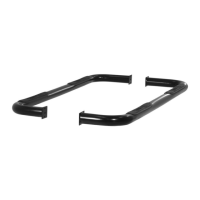
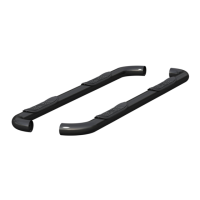
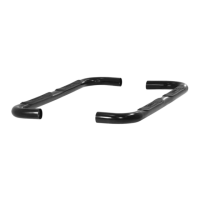
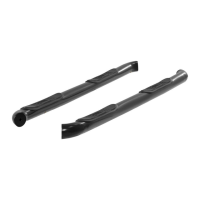
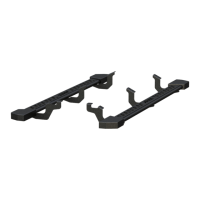
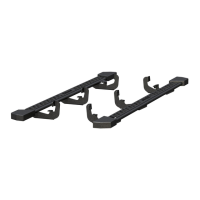
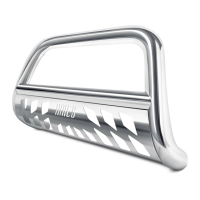
This document outlines the installation and maintenance procedures for the ARIES AeroTread™ running boards, identified by part number 2051101. These running boards are designed to be installed on both the driver and passenger sides of a vehicle, providing a convenient step for easier entry and exit. The installation process is rated as "Easy," suggesting it can be completed by individuals with basic mechanical skills.
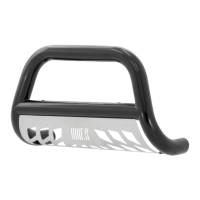
The ARIES AeroTread™ running boards serve as an accessory that attaches to the side of a vehicle, offering a stable and wide step surface. This enhances accessibility for passengers and drivers, particularly in taller vehicles, by reducing the step-up height. The design likely incorporates a tread pattern (implied by "AeroTread™") to provide improved grip and safety, especially in various weather conditions. The product image shows a sleek, low-profile design that integrates well with the vehicle's aesthetics, suggesting it's not just functional but also adds to the vehicle's appearance. The inclusion of front, middle, and rear mounting brackets ensures a secure and robust attachment to the vehicle's frame, capable of supporting user weight.
The parts list provides a clear breakdown of the components included for installation:
The installation requires minimal specialized tools:
The installation process is broken down into seven clear steps, designed for a straightforward assembly:
The instructions emphasize the importance of reading all instructions thoroughly before beginning and using proper tools to improve installation quality and reduce time.
The "Notes and Maintenance" section provides crucial information for long-term care:
Overall, the ARIES AeroTread™ running boards are presented as an easy-to-install, functional, and aesthetically pleasing vehicle accessory designed to enhance accessibility and convenience, with clear guidelines for proper installation and ongoing maintenance.
| Brand | Aries |
|---|---|
| Model | 2051101 |
| Category | Automobile Accessories |
| Language | English |