22
2.11. SETTING THE MECHANICAL TIME CLOCK
2.11.1. SETTING THE DIGITALTIME CLOCK
Fig. 2.29
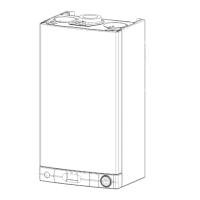
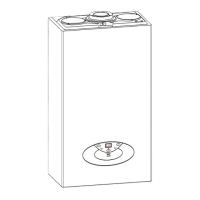
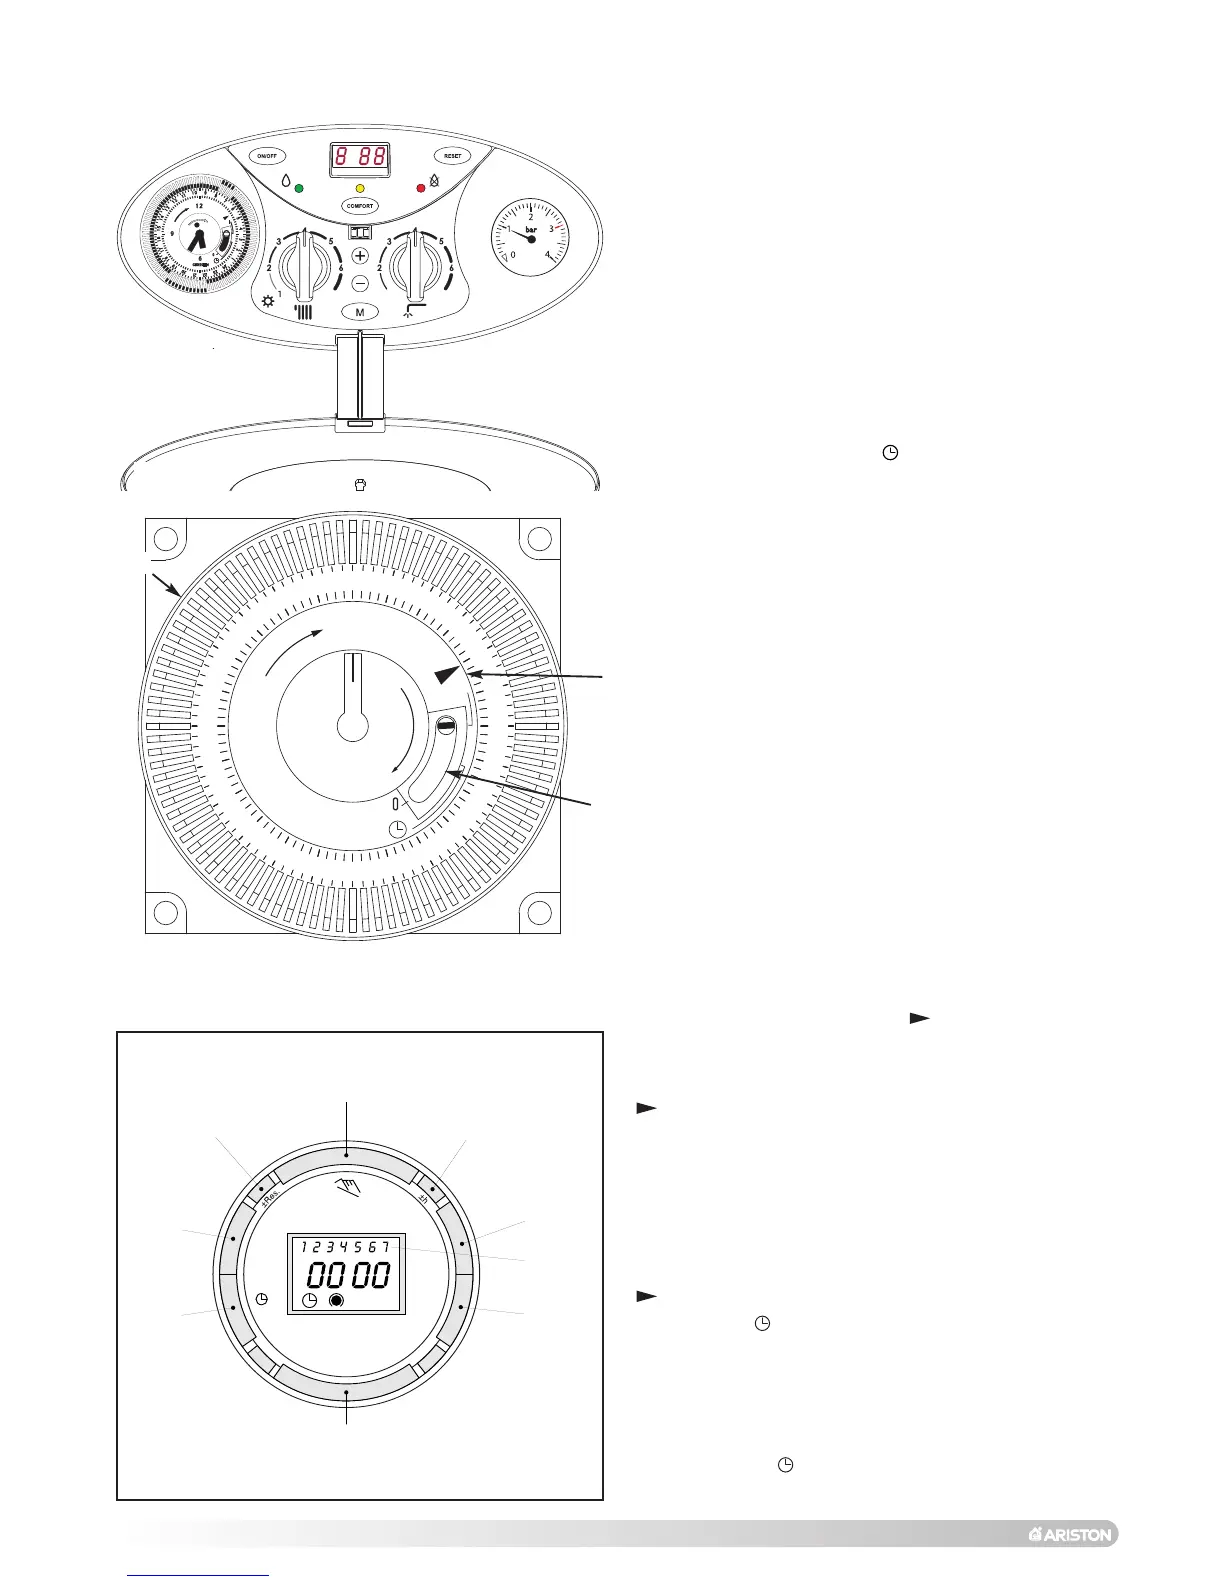
1. General layout
The mechanical clock covers a 24 hour period. Each tappet
represents 15 minutes A (Fig. 2.30). An override switch is
located on the clock B (Fig 2.30).
2. To set the time
To set the time of day, grasp the outer edge of the dial and
turn slowly clockwise until the correct time is lined up with the
arrow C (Fig. 2.30).
3. To Set the "On" and "Off" times
The clock uses a 24hours system. e.g. 8 = 8.00 am and
18 = 6.00 pm. "ON" periods are set by sliding all tappets
between the "ON" time and the "OFF" time to the outer edge
of the dial.The tappets remaining at the centre of the dial are
the "OFF" periods.
4. For operation
Put the selector switch B to the symbol to control the
central heating by the clock. Put the switch B to «I» to select
permanent operation or to «0» to turn the central heating off
permanently.
Operating the time switch
The steps marked with the symbol “ ” are necessary to carry
out a switching program.
Preparing for Operation
Activate the “Res” switch (=RESET) to reset the time switch
to its default setting (activate using a pencil or similar
pointed instrument). Do this:
- every time you wish to “reset” the time switch
- to erase all switching times and the current time of day.
After approximately two seconds the following display
appears: “– – : – –”.
Enter current time and weekday
- Keep the “ ” key pressed down
During the summer time period press the +/- 1h key once.
Enter the hour using the “h” key
Enter the minutes using the “m” key
Enter the day using the “Day” key
1 = “Monday”..............7 = Sunday
- Release the “ ” key.
 Loading...