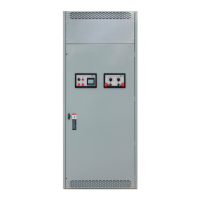
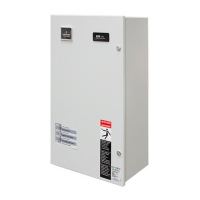
ASCO Series 300 Quick Connect Power Panel
4 www.ascopower.com 381333-476
Initial Installation
ASCO Series 300 Quick Connect Power Panels are front
heavy
(See Figure 2).
Care must be taken to secure the
device when it is lifted and
moved.
– Please note that the 2000 Amp versions weigh
approximately
2
20 pounds and the 2400-4000 Amp
versions range from
317-360 pounds for aluminum
enclosures. Stainless steel enclosures are approximately
200 pounds heavier at their respective amperage levels.
The installation of the ASCO Series 300 Quick
Connect Power Panel should
be carried out by
qualified personnel in accordance with
local
electrical codes.
The ASCO Series 300 Quick Connect Power Panel
must be installed in
conjunction with a transfer
switch.
The transfer switch shall not have a rating greater
than the
ASCO Series 300 Quick Connect Power
Panel.
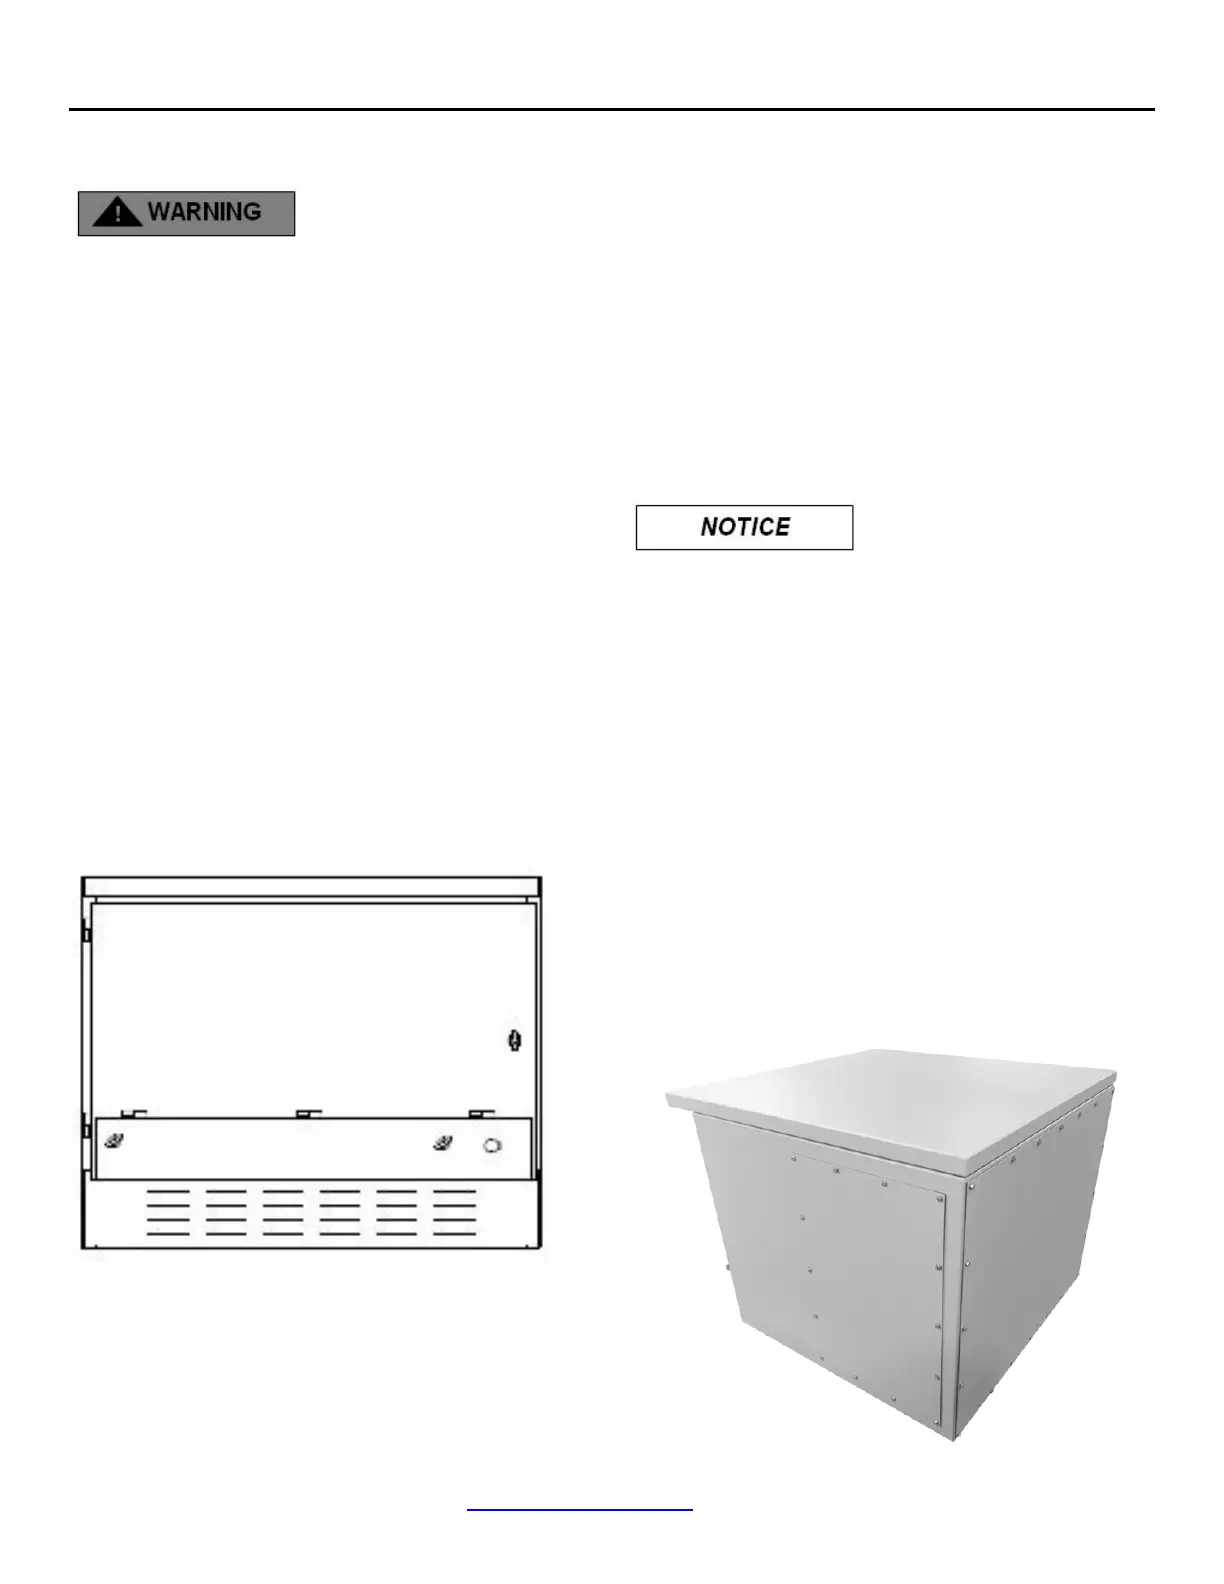
Figure 2
Step 1: Fasten the ASCO Series 300 Quick
Connect Power Panel to secure base
1.
Base must be level and plumb to allow for proper
drainage
from ASCO Series 300 Quick Connect Power
Panel weep holes
2.
Fastening onto an external wall using 3/8” fasteners
must be
completed prior to proceeding with any
terminations (See Figure 1
for hole spacing)
Step 2: Installing the Conduit
Conduit to enter through the bottom, rear and sides o f t h e
unit.
(See
Figure 3)
To maintain TYPE 3R Rating compliance for the
enclosure, proper sealing procedures must be
followed. This
is to include, but not limited to, the use of
proper gaskets.
1.
Remove rear and side panels to expose termination
chamber
2.
Conduit to be sized according to cabling rating
3.
It is recommended that a knockout punch be used to cut
hole for
conduit.
4.
Place the punch on the panel that was removed from the
enclosure and draw the
punch through to the die on the
outside.
Figure 3

 Loading...