Chapter 3 Operation 13
Series 230 Automatic Transfer Switch C1000 Intelligent Controller User Manual
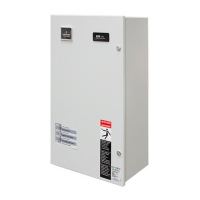
3.2 Push Button
The push button is on the right side of the Controller panel, which can be easily manipulated.
Press it for 3 seconds to clear alarm. When the alarm indicator is on or flashing, press this button for 3 seconds to
clear the alarm indication.
Manual Operation:
Step 1: Set the DIP Switch bit 7-8 to ON, ON. The RUN indicator starts flashing rapidly. One of three position indicators
on the bottom left of the panel starts flashing, as shown in Figure 5.
Step 2: The flashing indicator indicates the target position that ATS would transfer to, press the button quickly (less
than 3 seconds) to switch the target, and then three indicators would flash and rotate one at a time.
Step 3: After selecting the target that would be switched to, press the button for 3 seconds, and then ATS would
transfer to the target position.
Step 4: Set the DIP Switch bit 7-8 to auto or remote mode to exit from the manual operation mode.
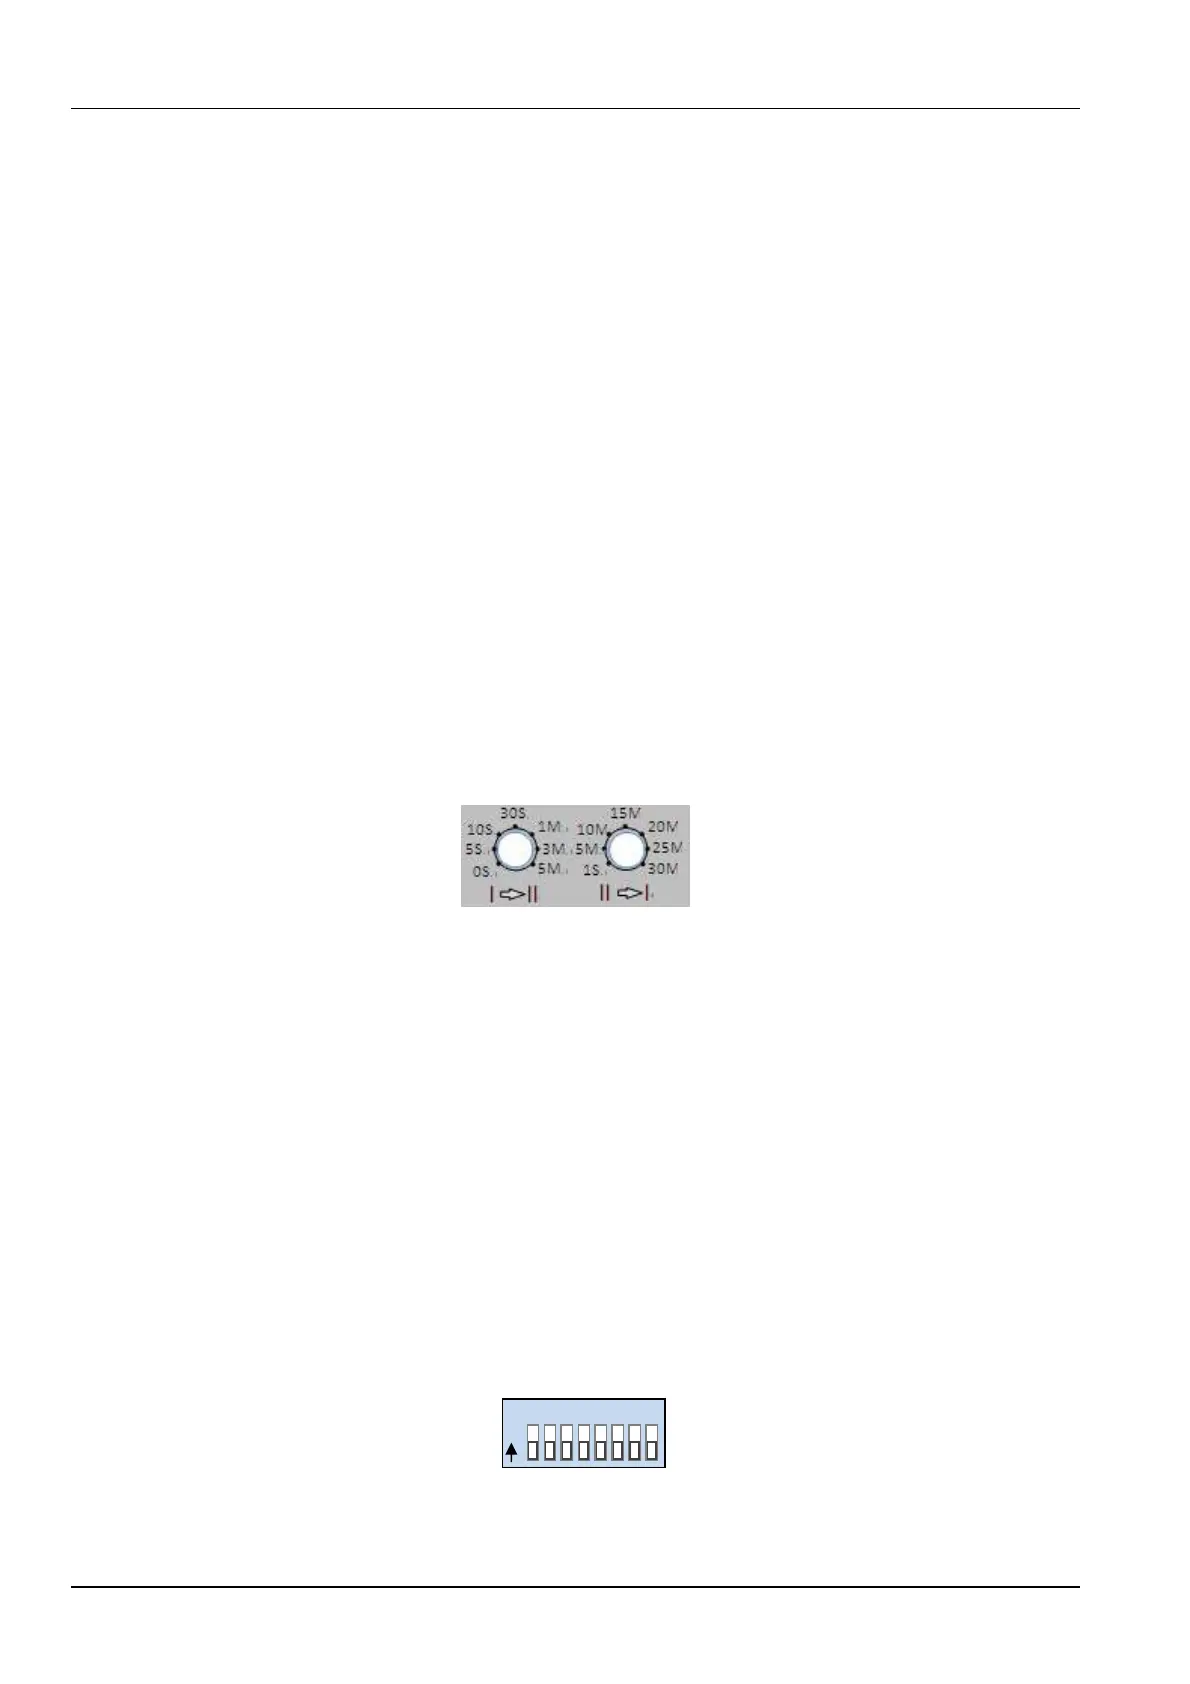
3.3 Time Delay Setting
The two knobs are for setting the ATS’s time delay. Position I transferring to position II or Position II transferring to
position I, as shown in Figure 3-2.
Figure 3-2 Time Delay Setting Knobs
Please use a small flat-ends screwdriver for adjustment.
Time Delay for transferring from Position I to Position II: min. 0 second, max. 5 minutes.
Time Delay for transferring from Position II to Position I: min. 1 second, max. 30 minutes. This Time delay is used to
wait for Source I power to recover to stable conditions.
3.4 DIP Switch
The DIP switch is on the upper-right corner of the Controller panel, with 8 bits in total. When the white slider of each bit
is on the top, it means ON, and when it is at the bottom, it means OFF, as shown in Figure 3-3.
Figure 3-3 DIP Switch
O
N
ON
OFF