5 6
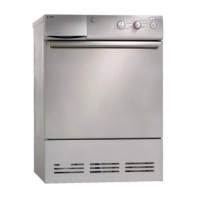
8. Push the drying cabinet back into its
final location. Remove the tape that
holds the door closed and check that
the shims are aligned with the back
of the drying cabinet. Also check that
the drying cabinet’s front section fits
properly into the custom cabinetry.
9. Level the drying cabinet according to
section “Level drying cabinet” on
page 15.
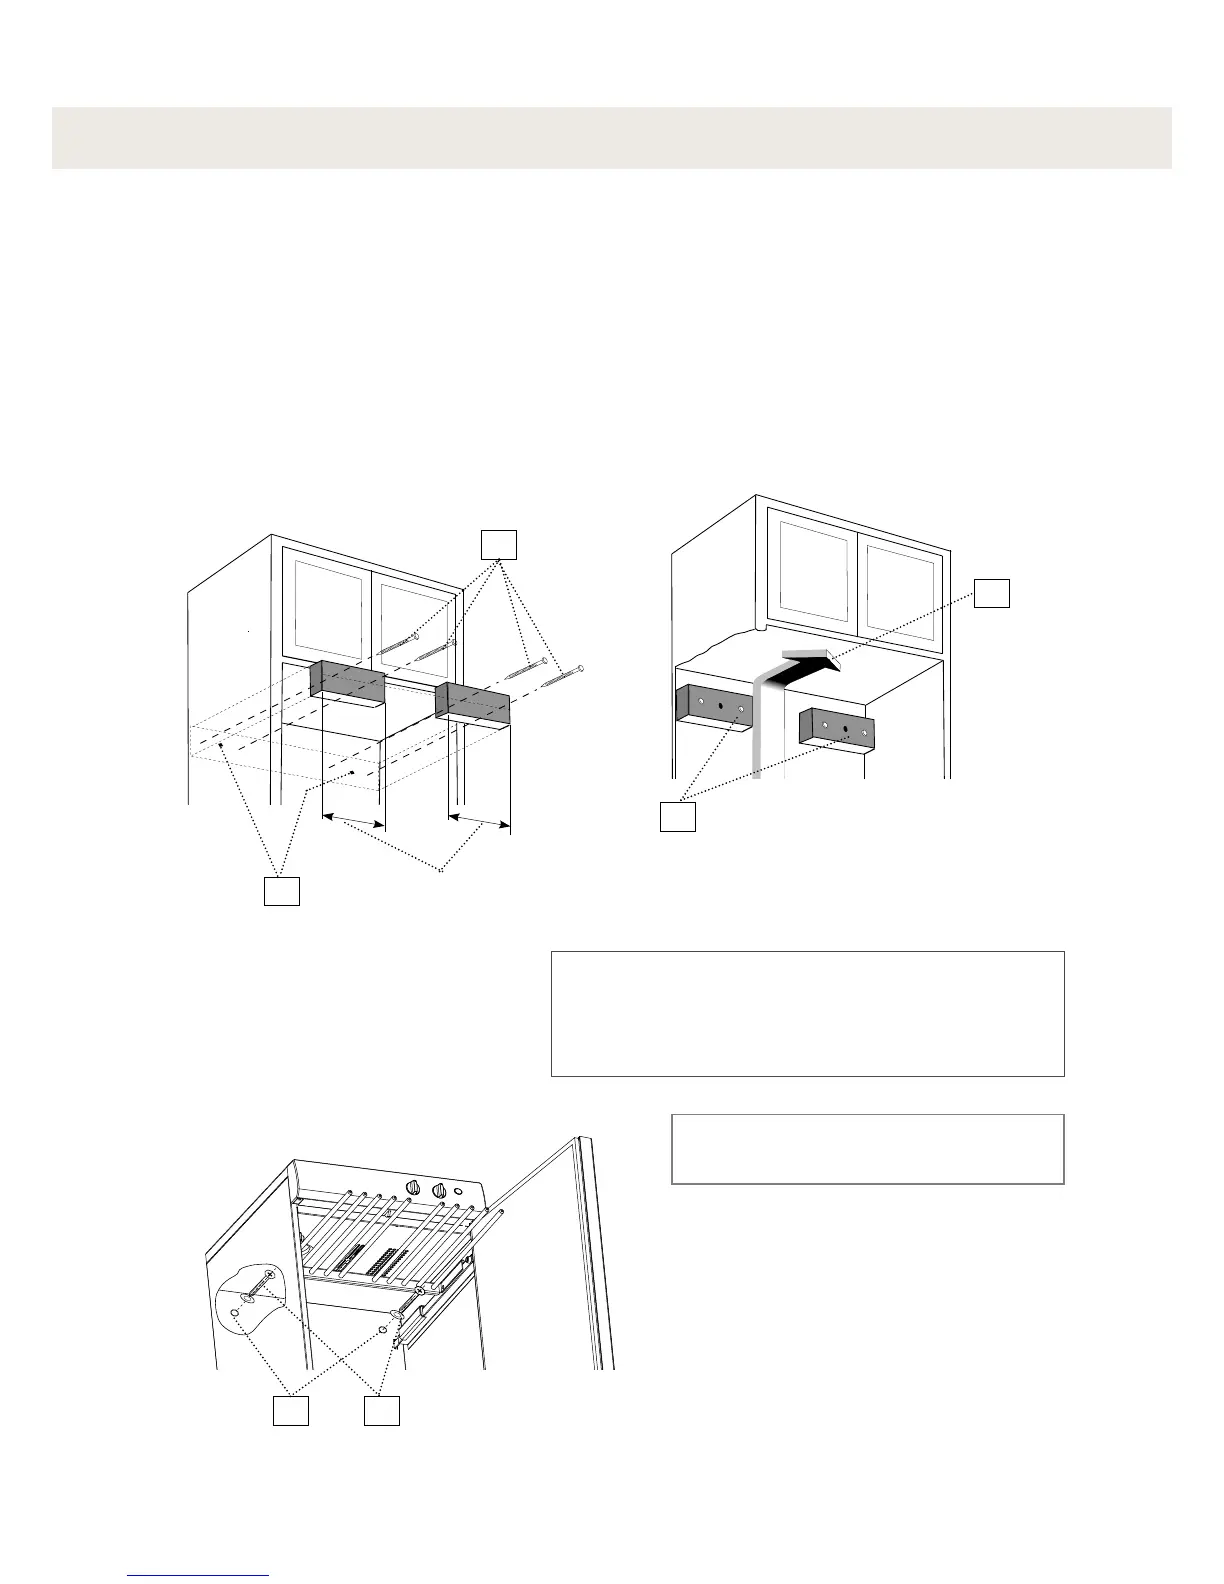
1. Fastening screws
2. Mounting hole markings from
the predrilled holes in the rear
drying cabinet wall.
3. Air flow
4. Wood shims
IMPORTANT: Check that the shims are properly
secured to the rear wall and that the installation
screws do not obstruct the drying cabinet’s
mounting holes.
Custom cabinetry with mounted wood
shims allowing free air stream
10. Pull out the upper hanger section and
drill assembly holes in the wood shims
for the attachment screws through the
predrilled holes in the back of the drying
cabinet.
11. Secure the cabinet with the supplied
screws and associated washers.
5. Pre-drilled holes
6. Retaining screws with washers
The wood shims are not included
in the delivery.