A
annamooreAug 14, 2025
What to do if Assa Abloy Door Opening System opens and closes repeatedly?
- JjoelparkerAug 14, 2025
If your Assa Abloy Door Opening System is opening and closing repeatedly, change the Selector Mode switch from H/O to On.
What to do if Assa Abloy Door Opening System opens and closes repeatedly?
If your Assa Abloy Door Opening System is opening and closing repeatedly, change the Selector Mode switch from H/O to On.
What to do if Assa Abloy Norton 6000 Door Opening System motor is driving in the wrong direction?
If the motor of your Assa Abloy Door Opening System is driving in the wrong direction, change the Arm Type (Push / Pull). A new Setup is required.
What to do if Assa Abloy Norton 6000 Door Opening System displays error message “Short Circuit”?
If your Assa Abloy Door Opening System displays a “Short Circuit” error message, turn off the power to the unit and check the wiring for a short or cut.
What to do if Assa Abloy Norton 6000 does not open to desired location?
If your Assa Abloy Door Opening System doesn't open to the desired location: 1) Repeat the Open Position setup process, OR 2) Increase the Obst Delay.
What to do if Assa Abloy Norton 6000 does not reach fully opened position?
If your Assa Abloy Door Opening System does not reach the fully opened position: 1) Repeat the Open Position setup process, OR 2) Increase the Obst Delay.
What to do if Assa Abloy Door Opening System tries to open door before auxiliary components are unlatched / retracted?
If, when a signal is received, your Assa Abloy Door Opening System tries to open the door before auxiliary components are unlatched or retracted: 1) Confirm that the latch devices are getting proper power, 2) Confirm that the latch devices are receiving power long enough to fully retract - adjust Latch Retraction on the controller as needed, 3) If the latch device is not retracting fast enough, increase the Start Delay on the controller to assure the latch device has had sufficient time to fully retract before the operator starts opening the door.
What to do if Assa Abloy Norton 6000 Door Opening System drifts toward closed position when door reaches open position?
If your Assa Abloy Door Opening System drifts toward the closed position when the door reaches the open position, increase the Hold Speed until the door stops drifting.
What to do if Assa Abloy Norton 6000 Door Opening System drifts further open when door reaches open position?
If your Assa Abloy Door Opening System drifts further open when the door reaches the open position, decrease the Hold Speed until the door stops drifting.
What to do if Assa Abloy Norton 6000 bounces when door reaches open position?
If your Assa Abloy Door Opening System bounces when the door reaches the open position, decrease the Slow Speed.
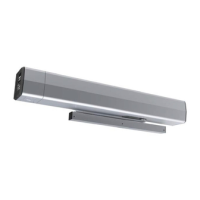
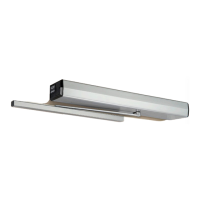
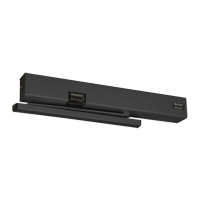
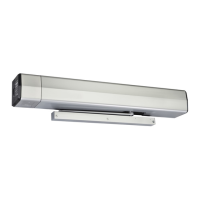
| Brand | Assa Abloy |
|---|---|
| Model | Norton 6000 Series |
| Category | Door Opening System |
| Language | English |
Key safety warnings regarding power, injury risk, and indoor use.
Procedure for disconnecting the arm from the slide assembly.
Steps to remove the arm screw from the pinion.
Instructions for disassembling the arm from the pinion.
Steps to disassemble the closer sub-assembly.
Procedure for installing the closer sub-assembly.
Instructions for assembling the arm to the pinion.
Steps to secure the arm to the pinion.
Procedure for connecting the arm to the track.
Steps to loosen the arm assembly for 6020/6030 units.
Instructions for removing the screw and arm from the pinion.
Steps to loosen adjusting rod and arm slide tube.
Procedure for securing adjusting rod and arm slide tube.
Instructions for removing the arm from the pinion.
Steps to disassemble the closer sub-assembly.
Procedure for installing the closer sub-assembly.
Instructions for assembling the arm to the pinion.
Steps to secure the arm to the pinion.
Procedure for securing adjusting rod and arm slide tube.
Adjustments for Sweep (S) and Latch (L) speed ranges.
Controls for Back Check (B) cushioning and position (P).
Details on power input, wire size, and voltage requirements.
Requirements for fire/smoke barrier door assemblies.
Overview of controller screen display options and adjustments.
Description of setting home and open positions.