80-9352-0020-020 Rev 2 06/23
Copyright © 2023, ASSA ABLOY Accessories and Door Controls Group, Inc. All rights reserved. Reproduction in whole or in
part without the express written permission of ASSA ABLOY Accessories and Door Controls Group, Inc. is prohibited.
4
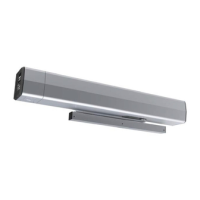
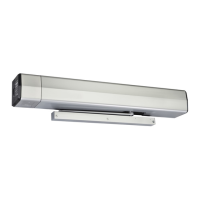
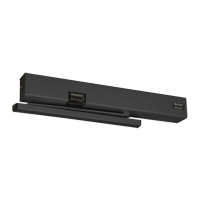
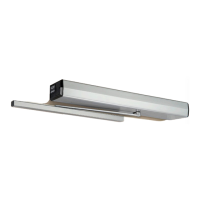
5200 Series (PUSH Side) Power Operator
B. Mount the forearm with shoe.
1. Using the template on page 8,
measure and mark the door for the
first forearm shoe mounting hole.
(Figure 4)
2. Drill hole:
a. For metal reinforced doors, drill
and tap holes with #7 drill and 1/4-
20 tap.
b. For wood doors, use 3/32” drill and
1/4-20 x 5/8" machine screw.
c. For sleeve nuts and bolts, see
illustration. (Figure 5)
3. Using the forearm shoe as template,
mark and drill second hole.
4. Secure the forearm shoe to door.
(Figure 6)
Figure 4
Figure 5
12-1/2"
Door Edge
to Hole
Center
2-3/8"
Frame Rabbet to
Arm Mount Holes
Forearm
Shoe
OR
Sleeve Nuts
and Bolts
Hollow Metal
&
Aluminum
9/32" (7mm) thru;
3/8" (9.5mm) door
face opposite to
closer
Wood
3/8" (9.5mm)
through
NOTE: Sleeve nut used for doors 1-3/4” or
greater. For doors less than 1-3/4”, sleeve
nut body will need to be shortened.
1-3/4"
Center to
Center
Figure 6
 Loading...