ADJUSTMENTS AND REPLACEMENTS
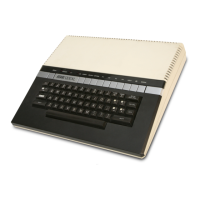
CONSOLE DISASSEMBLY
1. Turn console upside down and place on the workbench.
2. Remove the four screws that hold the bottom cover to the top cover.
3. Turn it right side up and remove the top cover .
4. Carefully disconnect keyboard and remove it.
5. Remove the seven screws that hold the shielded PCB in place.
6. Remove the shielded PCB from the bottom cover.
7. Unbend the tabs of shielding (7 tabs).
8. Separate the top and bottom RF Shields . Take care that PCB is not damaged.
CONSOLE ASSEMBLY
1. Position the bottom shield on the bench and align the tabs.
2. Position the PCB on the bottom shield, looking to proper inserting of all tabs to
elongated holes on PCB.
3. Position top shield of PCB, looking to proper inserting of all tabs to elongated holes
of top shield. Be sure that adjustment holes are clear.
4. Bend all tabs to proper fix shields on PCB.
5. Place bottom cover with right side up on bench.
6. Insert PCB/shields assembly to bottom cover and position it. Be sure that screw holes
are aligned and make sure that fixing stakes are proper inserted in the holes of PCB.
7. Attach with seven screws.
8. Carefully connect keyboard and position it in keepers of bottom cover.
9. Insert and position top cover on bottom assembly.
10. Hold the assembly together, turn console upside down and attach four screws.
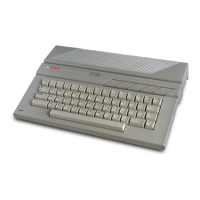
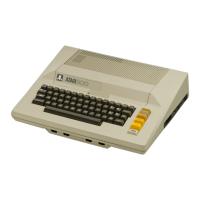
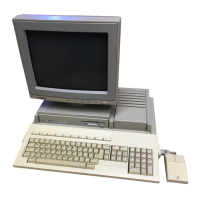
130XE Personal Computer
Field Service Manual 4-2