EasyManuals Logo

Atari 400 Service Manual

Atari 400
129 pages
To Next Page IconTo Next Page
To Previous Page IconTo Previous Page
Page #108 background imageLoading...
Page #108 background image
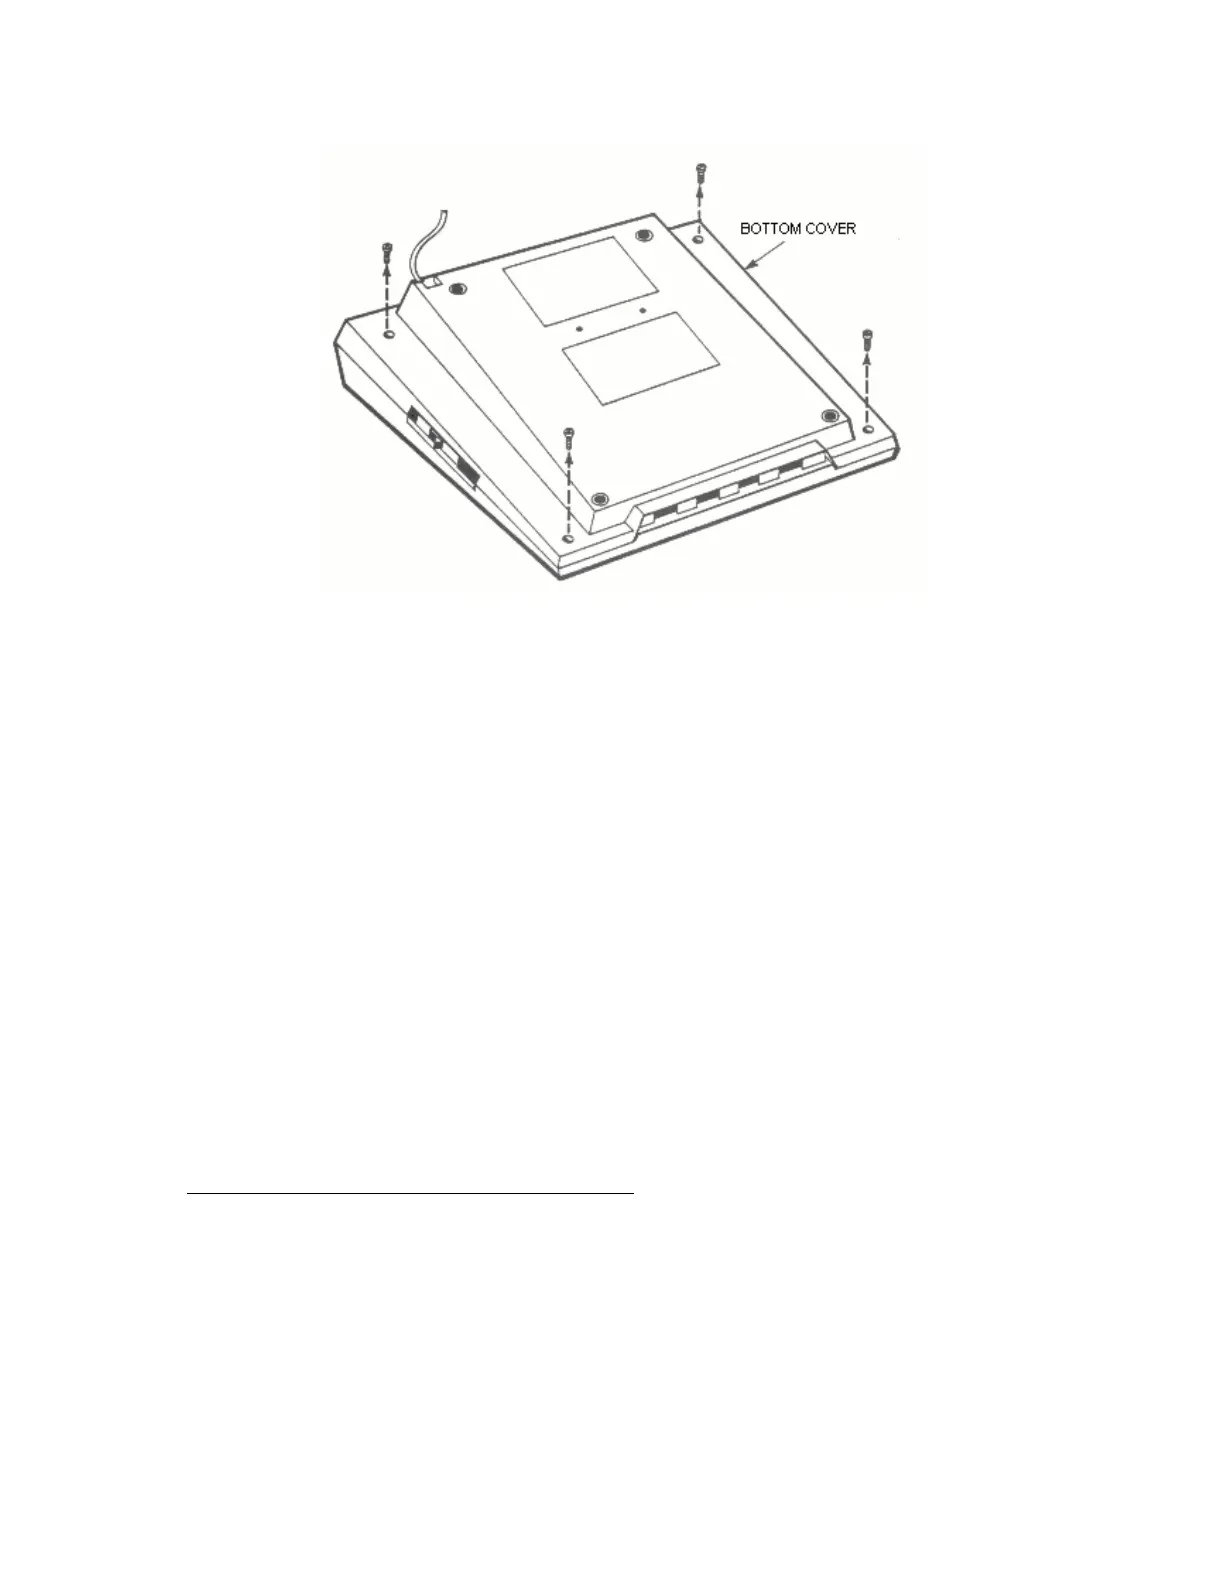
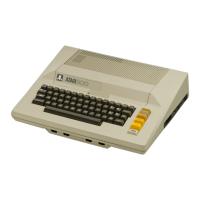
Figure 5-17. 400 Console, Bottom Cover Screw Location
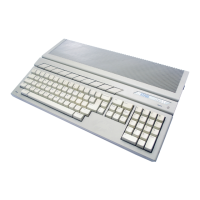
2. Keyboard removal, refer to Figure 5-19
Remove single Keyboard screw (no. 6 32x1/4)
Raise left end of Keyboard and disconnect Keyboard Ribbon
Cable
3. Power Supply Removal, refer to Figure 5-20 o Disconnect RF Cable
from Power Supply
Remove two screws (no. 6 32x3/8) from Power Supply
Gently pull Power Supply away from casting 1/4 inch and lift
out the Interlock Switch plunger
Lift Power Supply straight up off the Motherboard connector
pins.
Access to CPU, RAM, and Motherboard:
1. Module Assembly removal, refer to Figure 5-21
Disconneet and remove Speaker assembly
Lift Module Assembly out of Bottom Cover
2. CPU and RAM Printed Circuit Board Removal
5-31 System Service Manual

Table of Contents

Other manuals for Atari 400

Questions and Answers:

Question and Answer IconNeed help?

Do you have a question about the Atari 400 and is the answer not in the manual?

Atari 400 Specifications

General IconGeneral
ManufacturerAtari
Model400
TypeHome Computer
Release Year1979
CPUMOS Technology 6502
CPU Speed1.79 MHz
ROM10 KB
Operating SystemAtari OS
KeyboardMembrane keyboard
RAM8 KB (expandable to 48 KB)
GraphicsANTIC and GTIA chips
Sound4 channels
DisplayRF output for connection to TV
StorageOptional cassette tape drive or floppy disk drive
PortsCartridge
Display Resolution320x192 (16 colors)

Related product manuals