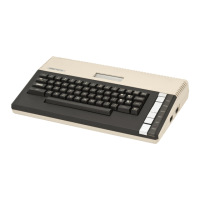
2. RAM Memory Module and ROM Memory Module removal
Lift out RAM Memory Modules
Lift out ROM Memory Modules
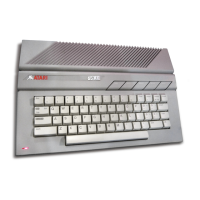
Access to Power Supply and Keyboard Assembly
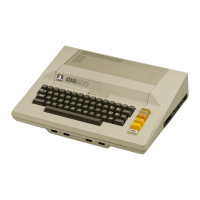
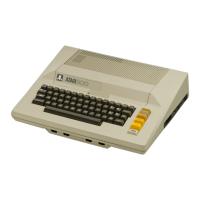
1. Bottom Cover removalr refer to Figure 5-23 o Se t sys tem on its
back
• Remove the five screws (no. 6 32x3/8) from Bottom Cover
• Tilt back-end of Bottom Cover up and toward you to remove
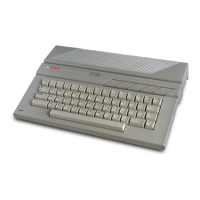
2. Printed Circuit Board Removal, refer to Figure 5-25
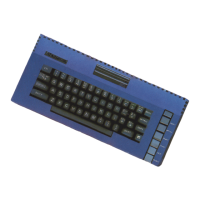
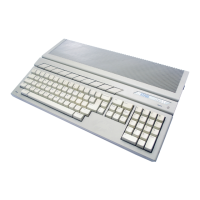
3. Keyboard removal, refer to Figure 5-24
• Remove four screws (no. 6 32x5/8) from four corners of Key-
board
• Lift Keyboard out of Top Cover
NOTE
Use all static protection precautions when handling printed
circuit boards.
• Remove two screws (nq. 6 32x3/8) from aluminum casting flange.
• Remove single screw (no. 6 32x3/8) from Power Supply board
(lower left hand corner)
• Disconnect Speaker cable and set Speaker aside.
• Raise front-end Qf Module Assembly one inch out of Top Cover
and disconnect Keybnard cable.
• Rotate Cartridge Door latches to the inside to clear Top Cover.
• Lift Module Assembly out of Top Cover
ATARI Personal Computers 5-34