2.6.2 Refrigeration connections
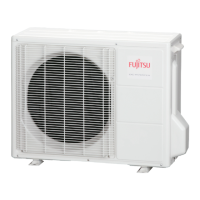
The outdoor unit must be connected to the hydraulic unit
only with copper pipes and connections (refrigeration
quality), insulated separately.
Comply with the pipe diameters and the permitted pipe
lengths (gure 18).
The minimum length of the refrigeration connections
is 5 m for correct operation.
The appliance will be excluded from guarantee if it is
used with refrigeration connections less than 5 m long.
If the refrigeration connections are exposed to
weathering or UV- and the insulation is not strong, it is
necessary to provide protection.
Manipulate the pipes and take them through walls with
protective plugs in place.
2.6.3 Creating the arings
- Cut the pipe to an appropriate length with a pipe-cutter
without deforming it.
- Carefully deburr it, holding the pipe towards the bottom
to avoid introducing lings into the pipe.
- Remove the ared connection nut situated on the
valve to be connected and slip the pipe into the nut.
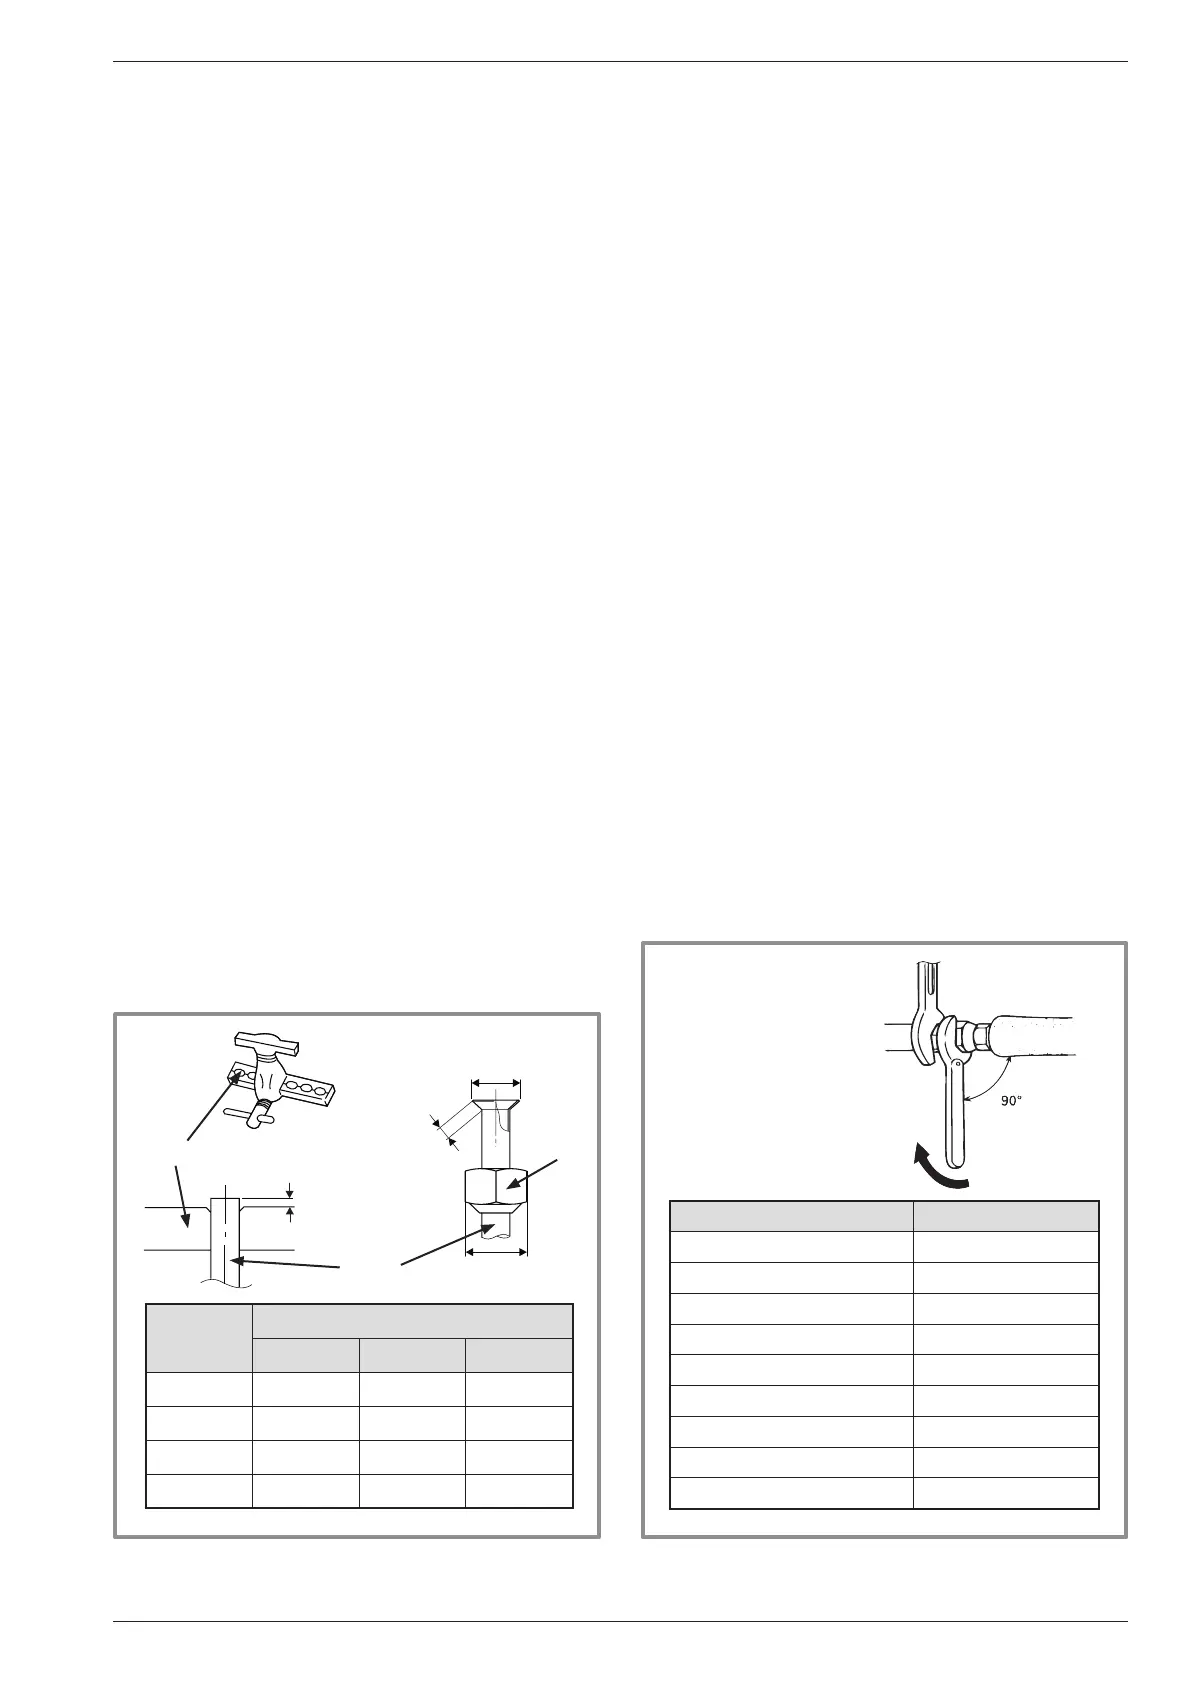
- Proceed to are, letting the pipe overow the aring
tool.
- After aring, check the condition of the working
radius (L). This must not show any scratch or trace of
any fracturing. Also check the dimension (B).
2.6.4 Shaping the refrigeration pipes
The refrigeration pipes must be shaped only on a
bending machine or with a bending spring in order to
avoid any risk of crushing or breaking them.
" Warning !
• Remove the insulation material locally to bend the
pipes.
• Do not bend the copper to any angle over 90°.
• Never bend pipes more than 3 times in the same
position otherwise traces of fracturing may appear
(from strain-hardening the metal).
2.6.5 Connecting the ared connections
" Connections must be made the day of the lling
the installation with gas (see para. 2.7, page 19).
" Take particular care positioning the tube opposite
its connector so as not to risk damaging the
threads. A carefully aligned connector can be tted
easily by hand without much force being required.
" The refrigeration circuit is very sensitive to dust
and humidity: check that the area around the
connection is clean and dry before removing the
plugs protecting the refrigeration connectors.
- Depending on the case, connect an adapter (reducer)
1/4''- 3/8'' or 1/2''- 5/8'' (see gure 18, page 18).
- Remove the plugs from the pipes and the refrigeration
connections.
- Present the pipe to the ared connector and screw the
nut by hand while holding the connector with a wrench
until contact.
- Comply with the indicated tightening torques.
gure 16 - Flaring for are connections
Flaring tool
Hose
Flare
nut
B
L
C
ø Hose
dimensions in mm
L B
0
/
-0,4
C
6,35 (1/4") 1,8 to 2 9,1 17
9,52 (3/8") 2,5 to 2,7 13,2 22
12,7 (1/2") 2,6 to 2,9 16,6 26
15,88 (5/8") 2,9 to 3,1 19,7 29
gure 17 - Tightening torque
Designation Tightening torque
Flare nut 6,35 mm (1/4") 14 to 18 Nm
Flare nut 9,52 mm (3/8") 33 to 42 Nm
Flare nut 12,7 mm (1/2") 50 to 62 Nm
Flare nut 15,88 mm (5/8") 63 to 77 Nm
Plug (A) 3/8", 1/4" 20 to 25 Nm
Plug (A) 1/2" 25 to 30 Nm
Plug (A) 5/8" 30 to 35 Nm
Plug (B) 3/8", 5/8" 10 to 12 Nm
Plug (B) 1/2", 1/4" 12,5 to 16 Nm
Holding wrench
Torque wrench
Installation and operating manual "1578 - EN" - 17 -
Heat Pump alféa extensa duo +



 To Next Page