Using AVR Studio
5-8 AVR STK500 User Guide
1925C–AVR–3/03
5.3.6.1 Setting Up the
System for
Auto-programming
Click on the check boxes for the commands that you want the STK500 user interface to
perform. A typical sequence where the device is erased and then programmed is shown
in Figure 5-7. The chip is erased, both memories programmed and verified, and finally,
fuses and lock bits are programmed.
Once configured, the same programming sequence is executed every time the “Start”
button is pressed. This reduces both work and possibilities for errors due to operational
errors.
5.3.6.2 Logging the
Auto-programming
to a File
By clicking on the “Log to file” check box, all output from the commands are written to a
text file. Select or create the file by pressing the “Browse” button and navigate to the
location where the file is placed or should be created. The output is directed to this file,
and can be viewed and edited using a text editor.
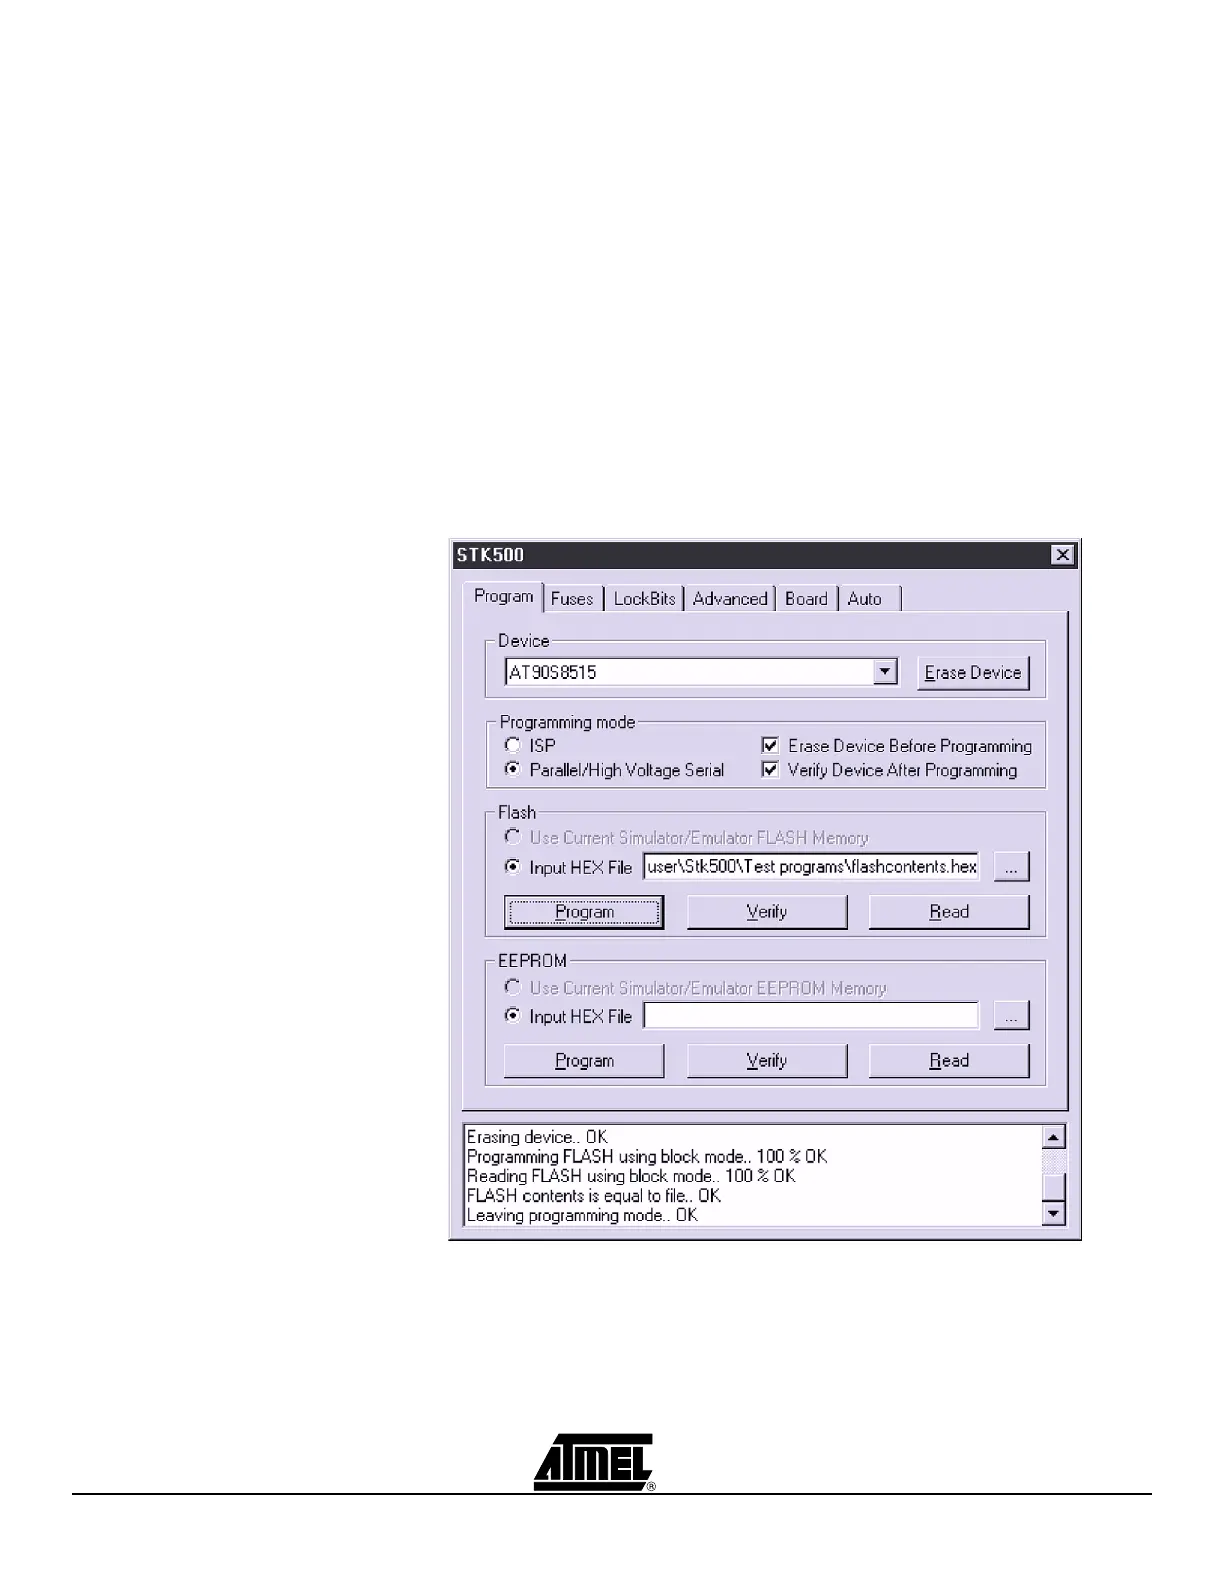
5.3.7 History Window The History window is located at the bottom of the STK500 view. In this window the dia-
log between AVR Studio and STK500 is shown. For every new command performed,
the old dialog is replaced with the new one.
Figure 5-8. History Window
 Loading...